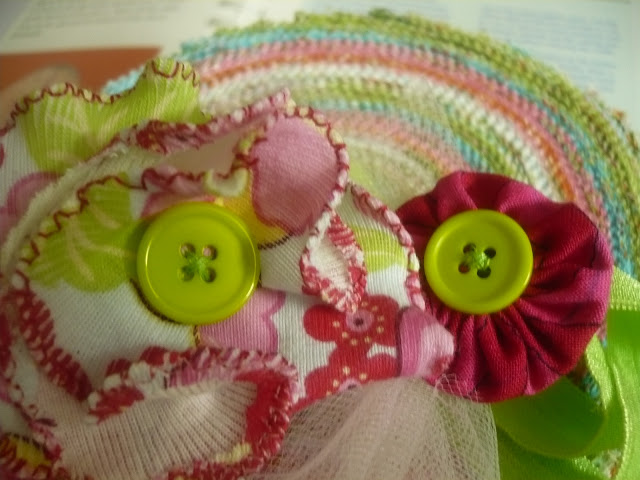
Supplies:
Knit scraps single color or multiple coordinating colors ( This is a great scrap buster project)
Button - 1 (optional )
Approximate Time: 10 minutes
Construction:
2. Sew rolled hems along the periphery of these circles. It will be difficult to sew the smaller circles so don't try to be perfect again just the best effort. Here's a very good tutorial on rolled hems.
3. Once you have made rolled hem on all the circles layer them one over the other, starting with the largest. Do not try to layer them perfectly, place each layer slightly off center for a more realistic flowery look. snip any loose threads.
4. Once you are happy with the look, hand-sew it on anything your would like to embellish. A couple of stitches just the way you would sew a button would be enough to make it stay. Or if its safe for your child, sew a button in the center.
5. No reason to stop. Make many many more!
6. Of many, many kinds!


Hi Anshu,
ReplyDeleteSo gorgeous! Love fabric flowers and this is lovely.Thanks so much for sharing tutorial.
Have a look at my blog I’ll be so glad.
Hugs from Portugal
Ana Love Craft
www.lovecraft2012.blogspot.com
This came out so cute. I love the rolled hem and how it gives it the petal look. Stopping by from Fabric Bows and More linky party.
ReplyDeleteHere is what I shared: http://craftybrooklynarmywife.blogspot.ca/2012/09/another-fur-baby-coat.html
That's really pretty, and as you say, a great idea for stash-busting... off to hunt through my stash now!
ReplyDeleteThose are darling. Thanks for sharing ;) I am visiting from the Make it Yourself Monday Link Up.
ReplyDeleteSo cute! Just popped by from the More the Merrier link up. My kids will love these! Thanks so very much for sharing.
ReplyDeleteGreat idea. I love how you could make them to match certain outfits. Hopping over from An Original Belle.
ReplyDeletePretty little flowers!
ReplyDeleteThanks for linking to a Round Tuit!
Hope you have a fabulous week!
Jill @ Creating my way to Success
http://www.jembellish.blogspot.com/
I love this tutorial!!!!! Thanks for sharing your knowledge with us!
ReplyDeleteMarisa from
http://passionetcouture.blogspot.ca/
agen togel terbaik
ReplyDeleteagen slot terbaik
bandar togel
bandar slot terpercaya
pragmatik slot