Showing posts with label dress sewing tutorial. Show all posts

Wednesday, February 13, 2013

V Day Dress Sewing Tutorial: Love is in the air

Blooms And Bugs: Valentines Day Dress Free Sewing Tutorial
V-Day dress tutorial

I recently participated in Exchange Program at Totally Tutorials (great crafting website by the way). The rules were simple. I would be sent a crafting supply and I had to create something with it.
I received heart Tulle Fabric from Abakhan. They carry a vast selection of crafting and hobby supplies.
I thought it was perfect for a Valentines day dress tutorial.

Supplies:
half yard hearts tulle fabric
Quarter yard white knit fabric
half yard black knit fabric
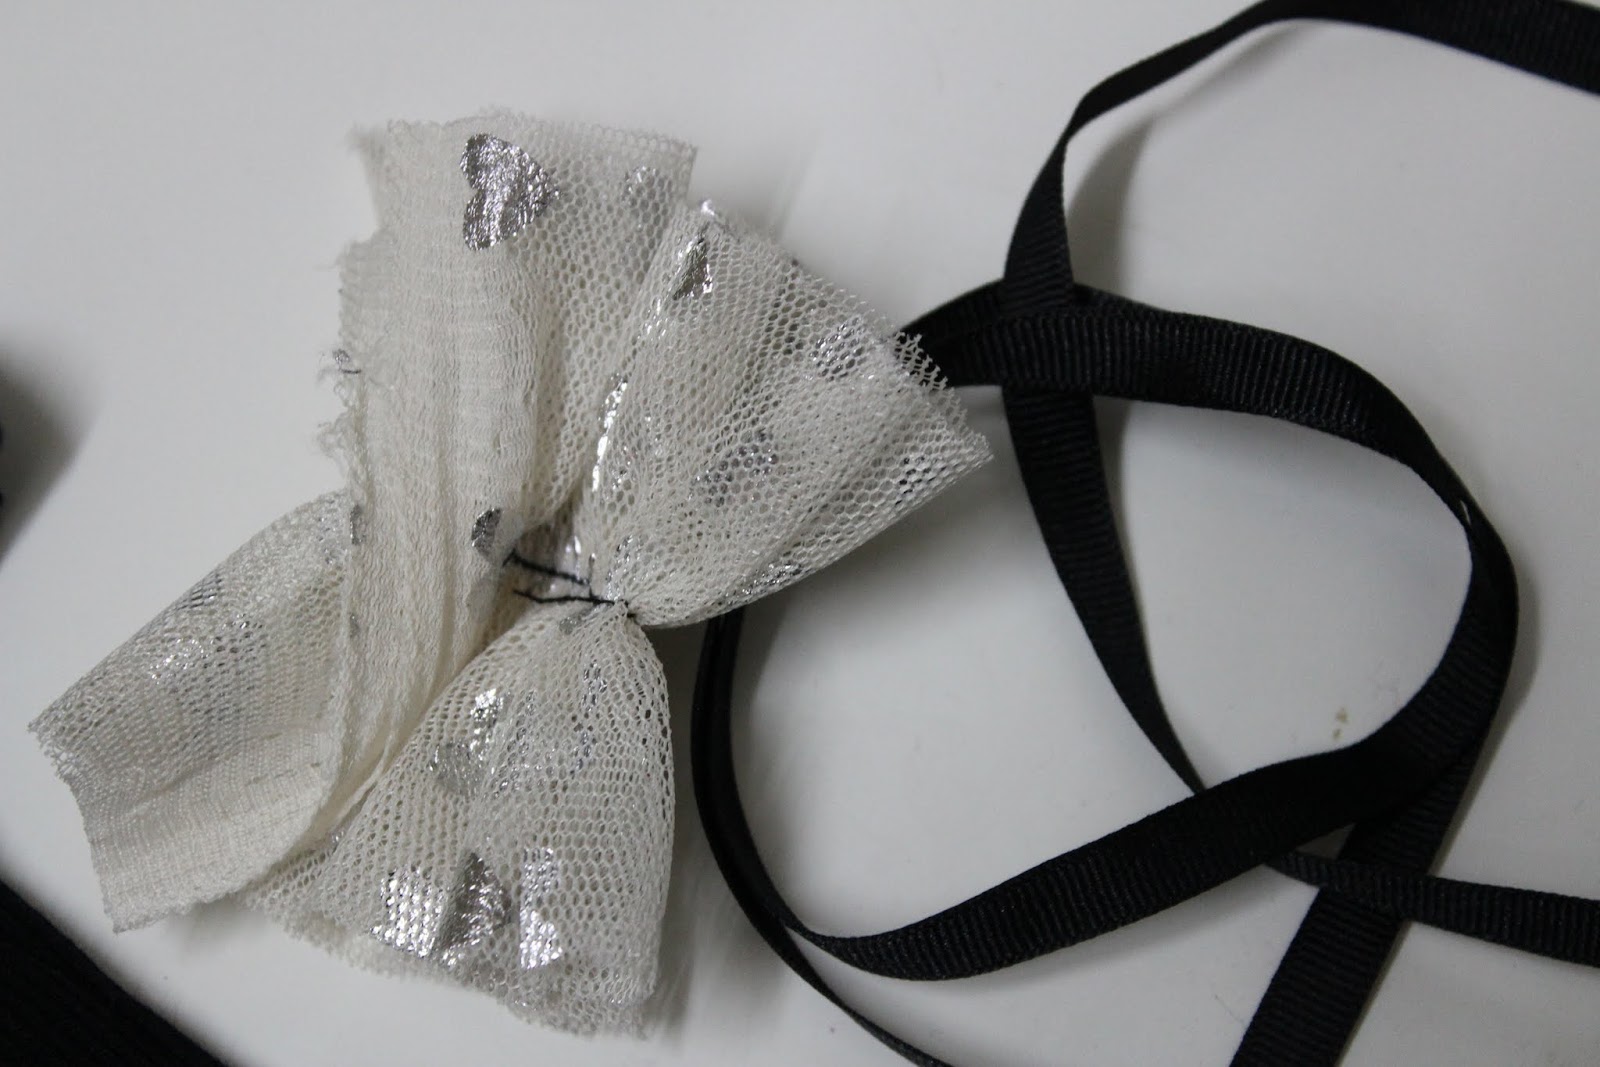
quarter inch wide black grosgrain ribbon a little over one yard

Estimated time:
2 hours

Skill Level:
Intermediate

trace around an existing garment
1. Use an existing garment to draw a pattern. In my case I wanted the final dress to be a bit larger than the Tee I used, so I left a bit of margin ( 3/4 inch) when I traced.


self traced Tshirt Pattern
2. Here is the top pieces I was left with. Now do yourself a favor and trace this piece on a newspaper ( or any paper that's big enough). Next time you make a dress or a tee, you will be so glad to save some time.

cutting out the sleeves
3. Now trace the armhole to cut out sleeves. For the sleeves, I used the hem of the tank-top, so I didn't have to hem the sleeves.
tshirt pattern pieces
4. Here are the pattern pieces you will be left with. Now be sure to trace these sleeve pieces on a paper too.

how to sew a tulle ruffle
5. Now lets cut our tulle for the tuxedo. For this lets cut out 2 pieces of 3 inches X 14 inches from the tulle.

how to make a ruffle from tulle
6. Now crank up the tension on the sewing machine and set the stitch length to maximum, also set the speed to max. Now sew a row at the center along the length.

sewing ruffles with grosgrain and tulle
7. Now take two 20 inches long (each) pieces of quarter inch wide black grosgrain ribbon. Position it over the stitches you just did. Reset you machine to its default tension and stitch length. Now sew it down over the stitches.

sewing the ruffle

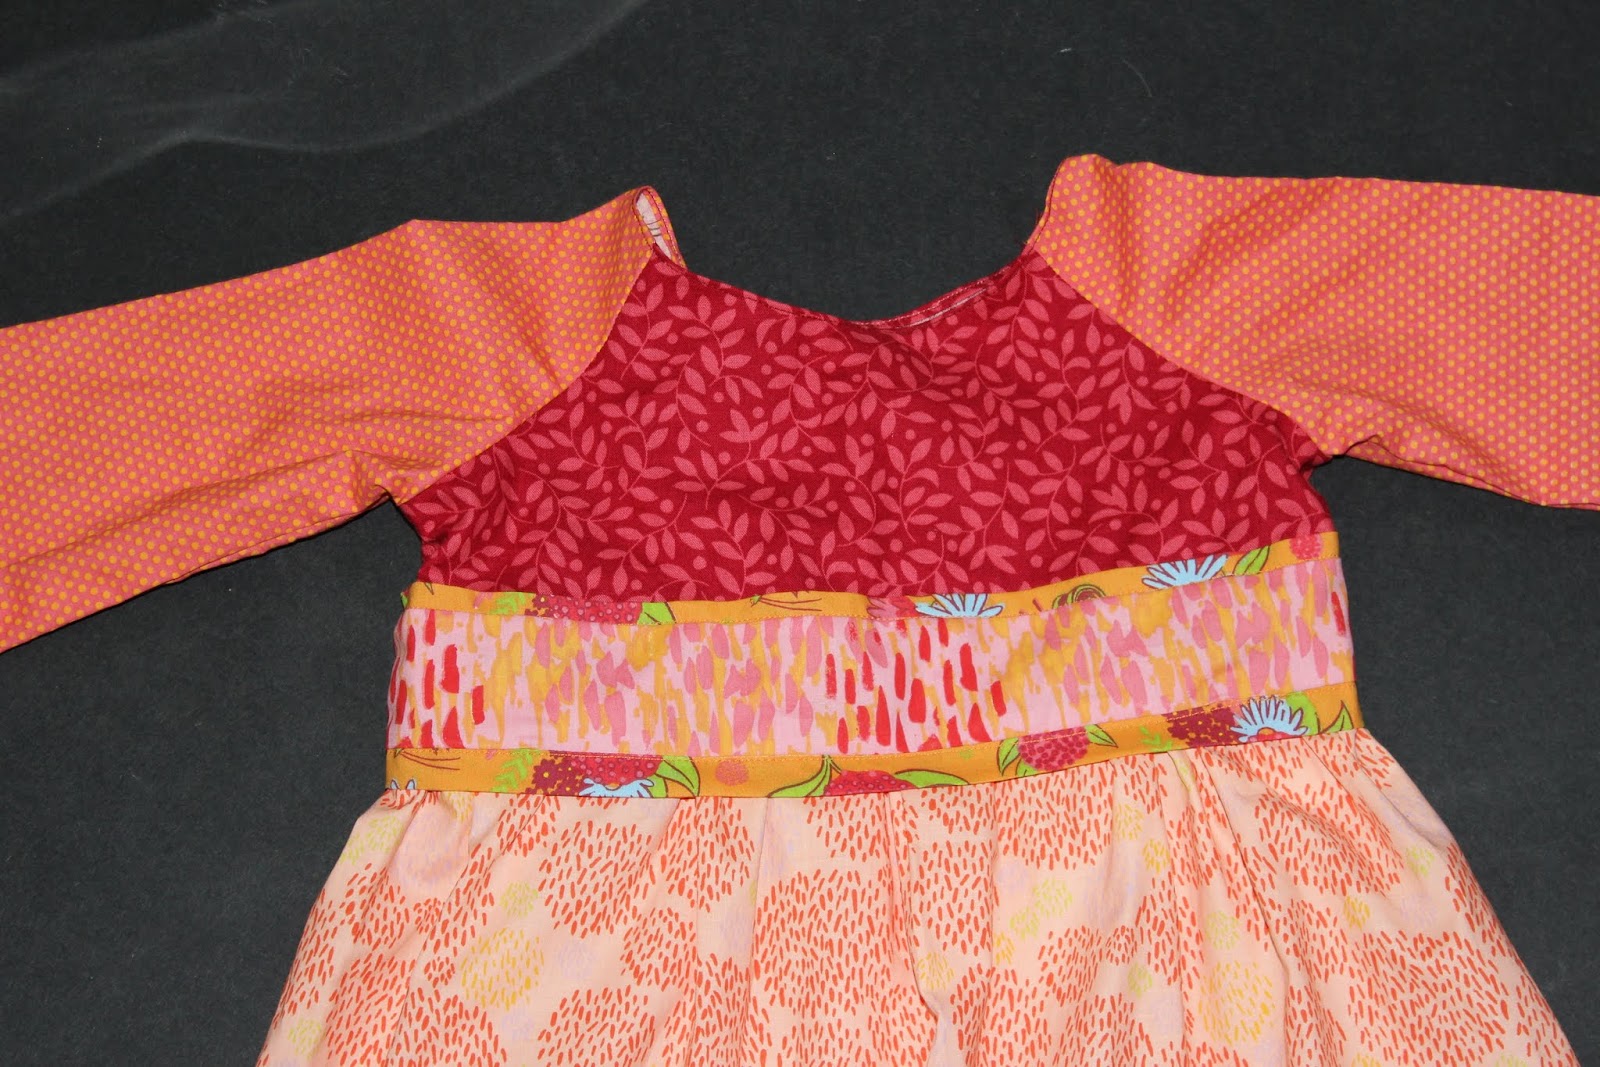
8. Sew the front and back pieces at the shoulders. Now sew the ruffle down at the front center. I actually did this step later, but its much easier to sew the ruffle at the front while both sides are open.


9. Sew both the side seams. Sew the side seams of both the sleeves. Sew the sleeves to the Tshirt. Tie the grosgrain ribbon into a bow at the front and cut off any excess ribbon.

10. Cut a 7.5 inches long strip from the coordinating knit ( off white in our case) The width of the off-white fabric is one and a half times that of the Tshirt width.

11. Now cut out Tulle of the same dimensions as the off white knit.

12. Sew short ends together on both Tulle and Knit. Now turn both the tubes right side out and place tulle over knit. Now you a tube that has hearts tulle on the outside and off-white knit on the inside.


13. Again set the machine tension to the highest, stitch length to longest, sewing speed to max and sew along one longer sides of the tube. This will ruffle the fabric, turning it into a gather skirt.


14. Adjust the gathers with hand to make them even and equal to the Tshirt width. Now pin the skirt to the Tshirt ( Right sides together) and sew a seam to attach.

V-day dress tutorial
15. Here you are, now this is finally looking like some chic Valentines dress. Stay with me some more. We just have to finish a few details and then we will be all set. I didn't hem this dress because both Tulle and knits do not fray. However, if you want to finish the hemline, you could do a rolled hem on both.

neck binding

16. To bind the neckline I cut out a strip two inches wide and two third of the neckline long. We will sew this strip by stretching it across the neckline so it doesn't get wavy.

binidng neck of tshirt tutorial

17. Sew the short ends together ( right sides together). Now sew the strip to the neckline ( right sides together) by gently pulling it along the neckline, use pins at every quarter of the neckline, to make sure that the stretch is even.
\
tshirt neck binding tutorial

18. Fold the raw edge of neck binding  on to itself and pin it on the inside ( like you would with a bias tape). At this stage it is good to be generous in pinning. The neckline is the most visible part of the dress and you wouldn't want it to look shabby.

tshirt neck binding tutorial

19. In front, take care of pinning the raw edges of ruffle and ribbon inside the binding. Now sew over the binding, as close to the edge as possible.
Note: This step is different from sewing bias tape, you could also sew this seam along the binding ( just like the bias tape) as close to the edge as possible. I have seen both finishes in ready-to-wear garments. I used the non-bias tape method in this dress, but I like bias tape method more. You could do whatever suits you better.

V-Day dress sewing tutorial

A new dress for the V-Day!


Pin It

Monday, January 7, 2013

Free Sewing Pattern and Tutorial: Pumpkin Pie Dress

Blooms And Bugs: Pumpkin Pie Dress Free Sewing Pattern
pumpkin pie dress pattern
Photo by Ami Mathur Photography

This is a tutorial I posted for Clothworks blog. Reposting it here in case you missed it first time around.
Ever since I have drafted a peasant dress pattern, I have been playing around with different design elements to make most of it. Here is a cute dress made with mixing a bunch of Clothworks collections ( Suzette, Picnic Pals, Safari Sweet) and adding in some fun details like ruffles, belt, easy appliques etc.

Supplies:
Coordinating fabrics in different prints
I chose the following fabrics:
Suzette for bodice and ruffle at the hem - half yard
Picnic Pals for Sleeves and belt fabric - half yard
Safari Sweet for skirt  - half yard
Orange felt fabric
Approximate time: 2 hours
Skill Level: Beginner
Pattern:
Print out the 3 page pdf pattern for Pumpkin Pie Dress on 8.5 X 11 inch paper with margins set to zero.


free dress pdf pattern
Here is how your patterns will look when you assemble them

Sewing Margin: 3/8 inch until otherwise specified

Construction:

Sewing the bodice
how to sew bodice for peasant dress

This dress builds up on the peasant dress pattern we published earlier. So, I'm skipping over the details of how to assemble the bodice and finish the neckline and sleeves. Its exactly same as Peasant Dress here except that here I didn't shir the sleeves. You could shir or leave the sleeves as is depending upon your preference.

Cut out the pattern pieces. Sew the sleeves and bodice together like the peasant dress here.

Sewing the skirt
Cut a piece of fabric 16 inches ( length) X 40 inches( width). Sew the 16 inches sides together ( right sides together).

Sew two seams along one of the raw 40 inches edge. Pull the bobbin thread to gather the fabric. Gather until it becomes equal to the bodice. Sew it to the bodice ( Right Sides Together)

Attaching the ruffle at the hem
sewing a ruffle
Cut two strips 3 inches long and 40 inches wide. Sew the shorter ends together to join them and form a big circle.

Fold both raw edges quarter inch onto the wrong side twice.

how to sew a ruffle
Set your machine tension on high and stitch length on max and set the speed on max. Sew a seam about half inch below the edge. This will ruffle the fabric automatically. Once you are done you could even out the ruffles by hand and adjust them to fit the hem of the dress.

how to make ruffled hem
Fold the dress hem quarter inch onto itself twice. Sew the ruffle you just made about an inch above the hem.

Making belt:

Cut two strips of 40 inches width. One 2.5 inches long and another 4 inches wide.
 Sew the 40 inches sides to each other on both raw edges.
belt sewing tutorial
Center the smaller strip on the bigger strip. Now sew a seam at one of the shorter ends. Snip corners. Turn out.
 Here is my detailed tutorial on sewing belts.

sewing two colored belt
Here is how the belt will look after turning out.

dress sewing tutorial
Iron. Tuck the raw ends inside. Iron again. Sew a seam to close the end.

belt sewing tutorial
Here is the finished belt.

free pdf aewing pattern
Center the belt over the seam joining bodice and skirt. Sew two seams overlapping with the seam joining both belt fabrics. This seams will be sewn only in the front.

pumpkin appliques how to
Cut out few pumpkins in different sizes from felt pieces. Use a black embroidery thread to sew running stitches on the pumpkins for decoration.

felt pumpkin appliques
You can now attach pumpkins by hand-sewing them to the dress or by machine sewing. By using felt we skip over the steps using interfacing or finishing the raw edges. I have already washed the dress a couple of times and the appliques are holding up just fine.

peasant dress sewing pattern
Photo by Ami Mathur Photography

Just add a baby!


Pin It