

Didn't she just stole your heart with her toothless grin ...
Now that I have lured you in with this pic, let me point out that she is wearing a headband I made. Do you have a cutie pie for whom you would like to make this hairband? Read on and I will show you how to make one...but before that I will show you how to WIN supplies to make one( or a hundred), how about that?
So I was looking for a vendor to buy the elastic to make these headbands...and when I shop I have to have a great deal on whatever I am buying. So I searched high and low....I even looked at crafter's forums, for people destashing their supplies but nothing that I would call a great deal surfaced, that is, until I came across Elastic by the yard. I just went ahead and ordered mine, and soon got 5 yards of quality white foldover elastic in the mail.
Elastic by the yard sells a vast selection of elastics and other crafting supplies.

You would find skinny elastic

Printed Elastics

Different kinds of flowers and so much more over there.
They even have helpful tutorials to make hairbands etc with these supplies.
My experience went so well that I asked Kristin, who runs this shop if she would be interested in sponsoring a giveaway on my blog. She responded back saying that she would give away...listen carefully....this is big..
3 lucky readers grab bags of 60 yards of elastics each! How freaking awesome is that? Just so you know Elastic by the yard occasionally offers these grab bags for sale on their facebook page and these guys sell like hot cakes. So you should definitely try winning one of these.
To enter this giveaway,
1. Leave a comment on this post with your email.id.
2. For another chance, Like Elastic By the Yard on facebook and leave a separate comment here saying that you did so.
3. For one more entry tweet about the giveaway and leave a separate comment here saying you did so.
The giveaway is open until next Monday, Nov 14, 2011.
I'll let random.org pick a winner from all the comments on Nov 15, 2011. Winner will be announced on Nov 16, 2011.
If you don't win and would like to buy elastics from them, Kristin has generously offered a discount of 15% of your total order with code BNBDSC.
Snow-Blossom Headband Tutorial

I love hair accessories. Hairbows, Clippies, hairbands...you name it. For the Mom of a toddler who keeps them on her head for a whopping...15 seconds at a time, I make an awful lot of them. Since I make so many of these, I thought it would be fun to share a tutorial for one of these here. So I brought you this snow-blossom hairband. Not sure, if you like it in the pic above but it looks super-cute on a tiny little head. I think it will work great with Christmas outfits.
Here's how I made these.


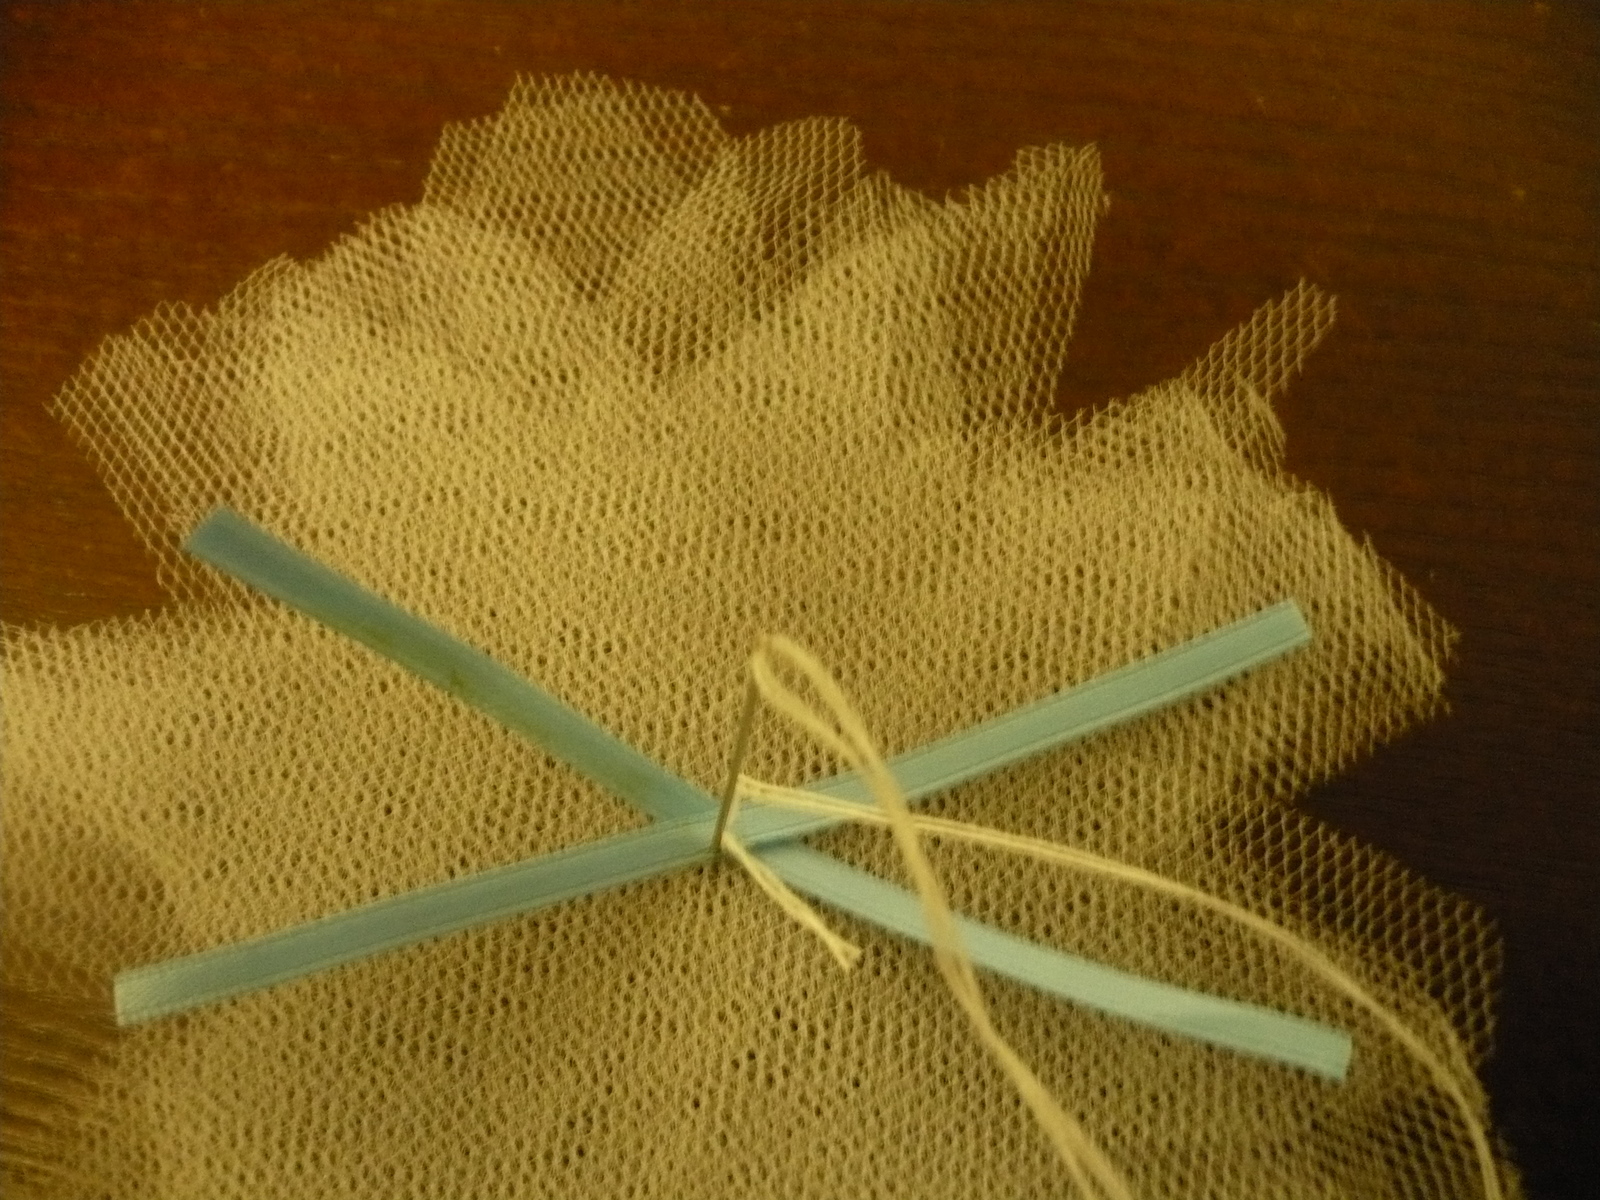
Make a stack of 5 circles. Fold the whole stack in half.

Fold into quarter

Fold into eigth


Cut out a triangle from the edge.

Open the circles and gently turn the circles such that
the petals become unaligned instead of nicely lining up in the stack.


Now your flowers and your headband are ready to be assembled.

Place one flower over the place where you sew the seam on the headband. Secure it to the band by inserting needle up and down 2-3 times. Once this flower is sewn in bring back the needle up on the band about half inch away from the center of this flower


Snow Blossom headband is ready. Put it on the cutest little girl around you!

Adore!

Go click, click click!


