Showing posts with label little girl. Show all posts

Saturday, October 8, 2011

Harvest Princess Dress ( Size 2T- 3T): In store now

Blooms And Bugs Studio: Harvest Princess Dress
harvest Princess dress

I'm slowly adding holiday stock to my etsy shop. The latest addition to it has been this Harvest Princess Dress and Hairband.

I wanted a design that says fall/autumn to me..but doesn't scream Halloween or Costume in my ear. I don't like the concept of clothing that is just meant to be worn once, particularly handmade. I think this dress fits the bill I had. A little girl could wear it with a crown of leaves and become the harvest princess for trick-n-treat, but more importantly she could wear it throughout the fall with a Tee underneath or a shrug over it.


Elastic in the back and multiple button and buttonholes in the shoulder ties will ensure that the dress grown with her.

The dress is made with finest quality cottons from Moda Fabrics ( Deb Strain's Meadow friends collection).

harvest princess headband

There's also this cute hairband that comes with it to complete the ensemble.

Blooms And Bugs Studio

Does your princess need a dress this fall?


Pin It

Wednesday, August 31, 2011

Far far away

Blooms And Bugs Studio: Selling dresses in Australia


These babies are on their way to Australia. Yes! all the way to Australia. A super sweet Mama from down under bought two of the dresses from my etsy store
 and I added these hair accessories to her order...because...well, who doesn't want to spoil little girls?
Of course! sales from my store make me happy, but what makes me really happy is the fact that somewhere far far away, there's an adorable little girl who is
wearing clothes I made. I think that satisfaction is what makes me get up and work that sewing machine every morning.
What do you look forward to in your day?

Wednesday, August 3, 2011

Flamingo Knit Dress Tutorial: New and Improved

Free Sewing tutorial: Little Knit Dress
little knit dress sewing tutorial

The Front:
how to make a dress
                                        

And the back

I did this guest post over at Momma's Kinda Crafty a few months back. Re-posting it here in case you missed it back then.
This is a very cute ruffled dress and super easy to sew. The tutorial provides the step by step instructions on how to sew this knit dress for a toddler
So what do you need to make this dress? I have made it in one year old size but a bit shorter because it just looks so much better when it is short. I did try a longer look with my earlier version, but had to resort to scissors when my little one ended up looking like a Buddhist monk. No offense of Buddhists, it just wasn't quite the look I was going for :)


Jersey Knit:

Main body : 2 rectangle pieces of 11 inches ( Length) X 13 inches ( Width)
First ruffle:  5 inches( Length) X 26 inches ( wide)
For second and third ruffles:  2 pieces of 5 inches (L) X 13 inches (W)
Elastic: 1/4 inches wide: 24 inches

Shoulder straps: 20 inches X 4inches
Elastic thread: 1 spool ( you'll have plenty left)

Contrasting colored knit fabric: Bow: 5 inches X 6 inches
                                                  Rose: 4 inches X 5 inches
Now lets first make the shoulder straps:
Sew the strip into a tube by folding it into half lengthwise, right sides together. Turn it inside out. Now
sewing a tube

Now fill the bobbin with elastic thread and sew 3 straight lines across the length of the tube to shir it.
how to sew shirred strap


how to sew shirred strap

Here's my shoulder strap all shirred up. Don't worry if your strap seems much smaller than mine.
I just see many more knit dresses in my future so I made a longer shoulder strap.

Now cut two 9 inches long shoulder straps from this strap and lets start assembling the dress.
First sew the two main dress pieces right sides together, about 2 inches from one end, joining them by a two inch stitch at their length.( Do not sew all the way just sew 2 inches from one end, on both sides)

dress free sewing tutorial
See the parts where pens are overlapping with the fabric, that's the only part you have to sew.

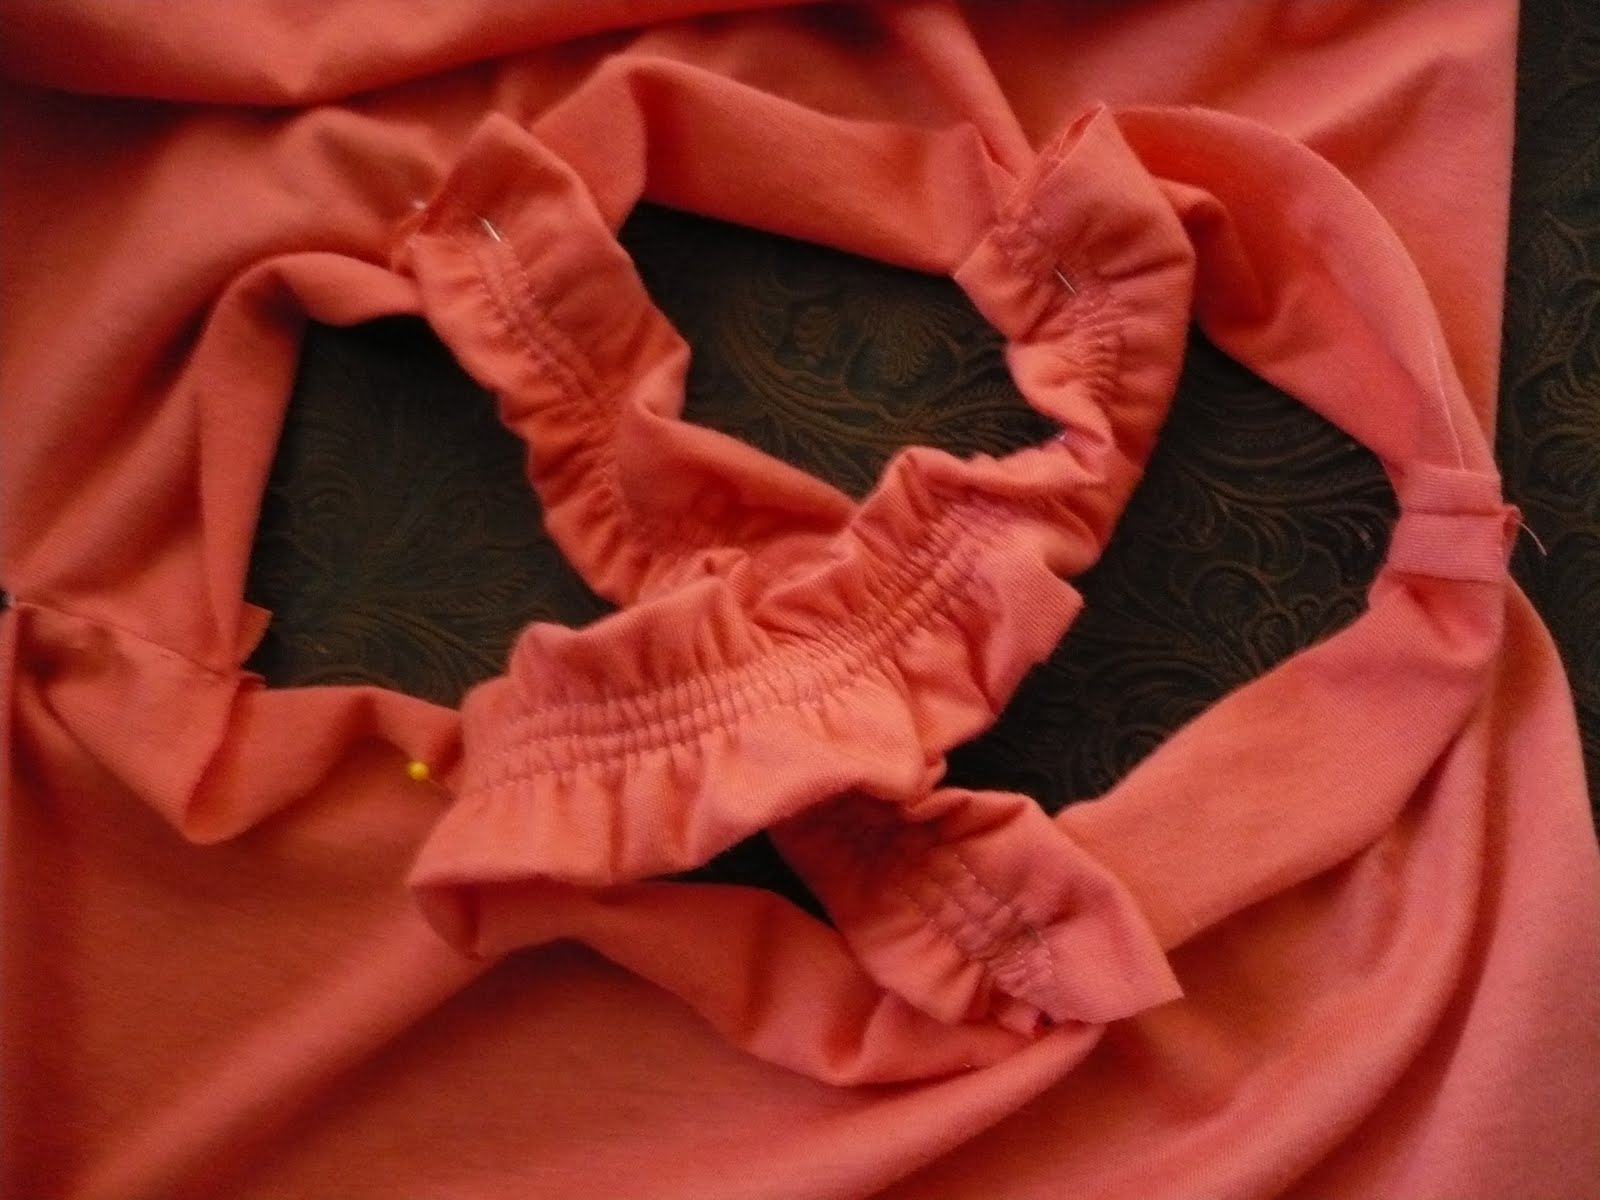
Now pin your shoulder straps to the main body. Mark a 2 inches from each side of the center of the width on both front and back pieces.

Now pin your straps such that the the back of the strap touches the wrong side of the main fabric. Pin the shoulder straps on the front at the 4 inches( 2 inches either side of the shoulder) gap that you had marked earlier.

attaching shoulder straps to the dress

Now cross the straps and pin their free ends to the back fabric. Again pin the straps such that back of straps touches the wrong side of the main fabric. Now sew across the width to connect the straps to the fabric.


If you bring the front and back together, this is how it will look right now:

how to attach a ruffle


Attaching the top ruffle

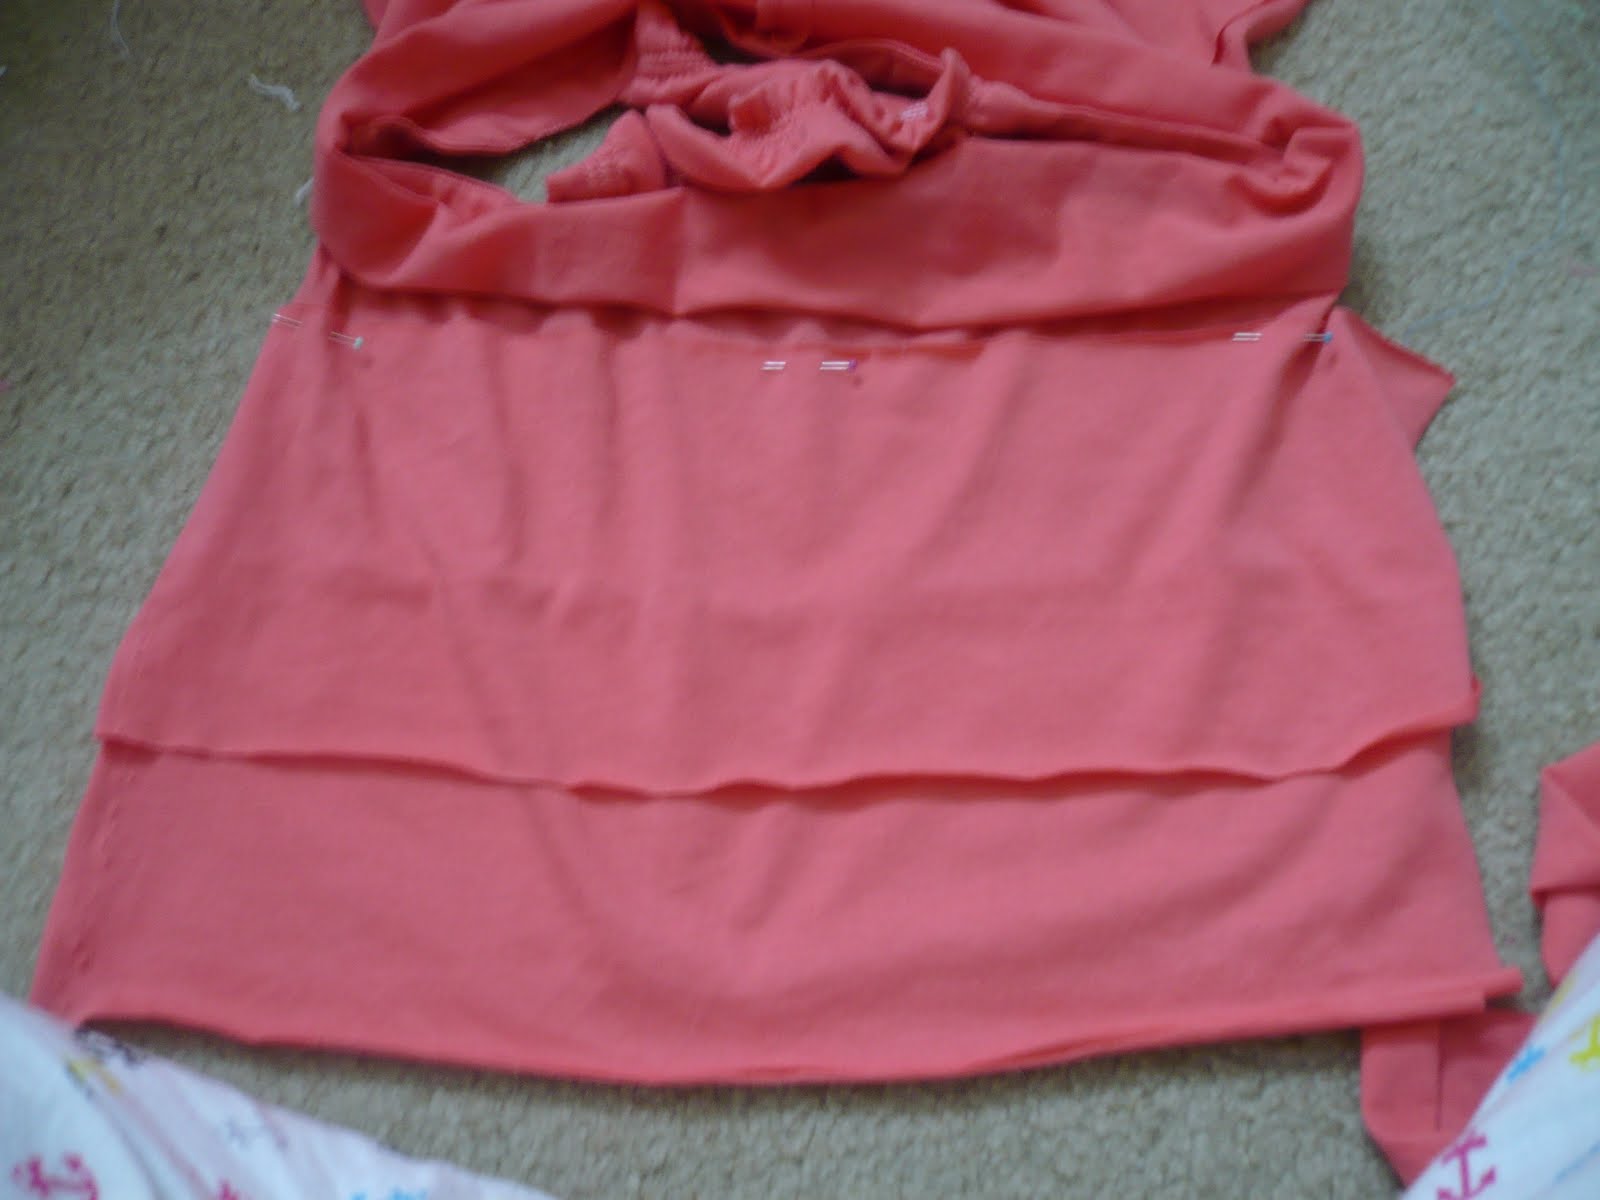
Take the 5 inches strip for ruffle and pin it to across the width of the dress such that right side of the fabric touches wrong side of main piece. The shoulder straps will be sandwiched between the main piece and ruffle, which is what we want.

dress sewing pattern

dress sewing pattern
Sew across the width to attach the ruffle. It was very difficult to take pics of this step so you may not get this step visually, but all you have to do is pin the ruffle on the inside such that right side of the ruffle touches wrong side of the main fabric and it will go over the ruffle fabric

Turn the ruffle inside out.

how to sew a dress
Topstitch as close to the edge as you can. Go slow and steady here, as this seam will show on the top of the garment and if uneven it won't look good.

Topstitch the ruffle with about 3/8 inch from the edge to form a casing . Leave a 1 inch gap to insert elastic.

.Good. Now you'r done with the most complicated part of the dress, rest is easy.
Pin the bottom ruffle on the front of the dress such that the ruffle bottom aligns with bottom of the dress. sew it down.

adding ruffles to dress

Now pin the middle ruffle such that all the ruffles look parallel and equally wide.Also make sure all the ruffles have 1.5-2 inch overlap.Since we are going to leave the hems unfinished( because knits dont fray), a nice overlap will ensure that even if they curl a bit, the seams wont show.

sewing a ruffled dress
Now turn the dress inside out and pin both sides. Make sure all the ruffles except the top one are getting caught in the side seam ans all the ruffles are lying flat. Sew both sides.

how to sew a dress

Now tun the dress inside out. Here you are. All ready to insert elastic:


dress sewing tutorial

Insert a 1/4 inch elastic in the casing you made earlier( between the main body and top ruffle). Keep the elastic length such that it is slightly lesser ( ~ 2 inches) than the chest measurement of the wearer. Sew the opening shut.

inserting elastic in a dress

The dress is ready:

little knit dress pattern
The elastics makes it very difficult to take good pics of final garment. Mine looks a bit wonky here, but it is parallel in real life.
The main dress is ready. Now you can embellish it as you like.
Maybe a bow:
patternless sewing
Or a rossette ( tutorial here):

knit dress sewing tutorial
Maybe both.
Now go find the cute little one who napped long enough to let you finish this. Time to try it on.

Monday, August 1, 2011

Happy Birthday Cutie!

Sewing Project: Sweetheart Shrug

I still remember the day when we met her for the first time - she was this fuzzy bundle with face of a porcelain doll...I swear, not a single wrinkle on her tiny face. How can you not fall in love?
 She is a girly girl, with a soft laughter and cutest of smiles.
She showers me with kisses sometimes and it always melts my heart.
Something tells me that I'm her favorite Aunt. (or she may just have a knack for making people feel special)
She is just months older than my munchkin and is already her role model. I always wish that they grow up to be best friends.

You would think it would be a snap to make something for her...sewing for girls...that's all I do. No such luck! You see her Mom has exquisite taste and anything less than super-cute would never see the light of the day. It better be the best.

I scoured pinterest for inspiration and here's what I finally come up with ( Based on this tutorial with some modifications). Will it pass the test? We'll know soon!


Happy birthday little one! Its a pleasure watching you grow. Love you lots.

Wednesday, July 13, 2011

I just can't help myself

Sewing dress with vintage fabrics
dress sewing project
What is it with this itsy-bitsy dresses and me? I just can't seem to help myself.
In my defense, little miss really needed some airy, lightweight dresses for the summer. And now, that I have the pattern drafted already, how can I say no? Right?
I did do some other sewing too, something for myself...also something way out of my comfort zone....Will share with you soon.
In the meantime, another pic of this dress...just because...

vintage dress sewing project

Monday, July 11, 2011

Simple eyelet dress

Sewing project: Eyelet Dress
eyelet fabric dress sewing

While sorting her wardrobe, I realized that little missy needs some plain cotton woven dresses to be comfortable in the hot summer thats upon us now. In an ideal world, I would have foreseen this need and spent some time during spring to work on soft woven fabrics, instead of knits. Alas, we don't live in an ideal world, so I drafted a simple dress pattern with her measurements and made her this dress. Of course she needs many more of these, so you're going to see many more of these in the posts to come.