Showing posts with label ruffles. Show all posts

Wednesday, November 23, 2011

Bottoms up part 5: Lilly Frilly ruffle pants tutorial

Ruffle pants sewing tutorial


Here's the story behind the series, the second part of the series is here, third part of the series is here, go here for the part 4.                                          

The following post has been published as a guest post on craftsy blog, I am republishing it here now.
These are a very quick and easy refashion and a great way to jazz up a plain boring pair of baby pants or leggings. This technique is also an easy way to increase the length of pants that fit well at the waist but are a couple of inches too short. This will also come in handy if you want to make pants coordinated with a dress, but don't have the time/skill to sew the whole thing yourself. You could just add a ruffle at the bottom and may be a couple of embellishments and just like that! matching pants!

Supplies:

1 baby pants that fit well at the waist ( length doesn't matter here, because we can always cut them to the right length, or add ruffles to increase the length)
5 inchesX full fabric width of coordinating woven fabric

Instructions:
Here's a quick rundown of how I did it.
Cut two strips of 2.5 inches X width of the fabric. I used a precut jelly roll strip from Moda's "Meadow Friends" line by Deb Strain. Hem along one long edge of these strips.


Along the other long edge, sew a seam after setting your machine's tension to highest and stitch length to maximum. This will ruffle up the strips.

Take the pants and cut off the cuffs about 1 inch above the hemline. This is where you adjust the length of the pants if they're too short or too long. If they are too long, cut them to a length where they are about 1 inch shorter than the perfect length. If they're too small, then cut them as close to the hem as possible.


Place the ruffle on this new raw edge of pants such that the ruffle and pant are right sides together and their raw edges line up. Sew a seam along this raw edge to attach the ruffle to the pants. Serge or sew a zig-zag stitch at the edge to finish it.


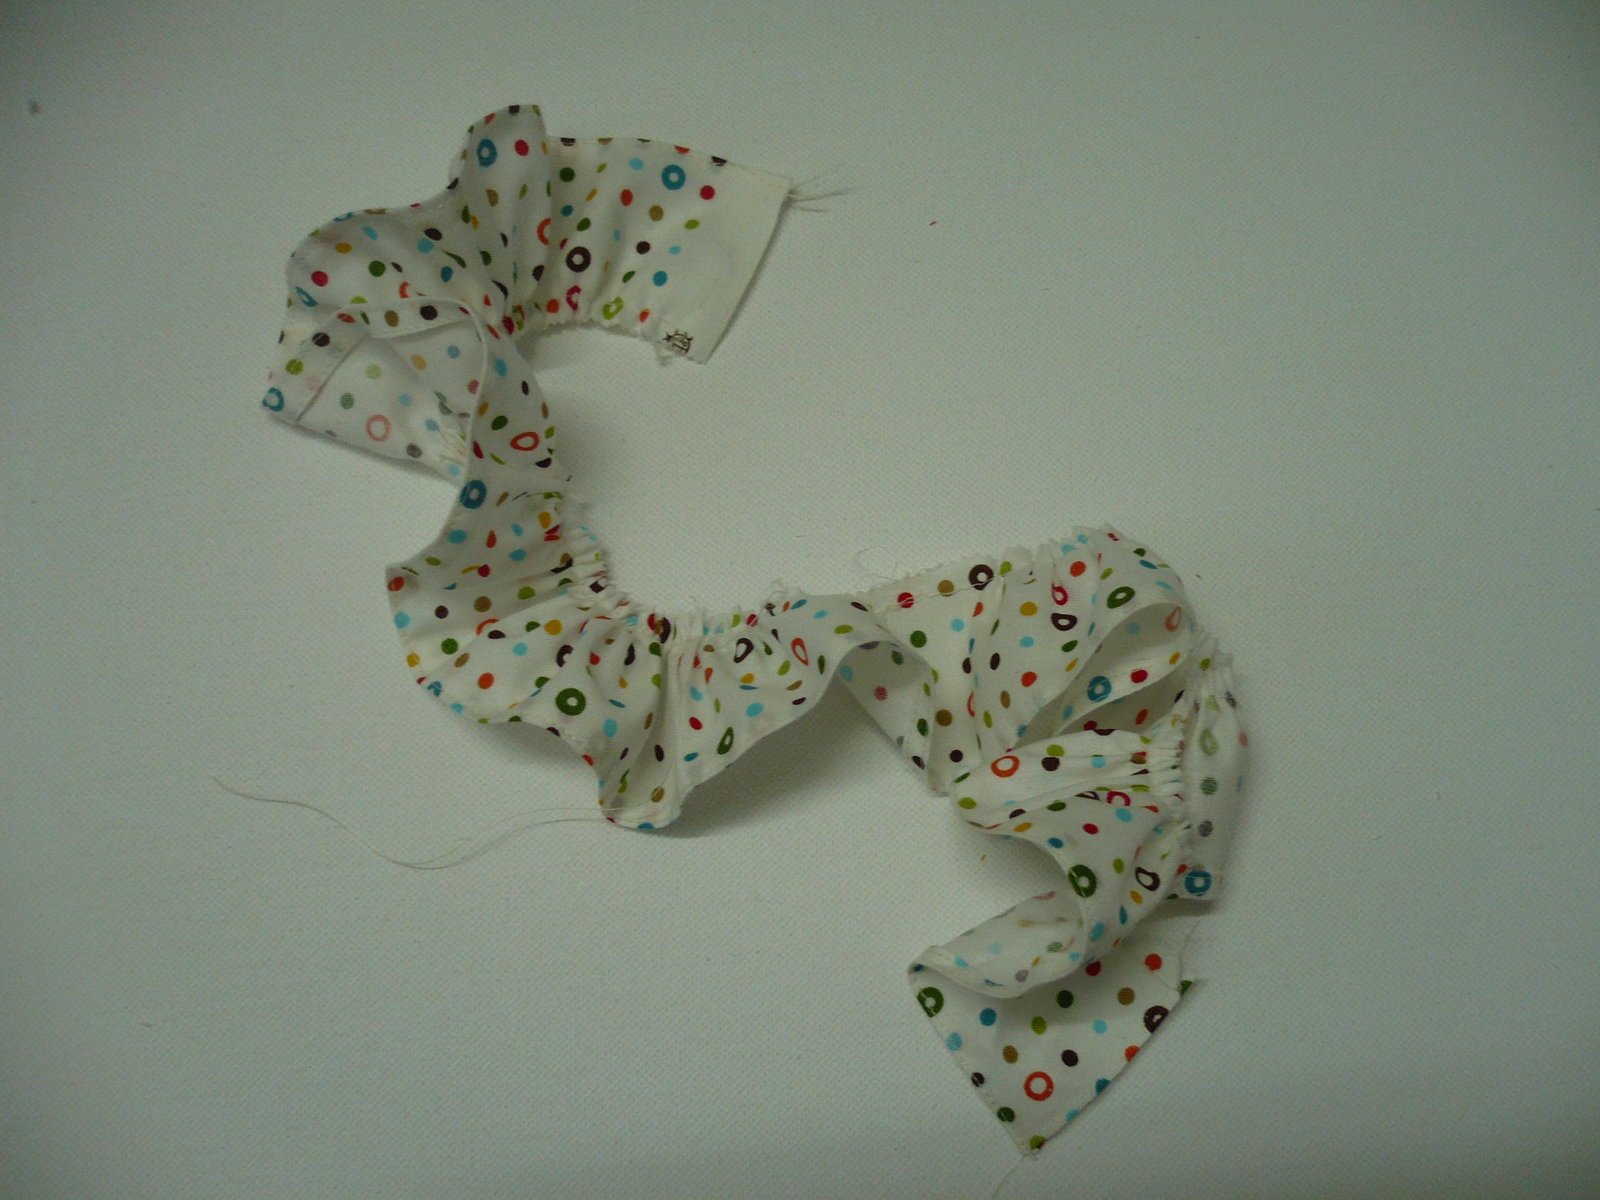
Turn out the ruffle, top-stitch as close to the edge as you can. For a better finish top-stitch one more time, this time 1/4 inch away from the edge. ( you could also use twin needle to do both the seams at once)

Adding the bow in the front:


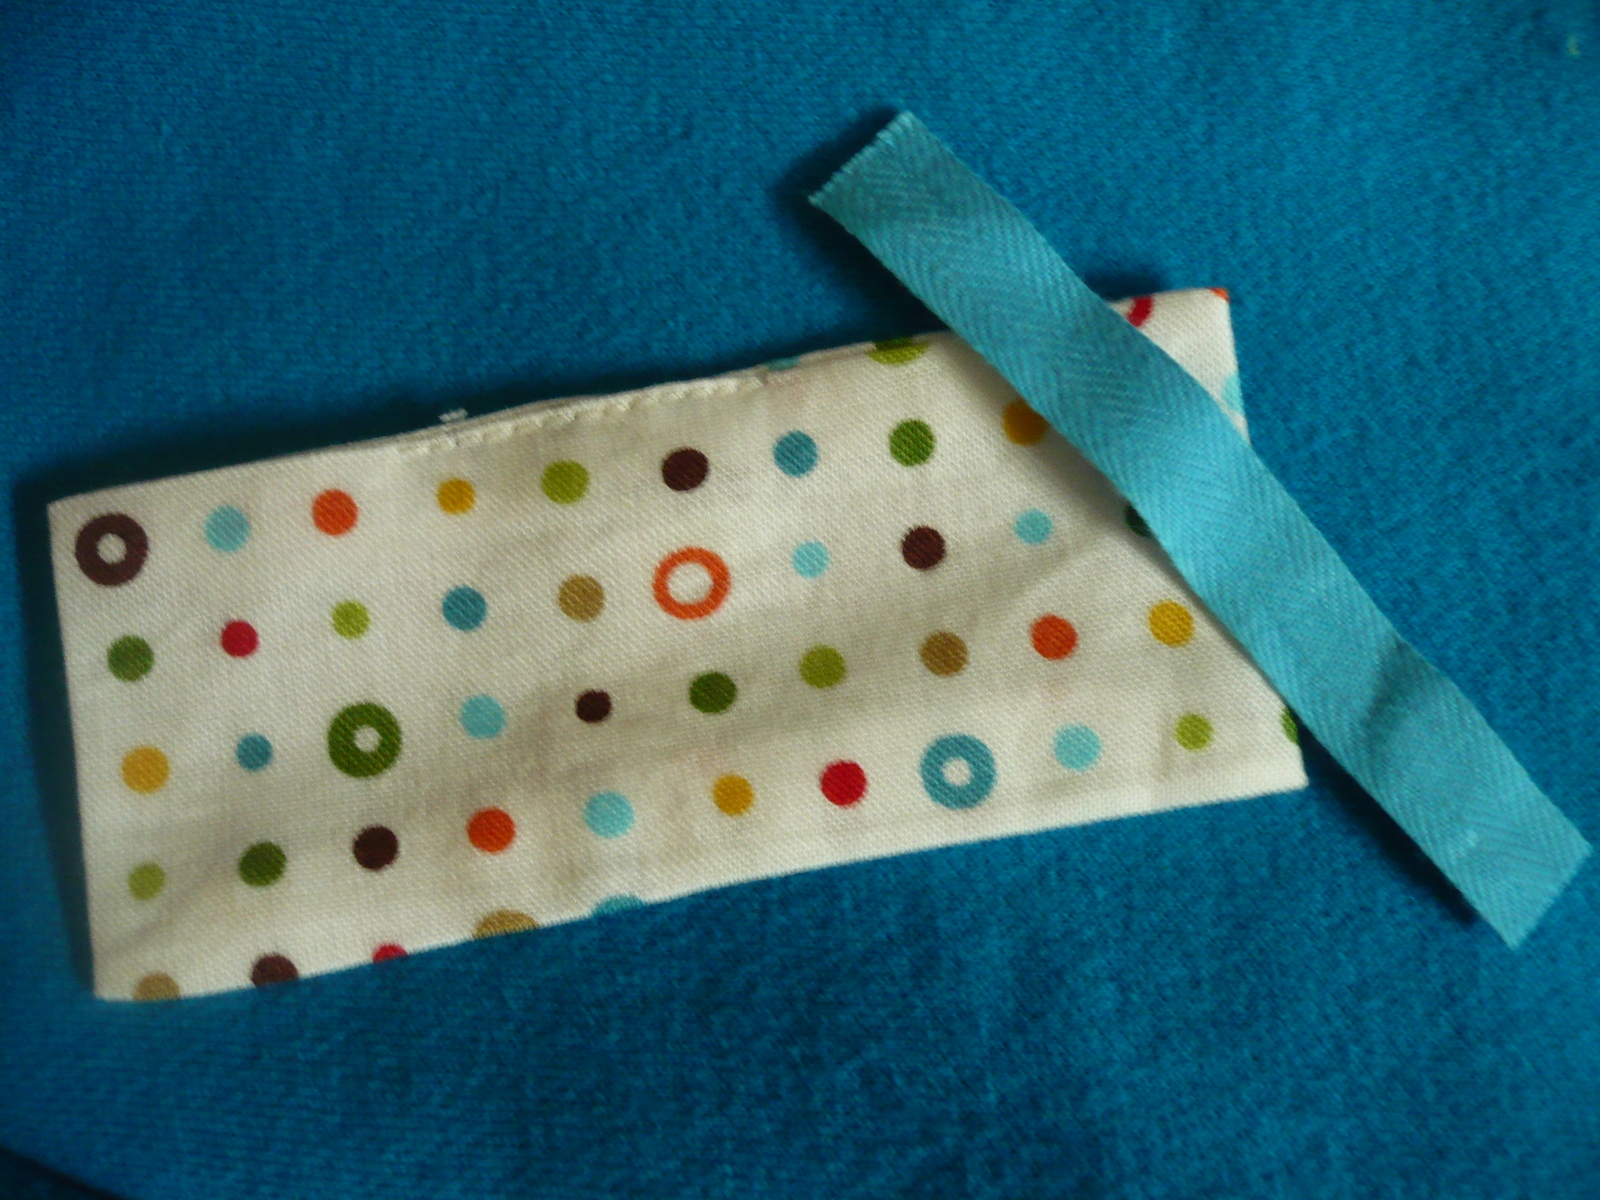
Cut a 9 inch long piece from the jelly roll.


Fold it in half along the length with right sides together. Sew along the raw ends to make a tube.

Now rotate the seam such that it falls in the center of back if you iron the tube flat.

Now sew a seam along the bottom of this tube.
Sew another seam at the top of this tube but leave a gap of 1 inch at the center of this seam. This gap will be used to turn the whole thing out. I have left the gap where the green seam ripper is placed.


Now snip the corners to get this rectangle to turn smoothly.
Now turn out. Use a pencil or corner turner to poke the corners out.
Iron flat.


Sew over the opening you had left earlier to close it fully.


Now fold it like an accordion in the center. I made three folds in mine, with the center fold being a little bigger then the ones on the sides.

Now cut a ribbon or twill tape about 3 inches long. Wrap it over the accordion folds you just made. If needed use a pin to hold everything together.

Now hand-sew the ribbon at the back of the bow. Cut off excess ribbon.

The bow is ready. Now place it at the center of the front of pants and again hand sew it to attach it to the pants. Make sure you sew multiple stitches for added strength.


Ruffled pants are ready! Make one,


Make two. Make Many! enjoy!

Another embellishment idea:

Appliques:

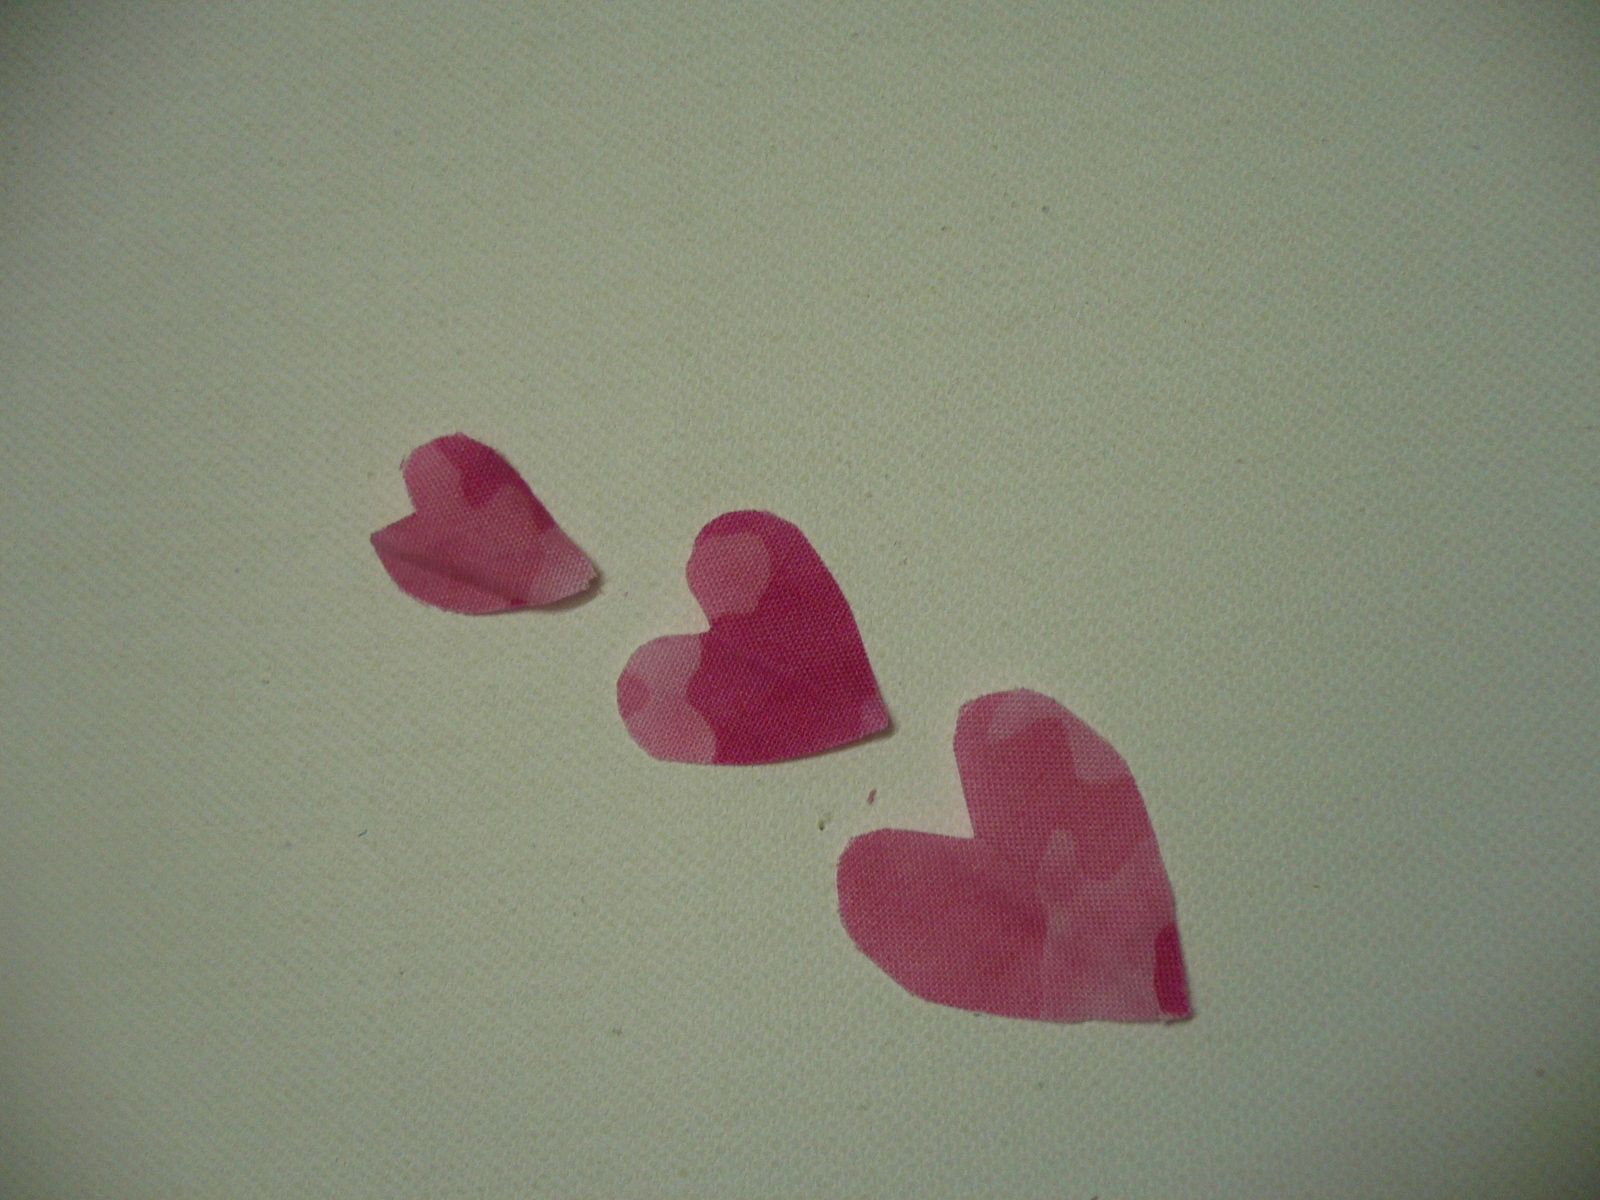
Cut hearts from the fabric in various sizes.


Arrange them in any manner you want.
Hand sew along the edge. The stitch I have used makes sure that the edges are covered so they don't fray. If you want to be doubly sure, use fray check.

Look! A sweet little heart. Now do the same for other pieces.

You could applique whatever shape you like. If your ruffle fabric has some interesting print, you could even cut that and applique it.


Ta da! Sew Unique, Sew creative, Sew you!

Pin It

Friday, November 11, 2011

New Item in the Shop: Turquoise Ruffle Pants - Size 12 months

Blooms And Bugs Studio: Turquoise Ruffled Pants


Here's the latest addition to Blooms And Bugs etsy store. "Turquoise ruffle pants". I made these with ready to wear fleece pants in 12 months size. I like how the ruffles at the bottom and the bow at the front jazz up a plain pair of pants.


See...much better, right? I have also made a matching headband that I'll add with these for free. For $10 you could have these for your little one, just in time for Thanksgiving.
Available for sale here.

Pin It

Saturday, May 14, 2011

Coral Reef Dress - Tutorial

Dress Sewing Tutorial : One shoulder coral reef dress
one shoulder dress sewing pattern

Would you like to make one of these. Come on, lets do it together.

First take any dress pattern ( only body) that fits the little girl you are sewing for and fold it such that one shoulder ( including sleeve opening) gets hidden. Now place this on two layers of fabric ( right sides together). Trace and cut.

Now lets make ruffles and shoulder strap.
Cut a 4 inch wide strip for the ruffle and the length should be twice the measurement of the neckline. Note that since this is off shoulder dress, the neck line means neck+ one shoulder.
Note that the width of my ruffle strip is much smaller than 4 inches ( and I deeply regretted it). If you want the dress to look exactly like mine, you can keep the width 2.5 inches but I strongly feel that you should go with a wider ruffle.
For the shoulder strap cut a strip about 3 inches wide and 10 inches long. You probably won't need all 10 inches but I usually keep some allowance to adjust it once I try it on the child.
Now on to sewing:

Sew the one shoulder seam, and both side seams of the main body, set it aside:


Now pleat or ruffle the ruffle piece such that the final length is close ( just a little bit more) to the neck-line.


For the shoulder strap just sew the strip across the 10 inches length, right sides together, turn inside out to make a tube.

Now join the shoulder strap to the main body.
Turn the main body inside out, so the right side is outside. Mark the place ( front and back) where you want to put your straps, and decide how long you want it to be. Mine are 7 inches for a one and half year old.
Now pin one end of shoulder strap to the wrong side of body such that the wrong side of the strap is touching the wrong side of the main piece front. Now pin the other end of shoulder strap to the wrong side of
 back again make sure that the wrong side of the shoulder strap is touching the wrong side of back piece.

Sew over the straps to attach them, do not snip the hanging part of shoulder strap yet, It will help you adjust the fit later on and you can snip it at any point.
Now add the ruffles: pin the ruffle at the wrong of neckline such that right side of ruffle is with wrong side of main  fabric. Sew the ends closed and sew along the neckline to join ruffles to the main body.

Now turn the ruffles over to the right side. The dress is ready to try on.
If you feel that the shoulder strap is big or small, you can adjust it now by picking out stitches from one of the ends where it has the extra tail and increase or decrease the length. Snip the tail once you're done. If you don't want to add another ruffle, topstitch along the neck line.

Most of the dresses I saw at Gymboree or Gap had only one ruffle, so this tutorial is enough if you want to get that look. For me however it was not working because my ruffle strip wasn't wide enough so I had to add one more ruffle. I'll get to how I did it in a bit, but before that I will show you how to finish the armhole.

Cut a strip of about 15 inches at the bias:

Sew it along the armhole ( right sides together).


Now turn it out, and turn it over the seam into the wrong side of armhole. Topstitch.

Since the knits don't fray I didn't worry about tucking the raw edges in. you may want to do it if you're working with wovens instead of knits.

Now giving the dress some pizzazz:
Cut two strips

S1: 3 inches wides X 40 inches
S2: 2 inches wide X 40 inches

Sew S1 at the longest stitch setting along one side of the strip, do not backstitch. After sewing, pull the bobbin thread from one end, to create a ruffle. Spread the ruffles to evenly space them. Sew this ruffle beneath the ruffle that is already there along the neckline. Make sure that the top ruffle completely covers the seams on this one. Now topstitch the top ruffle along the neckline.


For the ruffle at the hemline, take strip S2 and run a stitch along the center of the length, again at the longest stitch setting. Again pull the bobbin thread to make a ruffle but this time the ruffle has to be only as long as the front hemline. Evenly space the ruffles by hand. Now sew it over the hemline. Since it is a knit fabric, I didn't bother finishing the hems, you may have to do it if you're working with wovens.

If you want you can add a flower at the shoulder strap, I'm still debating whether it is too much.
Make It and Love It has a flower tutorial here at the end.
coral reef dress pattern

Enjoy your new dress.