I'm over at Clothworks Blog today, sharing the tutorial for this easy ruffled tulle skirt. Come on! Check it out and let me know how you liked it!
Monday, July 8, 2013
Guest Tutorial: Ruffled Skirt with Tulle
I'm over at Clothworks Blog today, sharing the tutorial for this easy ruffled tulle skirt. Come on! Check it out and let me know how you liked it!
Sunday, July 7, 2013
Romper Free Sewing Patterns Compilation
There is something crazy cute about babies in rompers. There is nothing that says summer quite the way a baby in a pair of shortalls or rompers. I have rounded up some adorable baby rompers sewing patterns in my latest hubpage. Check it out and don't forget to share your favorite patterns in the comments.
Wednesday, July 3, 2013
Korker Bows DIY
In teh beginning of the year 2013, I read this post at Money Saving Mom about choosing one word every year and really focusing on it. Gosh! This is one blogger I have learned a lot from.
I had a really hard time coming up with just one word, but now that I think about it. My word for this year has been "Experiment"
I have been experimenting a lot this year in many aspects. I'm applying tips and techniques to be more disciplined and intentional that I gleaned from various books. I'm trying to get better at photography ( which again means a lot of tinkering). I'm trying to take more risks and experiment in my sewing. I don't know if it would lead to anything great or life-changing, but its gratifying to try something new and make it work.
So whats with the picture of korker bow? It had been on my "to
I followed the instructions on Michael's Creations to make these. I love how they turned out.
Missy got the perfect opportunity to wear them with her Stars and Stripes Dress to a July 4th celebration in her school.
Saturday, June 29, 2013
Latest Free Dress Patterns Roundup
With so many new dress patterns popping up in my pinterest feed...I just couldn't help myself and compiled another hub. Check out my latest hub of the New Free Dress Patterns.
Friday, June 28, 2013
Confessions of a sewing addict
I'm giving you a sneak peek of my thinking process, how the actual projects differ from the vision and why over at Make It Handmade. Palak has been a gracious host of the series Handmade Confessions. I have found the whole series very liberating so far because it shows that most of the sewers/crafters struggle with the same challenges as us and its ok to not have a perfect outcome all the time.
You could read about my challenges this week.
Tuesday, June 25, 2013
Free Dress Pattern : Stars and Stripes Dress
Here is a great news that I have been dying to share with you all. I'm over at Sew Mama Sew today, sharing a free pattern (5T) and tutorial to sew this Stars and Stripes Dress.
Hop on over to check it out and tell me how you liked it in comments.
Monday, June 24, 2013
Tulip Hem Dress Sewing Pattern
Sometime back I shared with you how to sew a Tulip Hem. Now I'm back with the complete tutorial and free pattern for sewing the wrap dress with tulip hem.
Its a great and easy sew project if you are comfortable sewing with bias tape. If you are not...well..then its a great project to make you comfortable with bias tape :)
Pattern:
Tulip Hem Dress Sewing Pattern
Supplies:
Half yard for skirt
2 fat quarters for bodice
Ric-rac
Bias Tape - 2 yards
Time:
2-3 hours
Skill Level:
Confident Beginner
Techniques Used:
Sewing with Bias Tape
Sewing Ric-Racs
Sewing Tulip Hems
Step 1: Cut out the pattern pieces
Step 2: Sew the bodice pieces along the shoulders ( right sides together), such that each front piece is attached to one shoulder of the back piece.
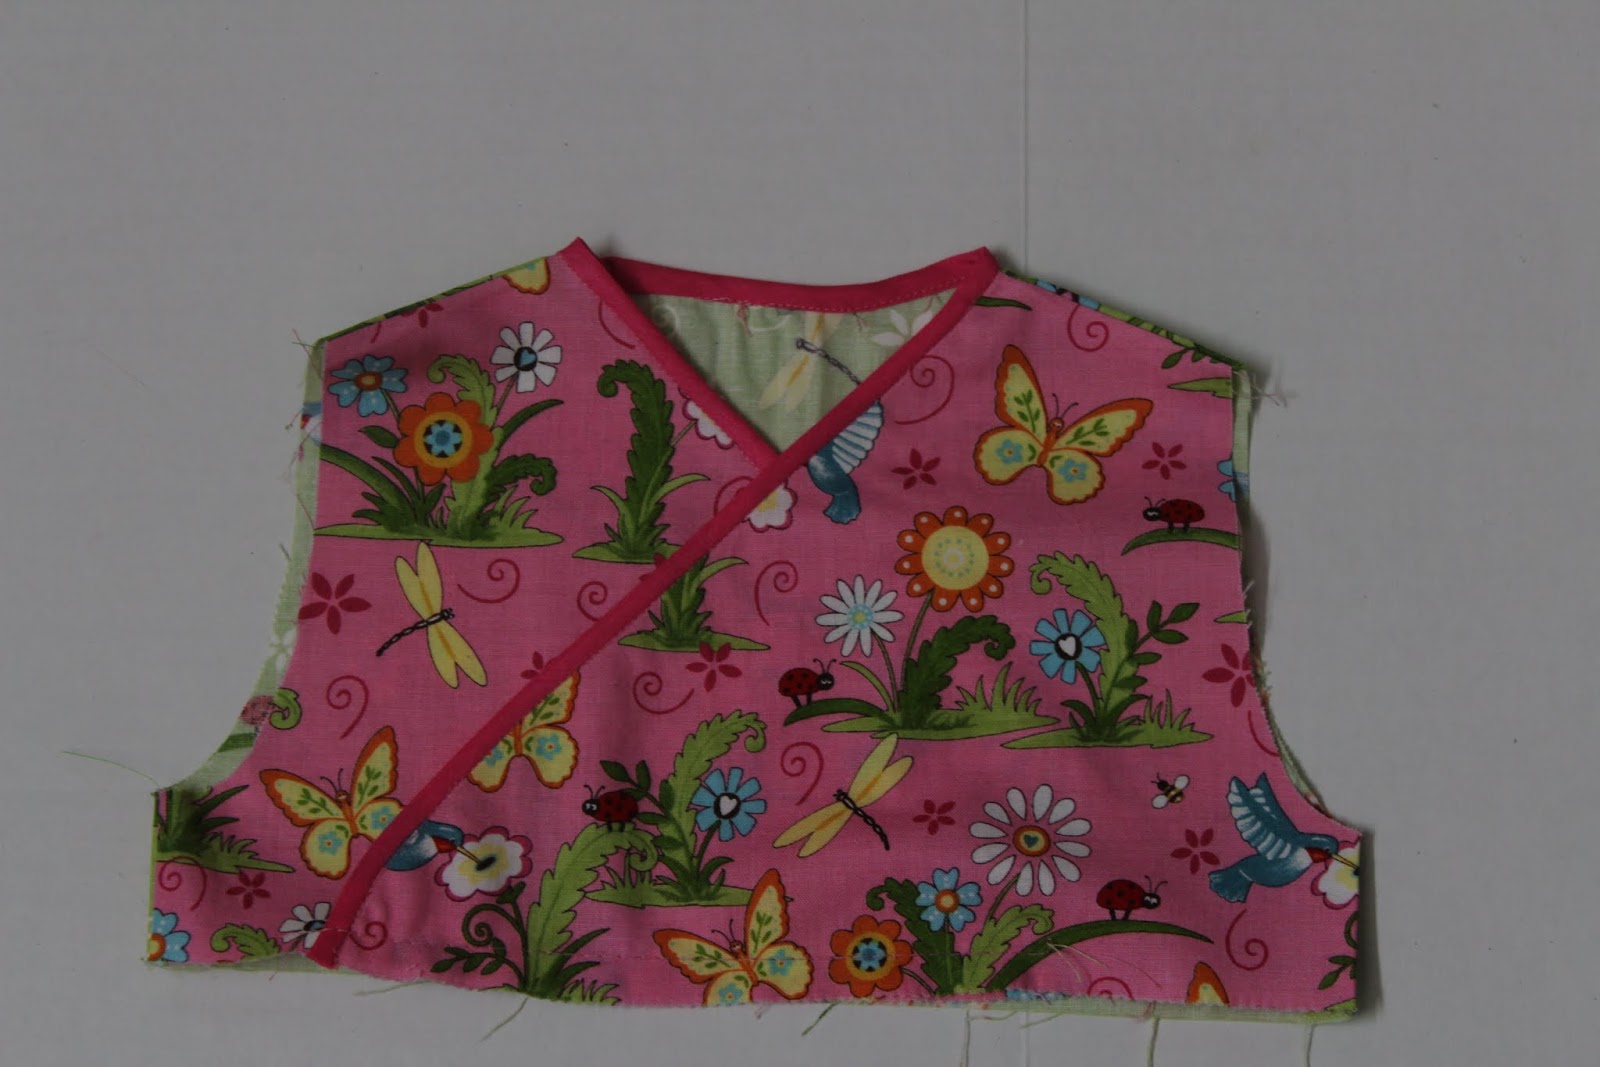
Step 3: Also sew along the sides. Here is how the bodice will look at this point.
Step 4: Sew bias tape along the edge of neckline.
Step 5. Here is how it will look once you are done.
Step 6: Prepare the Tulip Hem Skirt according to the tutorial here. Attach it to the bodice by sewing right sides together.
Step 7: Finish the armholes by sewing 1/4 inch bias tape.
Step8. Sew buttonholes on the sides at the front of the part that is going to come in front. Sew buttons on the inner part of the front.
Put the dress on your cutie! Admire!
Subscribe to:
Posts (Atom)