

I feel a big sense of accomplishment whenever I learn a new sewing technique. This week while altering a pair of pants, I was forced into learning how to do blind hemming. Since I couldn't figure it out on my own, I resorted to this awesome blind hem tutorial from Ashley of Make it and Love it. Once I went through her tutorial...it was all pretty easy. All it took was 10 mins to hem a pair of pants. Now I have a nice well fitting pair of pants that cost me lesser than 10 bucks...can't beat that.
Here's a mini tutorial for altering the pant lengths using blind hemming.

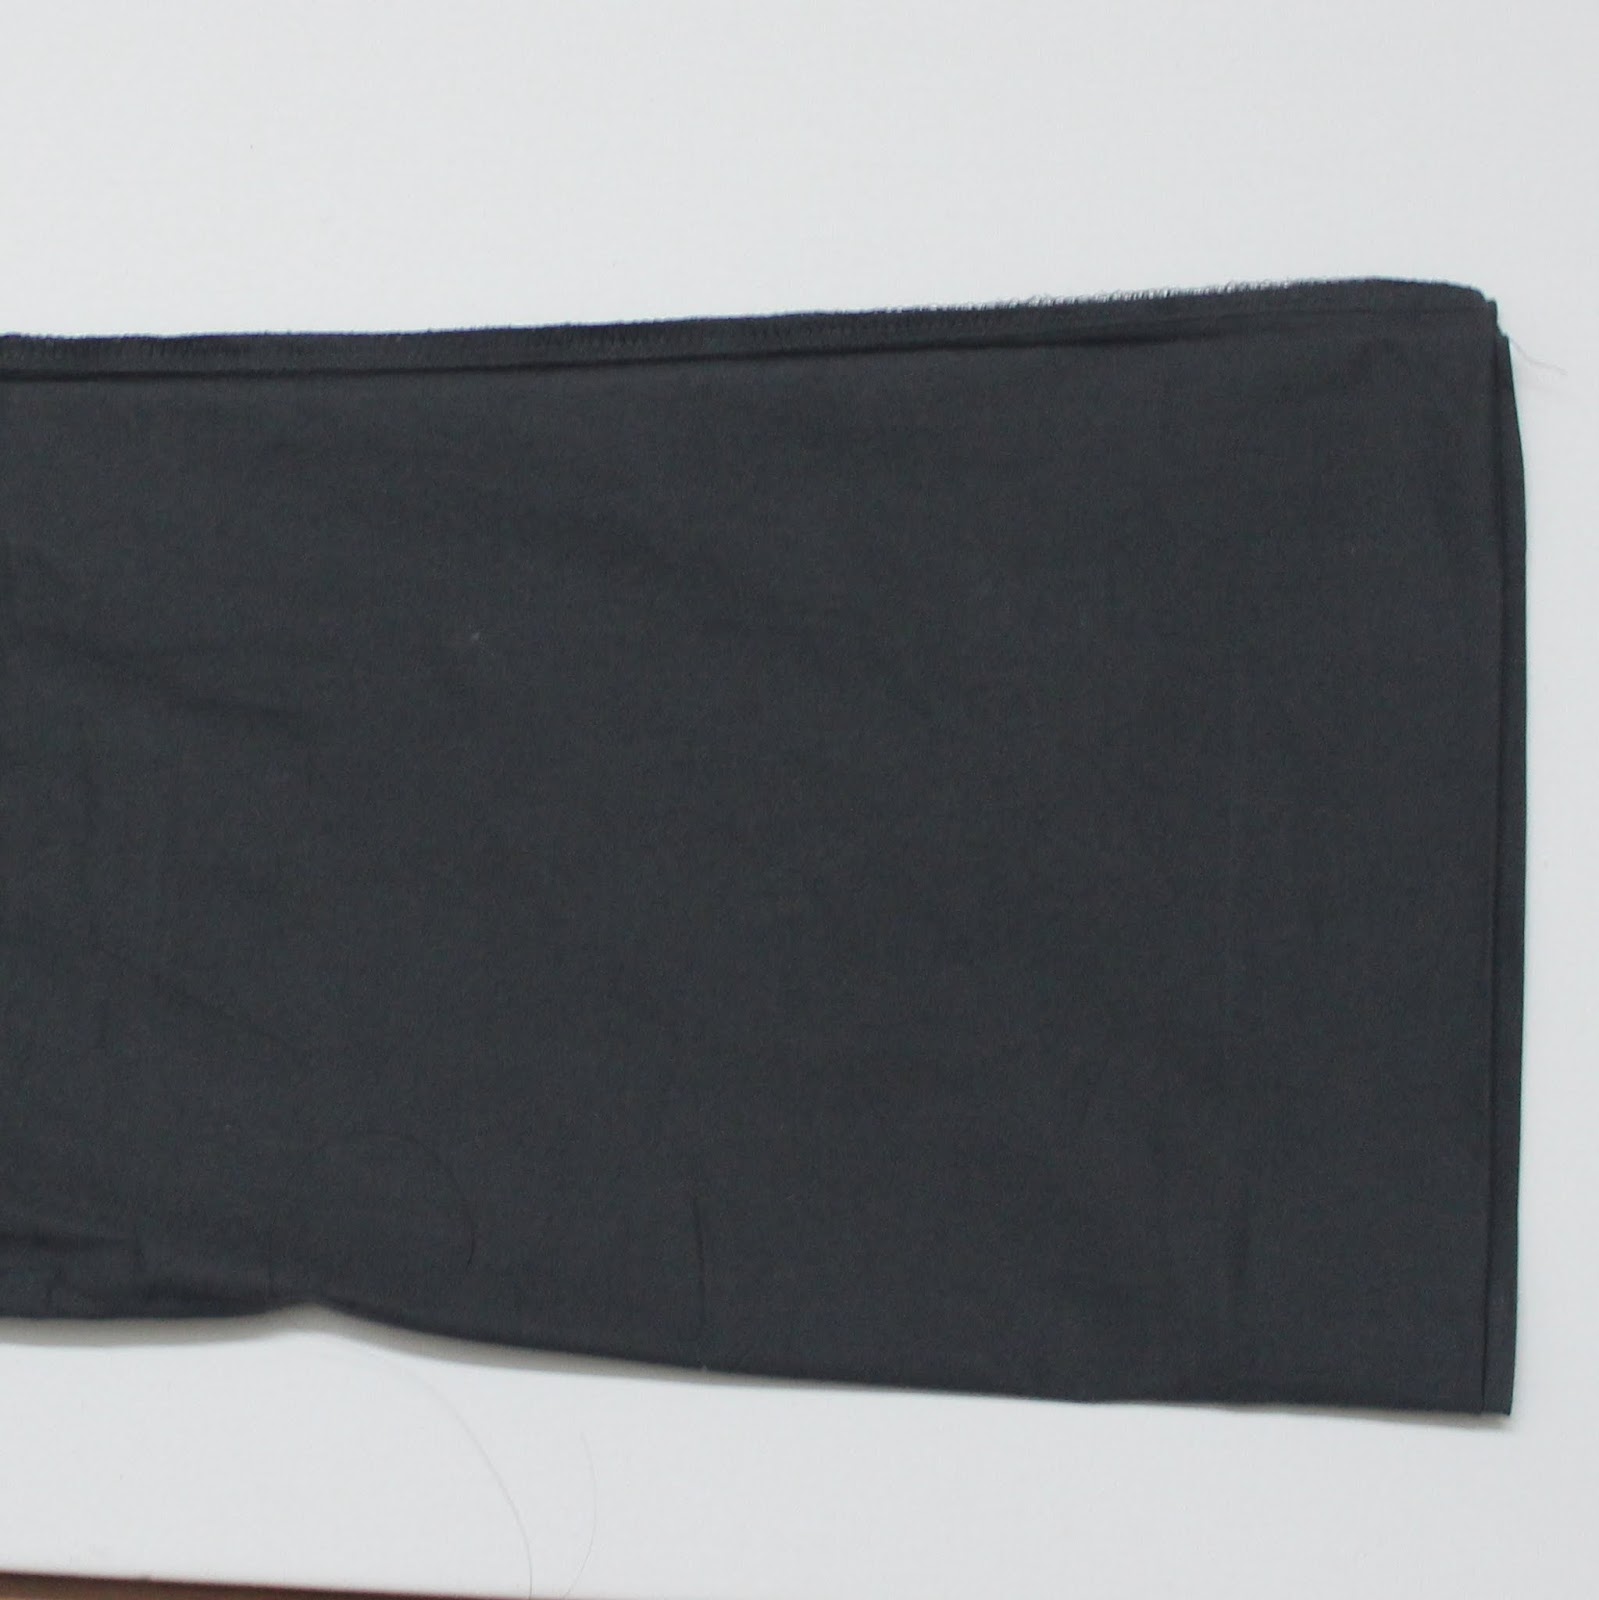
Wear your pants and find out what length you would like them to be. Wearing them is crucial as it is difficult to judge a flattering length without trying them on. Also wear the shoes you're going to wear with them for more precise fitting. Here I should point out that the method I'm going to show will work only if your pants are straight cut/or are flared ever so slightly...for bootcut pants you will need to adjust the width too ( which I'm not covering in this tutorial). In the above pic I'm showing one of the legs of the pants which has been folded to an appropriate length.

Now fold the pants hem back on the right side, up to the point where you folded earlier. Iron it well to make a nice crease at this point.

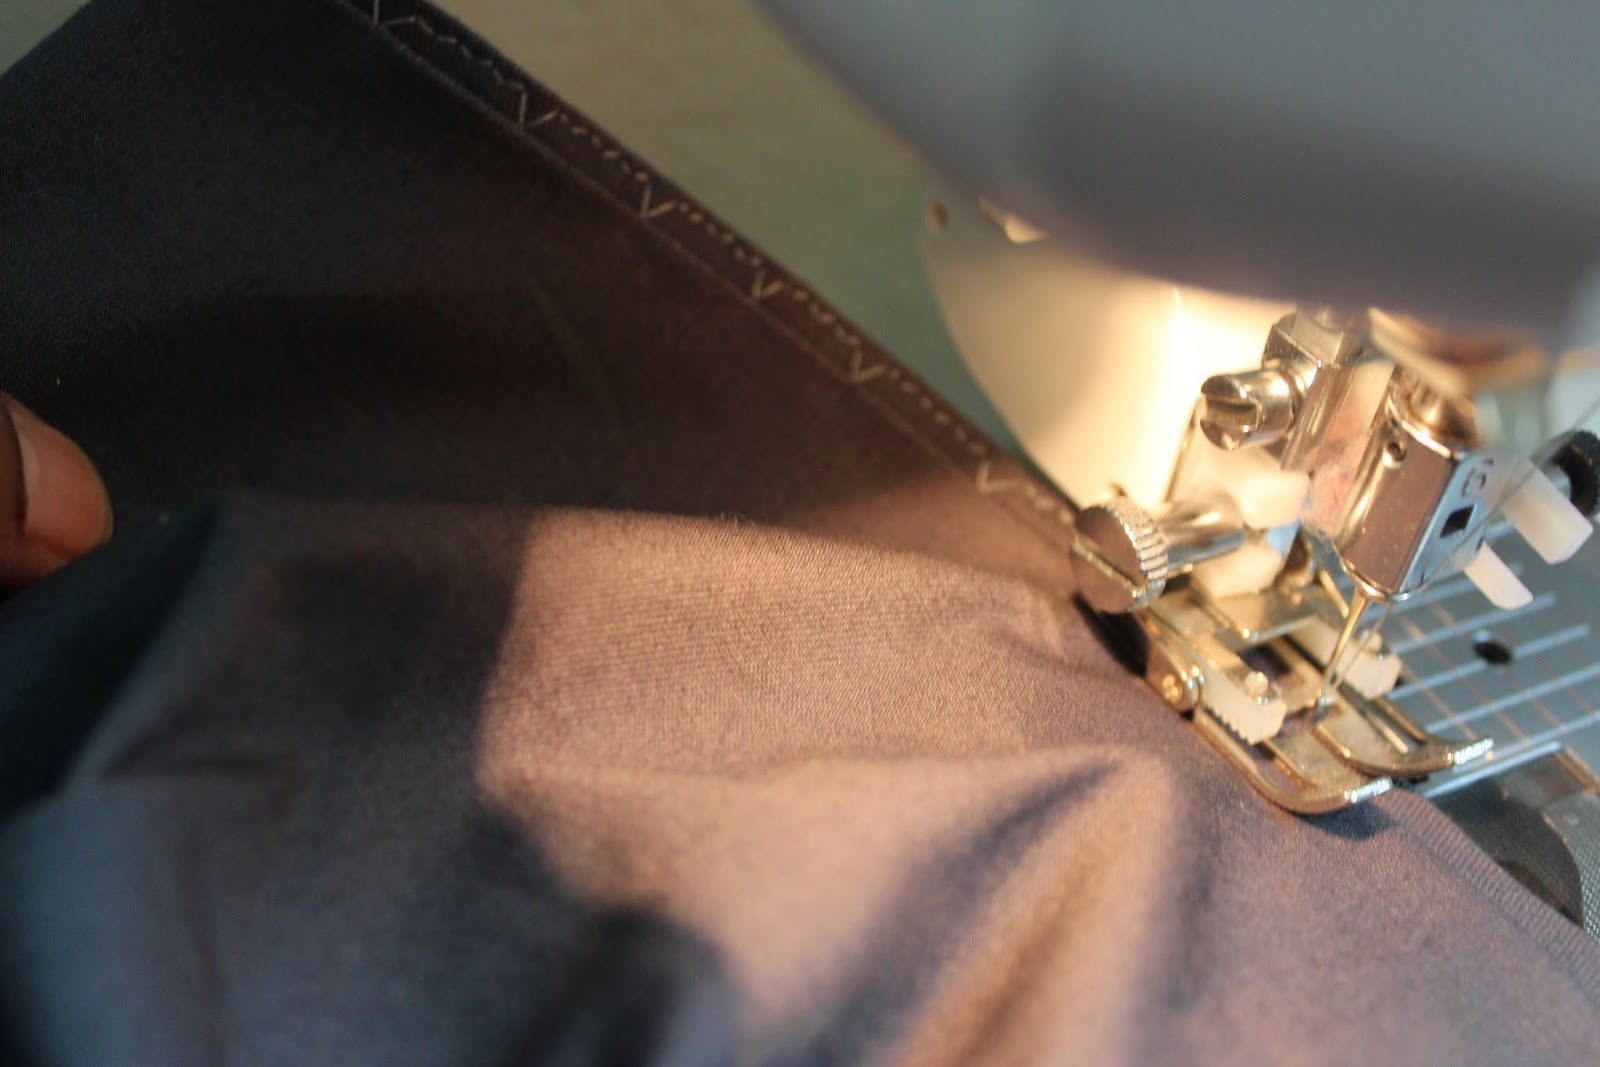
Setting up the sewing machine


Lets get back to the pants now. Now turn them inside out. Now that you can see the fold turn the fold outwards such that only a small portion (2-3 mm) of the fold is visible. If you closely look at the right end of the pants above, you would see the fold peeking out. Thats what you want to do.


Here are the hems on my pants, all done. What? You can't see any hem? That my friend...is the whole point.

Here I'm with my brand new pants. ( The jeans was done differently but I still had to use blind hemming to finish them)

0 comments:
Post a Comment
Leave some sugar :)