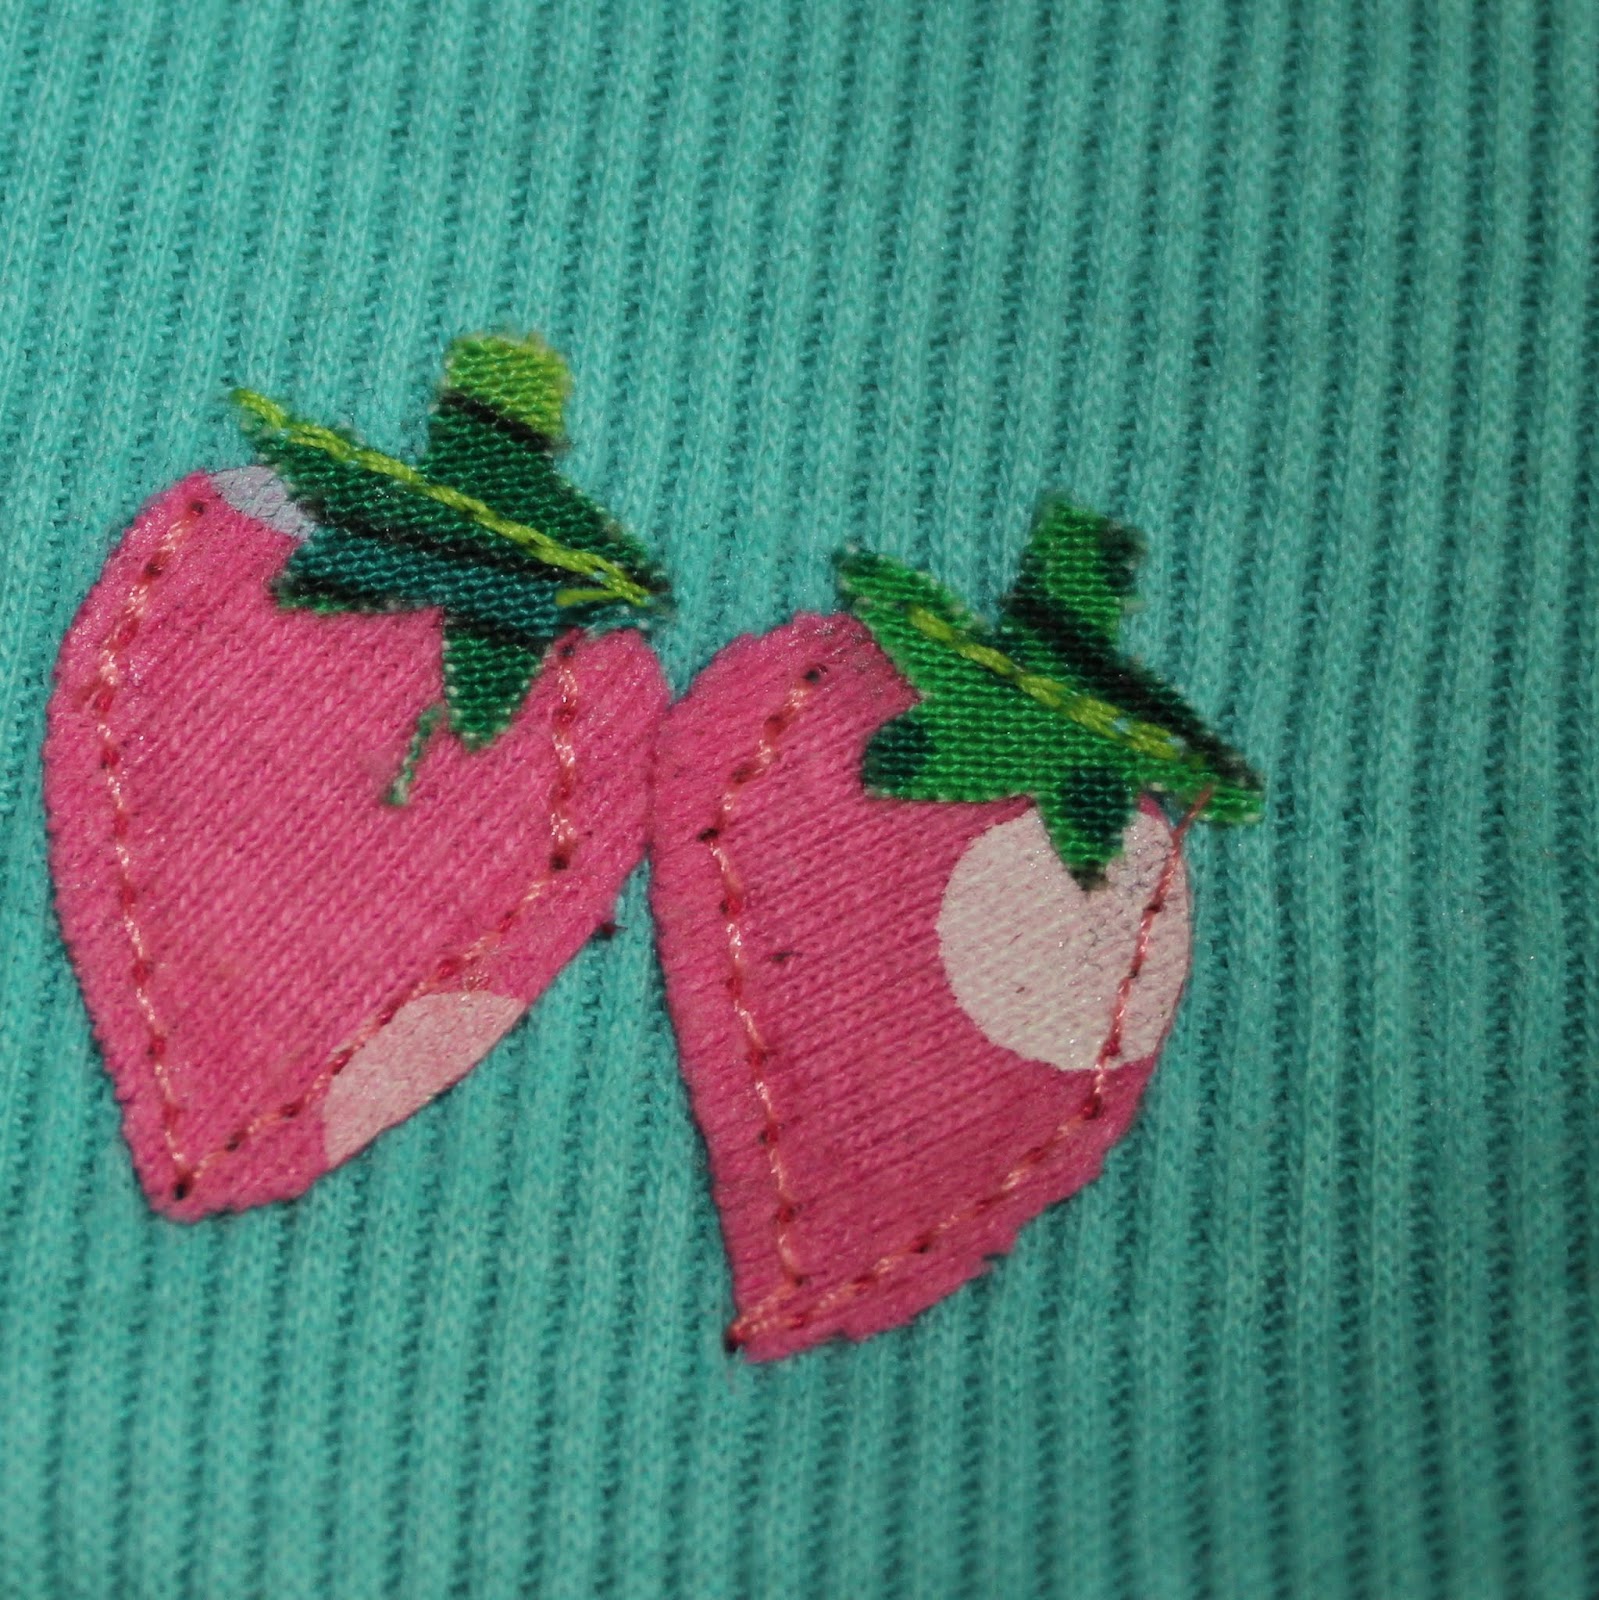
Monday, June 11, 2012

Sewing narrow fabric tubes

How to sew narrow fabric tubes
sewing fabric tubes


Projects like this baby dress use narrow fabric tubes for shoulder ties. These tubes are an easy way to add coordinating ties at shoulders, to things like potholders, pacifiers etc. They can even be used to hold buttons instead of buttonholes.
Here's how I make them.

Supplies:

1. 1.25 inch wide strips of fabric ( any length )
2. Upholstery thread ( or any strong thread)
3. Needle (long and blunt)

Construction:

1.
fabric strips

Cut the strips.

2.
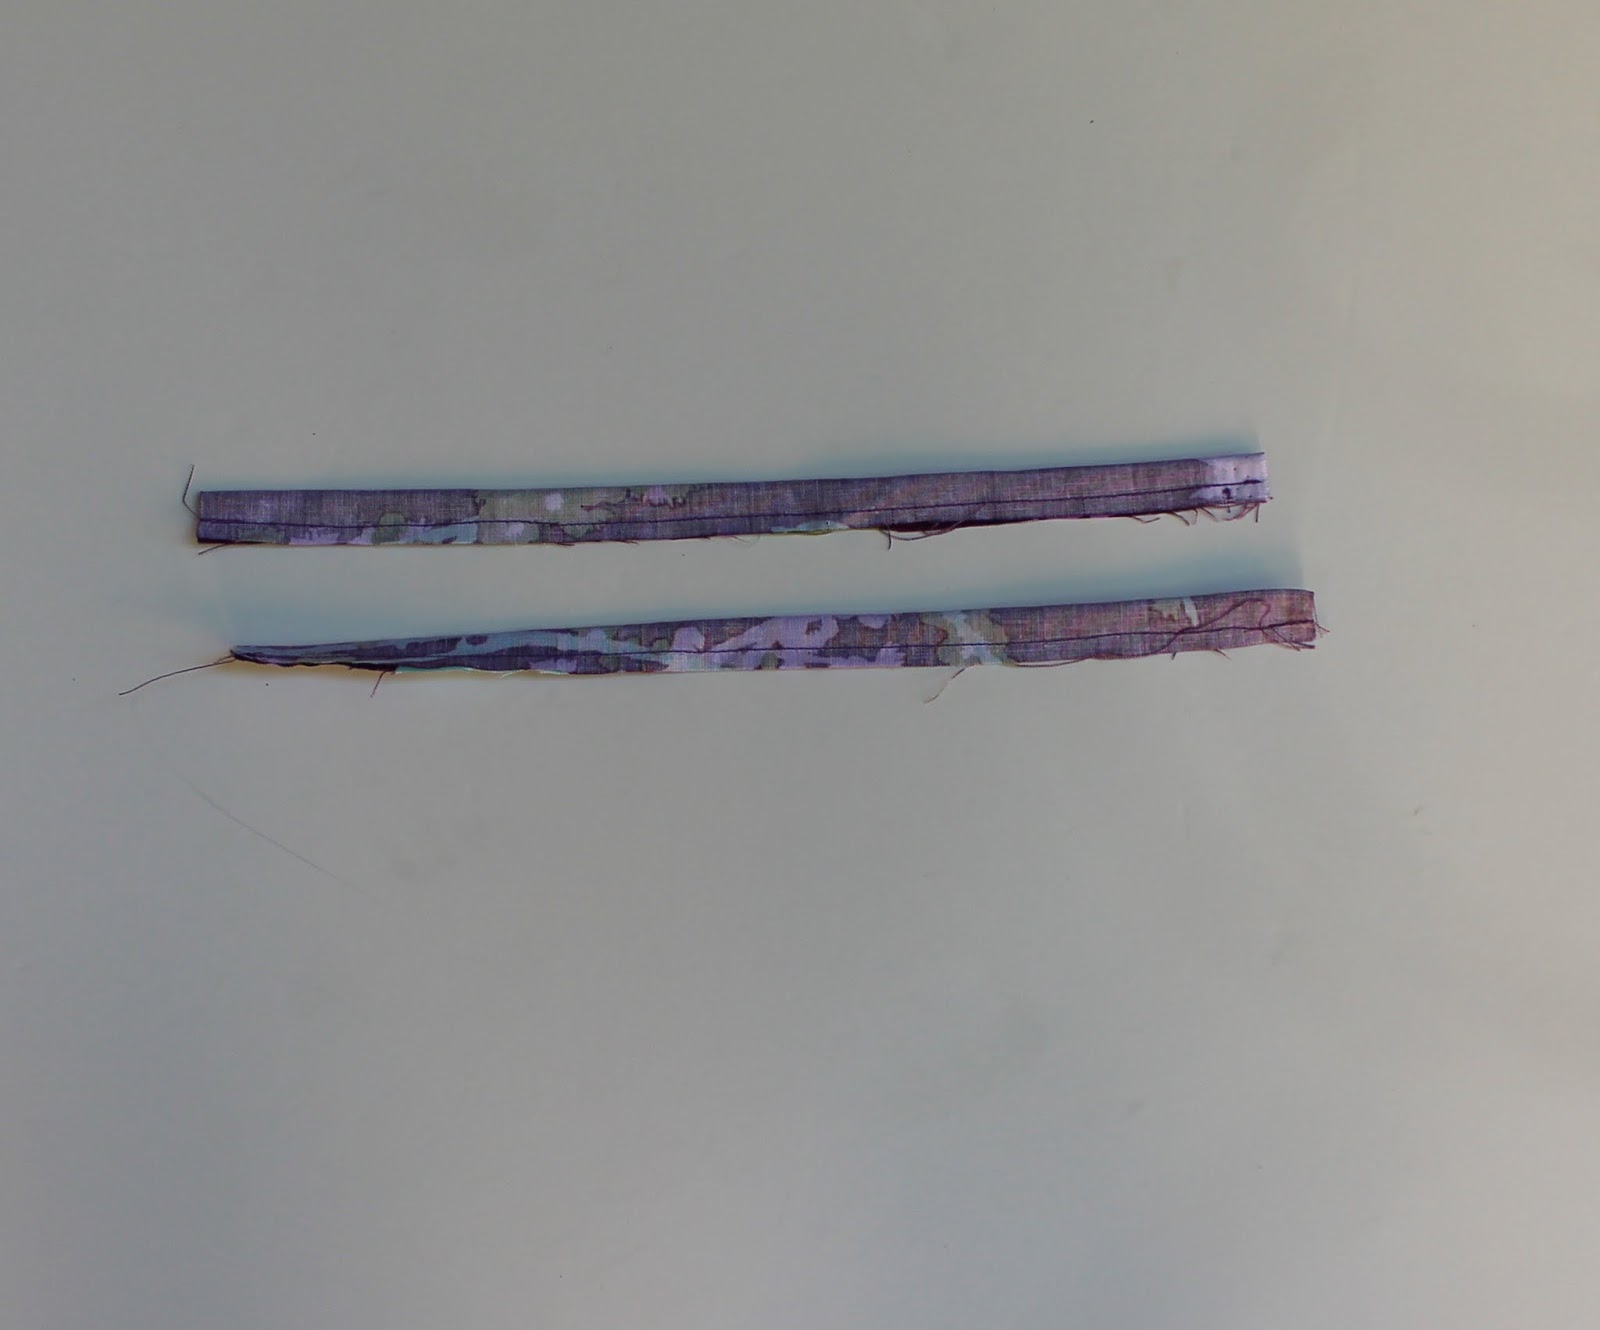
fold inhalf and sew
Fold in half along the width and sew along the length with a 1/4 in sewing margin.


3.

Thread the needle with upholstery thread. tie a knot at one end.
Now sew two stitches at one end of the tube, take care of sewing through only the single layer of the fabric.


It was very difficult to take a picture of this step with the narrow tube, so I made this fat tube to just illustrate the point. You need to do the same thing with your narrow tube, just make the stitches smaller, ok?


4.

pull the needle out from other end
Now push the needle with its eye first into the tube, keep pushing it until it comes out of the other end along with the thread.

5.
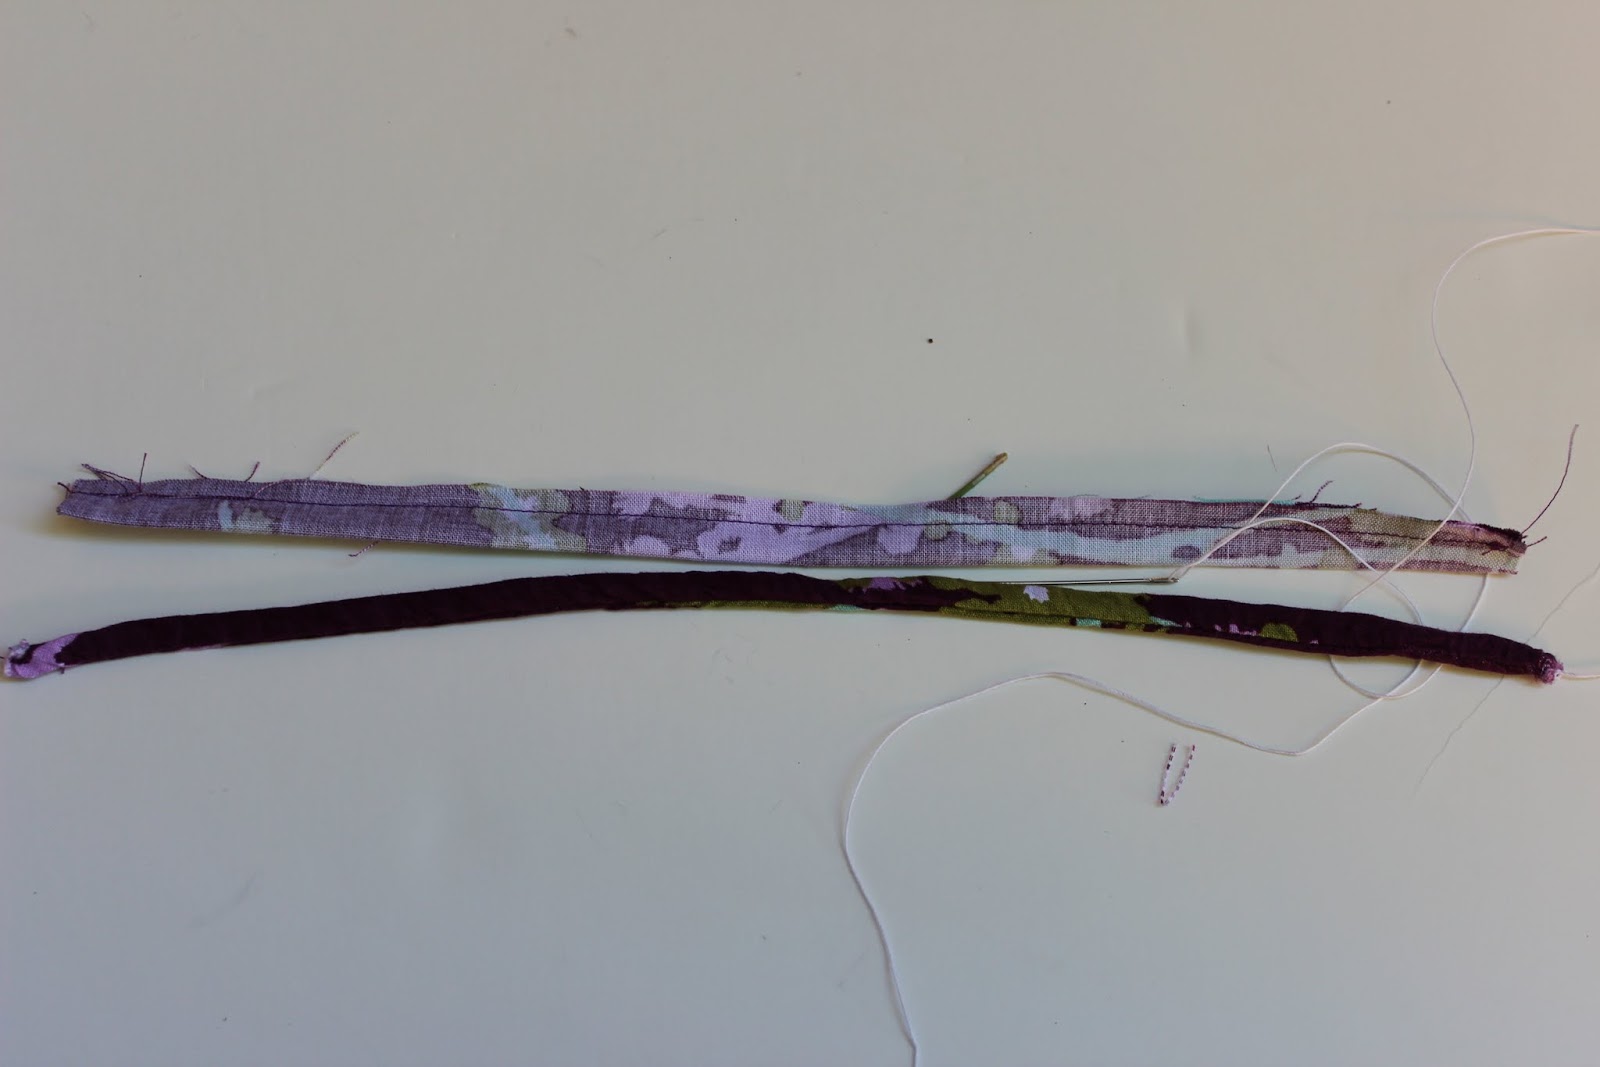
pull the thread

Now tug and pull the thread until the tube starts to slide inside itself. You may need to nudge the end inside the tube a bit to get it started. Use a screwdriver or a hair-pin or some pointed thing  to do it. In the pic above I have shown the tube which is sliding into itself. I have placed another tube alongside for comparison.

6.
slide out the turned out tube

Keep pulling the thread until one end starts to show up at the other end. Now just slide the inverted part off the turned out tube with your hand.

7.

fabric tube turned out
Here's your tube turned out. It will be likely be a little longer than the original strip because of all the pulling and tugging.

8.

Pick out the stitches
Pick out the stitches that you sew at the end.


9.
sewing fabric pipes

Yay! fabric tubes!

Now sew something pretty with them.

Of course! I'll be bringing a tutorial on that soon.


Pin It

Saturday, June 9, 2012

Jumpers, Rompers, Sundresses...oh my

Jumpers, Rompers sewing tutorials
Big Girls Romper by Crafterhours

Check out some fun summer outfit tutorial that I have rounded up for you to sew. I brought you jumpers, rompers and breezy sundresses to beat the heat and make most of the warm weather. Check out my hub for 10 cool jumper, rompers and sundresses patterns roundup.

Pin It

Friday, June 8, 2012

Breezy Dress from Qulit blocks

Breezy Sundress Sewing Project
breezy dress


I knew I loved this collection from Ellen, the moment I first saw it one her blog. Cheerful bright primary colors, geometrical shapes, it has that fun vibe to it.
I finally broke down last week and bought a yard of this Quilt Blocks Collection from Moda Fabrics.

Bodice closeup of breezy dress

It was difficult to decide on just one fabric from the collection but I thought this fabric fit the design that I had in mind. Unfortunately, the design I envisioned didn't work out, so I had a change of plans.

lace inlay neckline

Close-up of neckline, with a lace inlay. A hot pink lace would have been better, but I didn't have any on hand. So I had to make do with a baby pink.

border at hemline
A close up of the border attached at the hemline.
The good thing is that it fits munchkin well.

Now we just need to add some icing...I do have a couple of ideas in mind like always. Will keep you posted.
Have a good weekend!


Pin It

Wednesday, June 6, 2012

Frooty Skirt - Applique Skirt Sewing Tutorial


Appliqued Skirt Sewing Tutorial : Frooty Skirt

frooty skirt sewing tutorial
While flipping through the pages of Mini Boden, Munchkin fell in love with this appliqued skirt, so we decided to make something similar. I had also been meaning to revisit some of my own tutorials for a while now. What I wanted was to make something from my tutorial and then add some icing on it and see what happens. This skirt fit the bill perfectly. I love how it came together. Do you want to make one for your munchkin?


Supplies:
  • 1 Tshirt/Tanktop for the skirt.
  • Fabric scraps in red, pink and green colors
  • Fray Check
  • Heat and bond or wonder under interfacing ( I used wonder under)
  • Ric-rac - 1 yard

Construction:

The skirt is based on my 10 min skirt tutorial from sew easy part 1.

Instead of repeating the same instructions again, I'll just show you the pics and move on to the fun part - embellishing.

1.
10 mins skirt sewing
2.


10 mins skirt sewing


 3.
10 mins skirt sewing
 We suspend the skirt-making for a bit to have fun with appliques. We will come back to wordless pics once the embellishments are in place.

4.

using wonder under for appliques

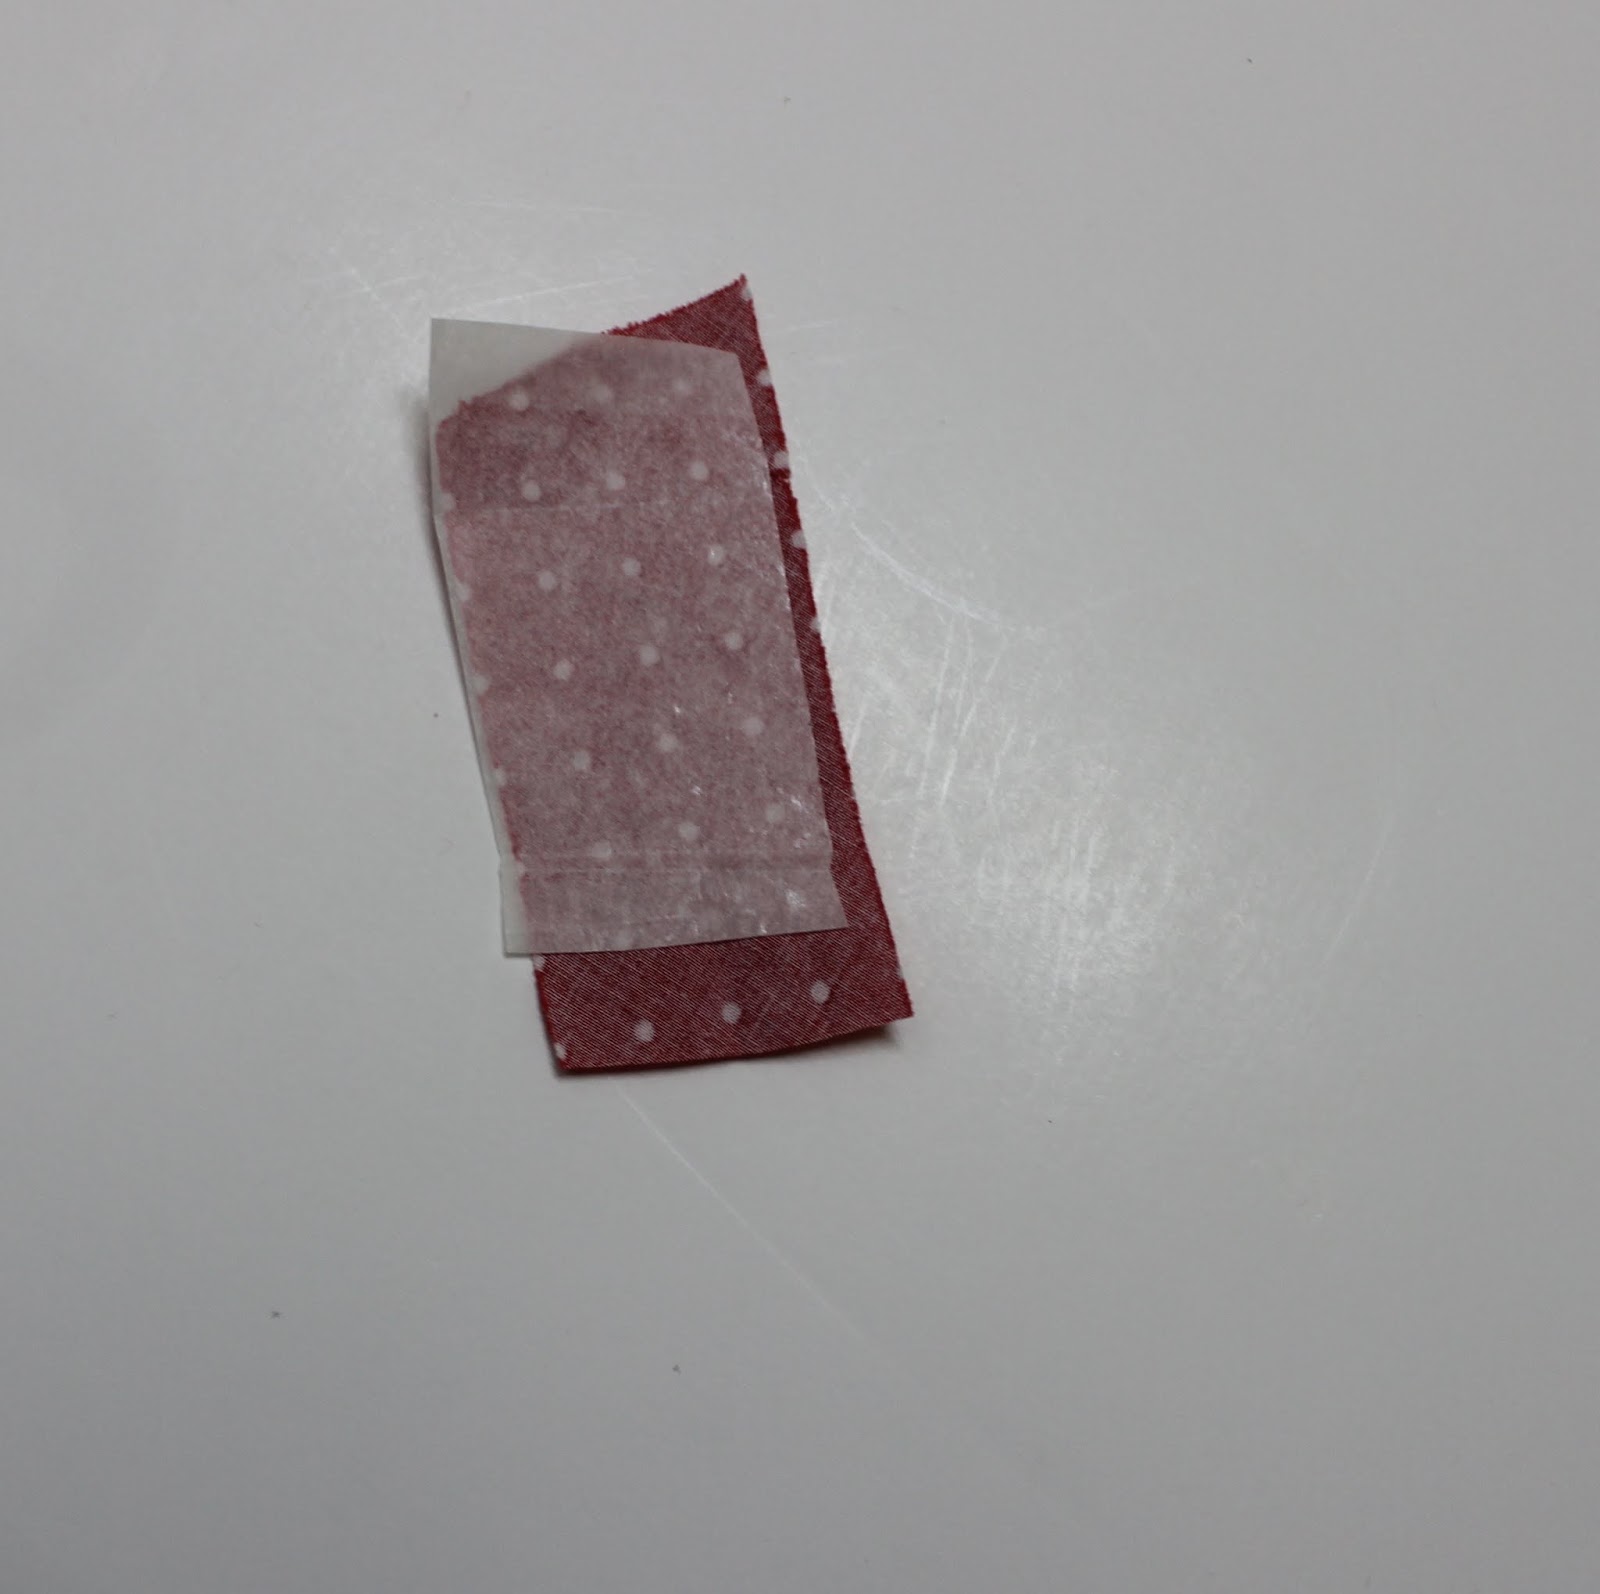
Cut a piece of wonder-under slightly smaller than your applique fabric. Here is the insert that came with mine...just follow the instructions given on your and you will do just fine. Promise.

 5.
how to apply heat n bond
Turn off the steam button on your iron. Empty the water as well ( just to be sure). Now iron the Wonder Under on the wrong side of the applique fabric. For appliques its best to place the iron and lift up and then move to the next area instead of sliding it.
Learn from my mistake - cut your fabric piece bigger than the wonder under piece. That way you won't fuse it to your ironing board accidentally.

6.
tracing an applique

Draw any image you would like to applique on the wrong side of the fused fabric. Do keep in mind that it will be a mirror image on the reverse side. So determine your left and right accordingly. The way I handle this is trace the applique on a paper and then reverse it. Now use this reverse side to trace on the fused fabric. That way the applique will be in the correct direction on the right side of the applique. ( Did it all make any sense? )
Another thing to keep in mind while choosing applique motif is that we will eventually sew along the edges of applique, so you want a motif that you're comfortable sewing around. Don't go for complicated, tiny, curly patterns which will be a pain to sew around. Simple and big ought to do the trick here. Look around the ready to wear clothing and clipart galleries for inspiration. Simple big flowers, fishes, birds, shapes are found very commonly and look great. think about big letters in simple fonts. There are plenty of appliques that can refresh your clothing without wreaking havoc on your eyes and fingers. Of course, if you're a sewing machine ballerina, more power to you! Go for the curliest, whirliest, damask(iest) pattern to applique. We will all look at you in awe and astonishment forever.


7.
cut out applique

Cut the applique out. Peel off the paper backing.

8.
iron on an applique
Place the applique at the appropriate place on the main fabric. In this skirt we will be using the original hemline for elastic casing, so the raw side is our hemline now. I placed the appliques about 1.5 inches above the hemline.
Iron to fuse the applique in place. Again place and lift the iron to cover the applique, instead of sliding. Make sure you go over the corners and take your time with ironing.

9.
how to apply appliques on clothing
placing appliques on clothes
 Repeat the process with as many appliques as you want.

10.
Now lets go back to finishing the skirt.

sew wasy skirt

sew easy skirt


sew easy skirt
mini boden knockoff


11.  According to wonder under instructions, its fine to leave the appliques like this and they won't fray or come out, but I usually try to be extra cautious.

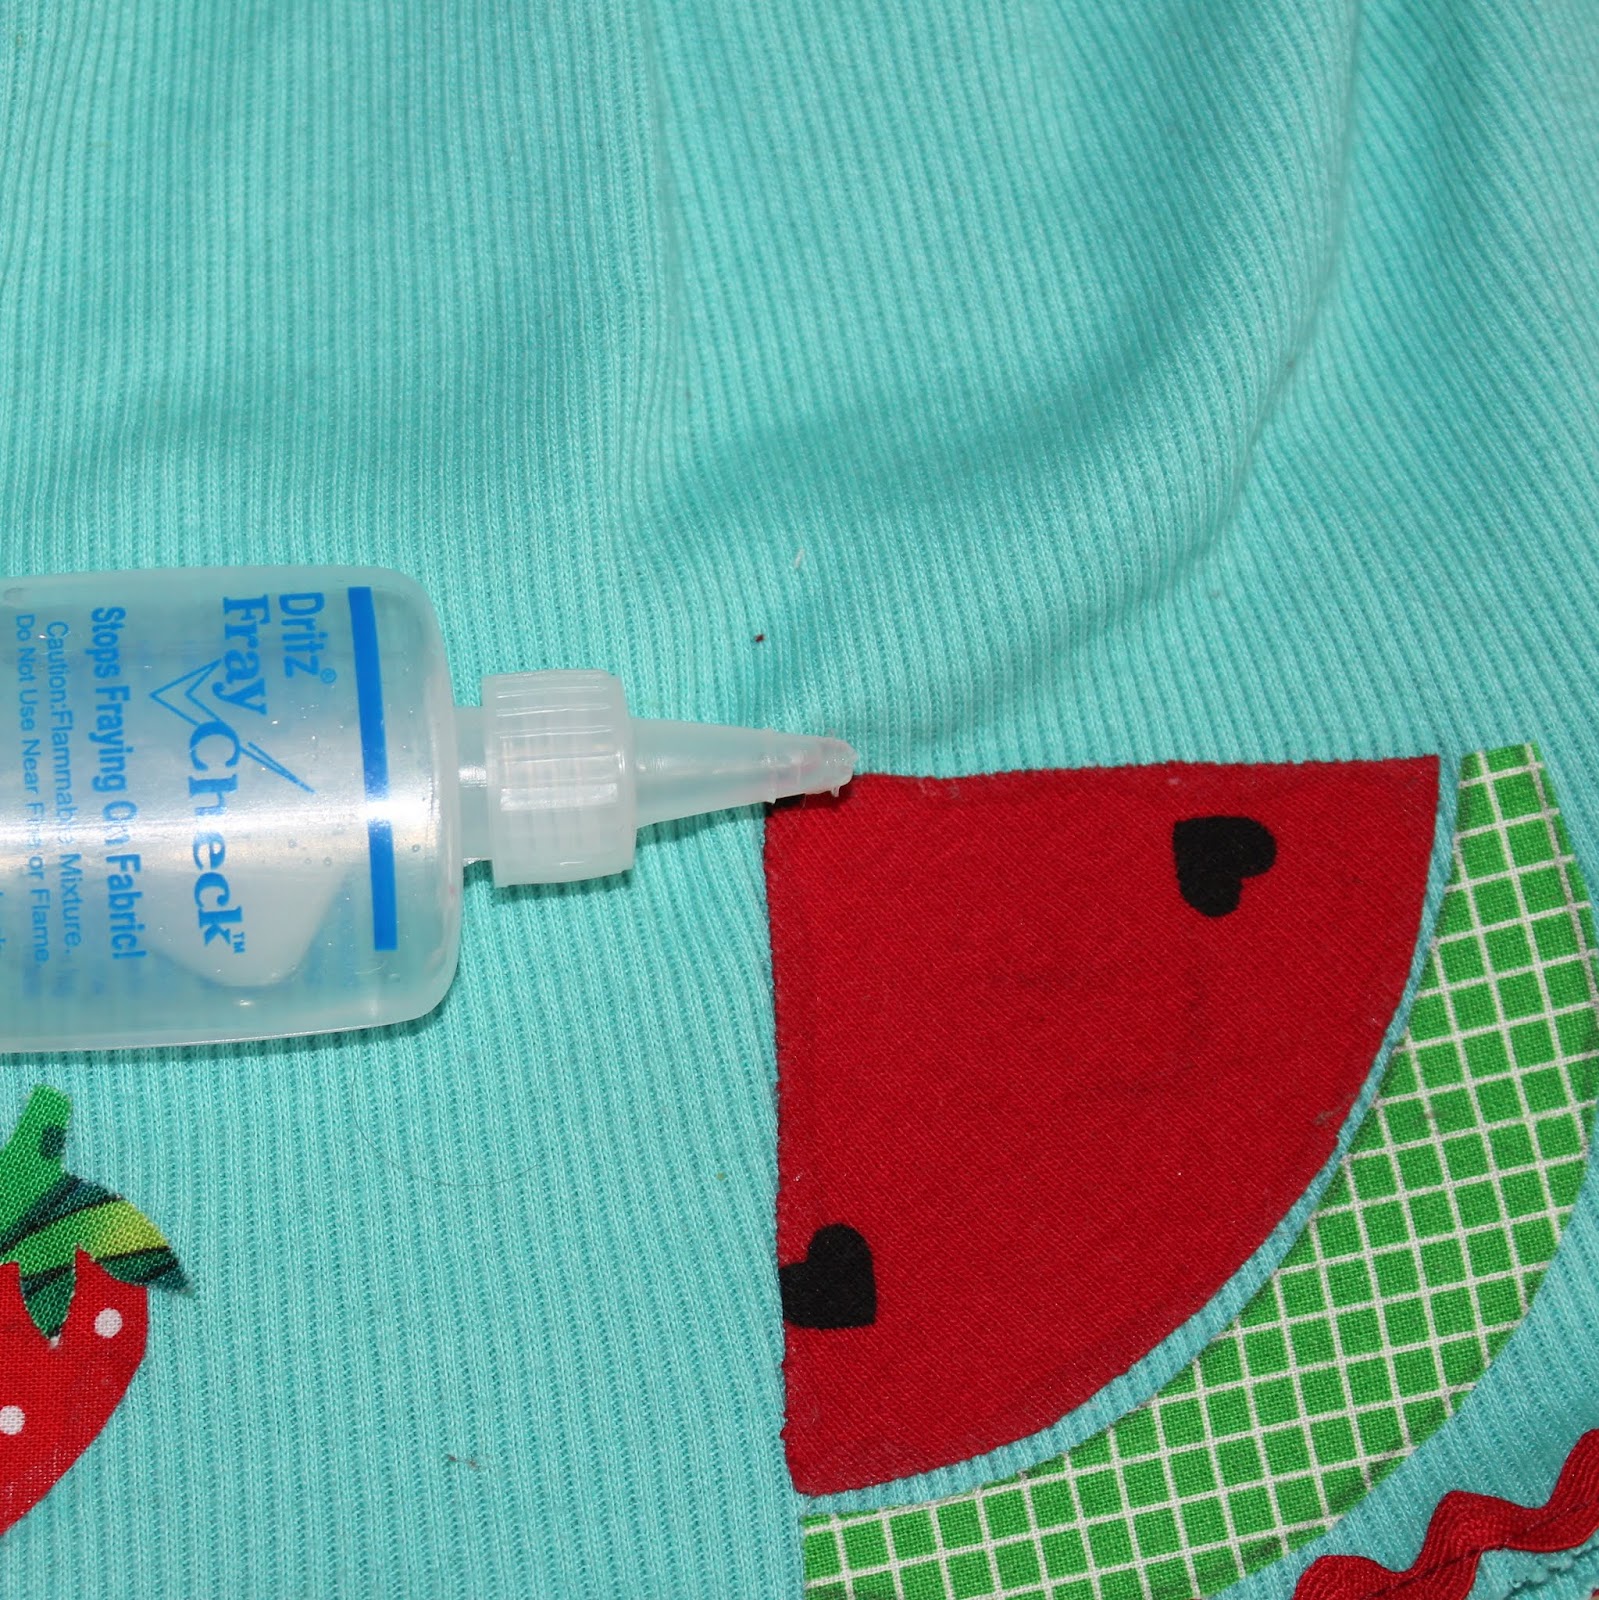
applying fray check

So I first applied fray check all around the appliques and let dry overnight. Despite the manufacturer's claims, Fray check did change the color of the areas it was applied on. It was minor and I don't really mind, but if it bothers you make sure you check it on a small scrap before applying to the garment.


11.
sew around an applique

 Then I sew a seam over them along their boundaries. The trick is to keep the stitch length minimum, machine speed minimum and stop often to turn. Nice and easy does it.

12.
sewing over small appliques

Despite warning you about small and too complicated pieces in appliques, I still have some fairly small pieces myself. Like the top of these raspberries. There was no way I could sew all around these tiny leaves. So I just took a shortcut and sew some stitches in straight line along the center. Yep! It's ok in my book.

13.

sewing ric-rac

Even though the skirt pattern is made so that we could avoid hemming, I just couldn't resist sewing in a little ric-rac at the hem.
sewing ric-rac at hem

Who doesn't like a little ric-rac on their clothes, right?
applique skirt sewing

So there it is, making an easy-peasy frooty skirt. Perfect for summer!


Pin It

Monday, June 4, 2012

Three sewing and crafting series you should know about

Sewing Crafting Blogging Series The blogosphere is busy celebrating the sunny warm weather that is upon us now. Several blogs are hosting fun crafting/sewing series with lots of great tutorials and projects.  Here're my favorites:

Katy from No Big Dill is hosting Once Upon A Thread. The premise of this series is to sew clothes based on a children's book you like. So sweet. Its a great way to get some good sewing tutorials and also find some good books to read to your little ones.


Crafterhours is hosting Skirt Week 2012 right now. Here the readers will enter the skirts they made and compete for the prizes ( to be announced).
But before that they have lined up a number of awesome skirt tutorials for you to get inspired. Go here to get all the details about skirt week.


Delia Creates and Kojodesigns are getting together to host Color Your Summer 2012. They have some well known bloggers lined up for the event. Definitely not to be missed.

So hop on and join in the fun.

Pin It

My perfect tank

Sewing tips: Fixing Tank Top Neckline


I snagged these tank tops for $1.90 each at Old Navy Memorial Day sale. Nice soft fabric ( 94% cotton, 6% spandex), great colors and classic stripes print. The problem? Gaping neckline, and too deep armscye.

But then, how can these minor issues deter a sewing mama from snagging a deal. Just two small seams at both shoulders, only about two inches below the original

See? Like this

fix a plunging neckline

And a small snip! Ta da! My perfect tank at a perfect price. Now I'm kicking myself for buying only two of them.


Pin It