Showing posts with label Blooms and Bugs. Show all posts

Tuesday, October 8, 2013

Where have I been? What have I been doing?


No, I haven't forgotten about the blog I have...Not for a day. In fact, I missed blogging here so much. But I had to draw a line somewhere before I killed myself trying to do all the things, all at the same time.


I was working on my dream, dream of having a kids clothing boutique someday...The dream of being know for having the most stylish, most beautiful, stunning and gorgeous clothes for little girl. The kind of place every mom wants to dress her princess from. It may not sound like a big one like changing the world, eradicating poverty etc, but for me it is a huge dream...and its a dream I need to work on, before I could do anythings else.


And it is also a dream that scares the daylights out of me because I can never contemplate what not living up to this dream would feel like. I just dont have the nerve...I just dont want to think about it..not yet.


Right now, I'm just working. Plugging away every morning. Finishing up the orders, working on new designs. Packing those boxes. Ordering supplies...trying not to think too much. Just breathe.


To tell you the truth, I didn't know if it will work, I didn't know what will work? When a friend said that maybe I should price a bit lower because I am new...I shrugged. This is the best I can do, if I get any lower it will stop making sense for me financially. But in my mind, I was wondering...maybe she is right, maybe I should decrease $10 and see....


I didn't even want to share about these dresses here, on my own blog...because I just wasn't ready. I wasn't confident. Looking back over the last three months, that seems like the silliest things to do...but I found plenty of reasons to rationalize it....
"Oh! I don't want to use my blog to pedal things", "Oh! only crafters visit my blog..they want to learn to make things, not buy handmade things"...and so on.


And then the unthinkable happened...somebody ordered one of the dresses! "Oh they are friends, they are being nice!" I thought. When the little girl wore the dress to her birthday party...look another order, "Must be a fluke! not to mention another friend being nice", and then an order from online store, from a total stranger..."Huh? Guess somebody would really pay me to make these. No really?" And then it happened, a dress here, an accessory there, a custom request from someone, a rush order from somebody else..."What the...!". And then the panic... "How on earth I'm going to make all these orders?"


I'm practically living in tulle town these days and somehow now I have enough confidence to present my second baby to you all. And I'm feeling like a mean mom who suddenly wants to own her child because she is beautiful ( or rich) after abandoning her when she was not...but I'm just going to seize this opportunity and introduce Blooms And Bugs to you and go on my guilt trip later.


Blooms And Bugs sells made to order special occasion dresses and accessories for little girls. Look us up for the flower girl dresses, birthday outfits, Halloween Costumes and accessories for your little one.

I know most of you like to make things for your little ones, but if you know someone who is looking to buy special occasion dresses or Halloween costumes for their kids, I will deeply appreciate your recommendation.

And if you have made this far, and feeling a bit, you know, serious, heavy about all the stuff written above....Lets play a game, you know, to just loosen up things a bit around here.

One of the dresses featured above was designed for my daughter's birthday, at her request...can you guess which one? And while you are at it...why don't you vote for your favorite...just for fun :)


Pin It

Wednesday, October 31, 2012

Happy Halloween! Bye Bye October!

So we are going to be nicely in fall tomorrow, I mean we are celebrating Halloween today, we are just getting ready for Thanksgiving. Is there any other proof needed to say that its fall, finally?


At Blooms And Bugs, We are gearing up for a new series of tutorials. Fall Wardrobe Revamp 2012. Are you also feeling like you are suddenly short of cold weather clothing? Or maybe you have some basic pieces that you would like to update for the season. Stay with us in November and we will show you how to update some basic pieces and add some fun accessories to you fall wardrobe. Its time we did some selfish sewing.
We also have some blogging friends joining in the fun, I will have more updates on that next week. If you would like to join in and do some selfish sewing, don't forget to send us the link/pictures of your creations. If you have done some coolwarm refashions earlier that you would like to share, send in the links. I'm going to post multiple roundups of Refashion+ Accessories tutorials throughout the month, so I'm on the lookout for clever refashions right now. And I will be very grateful if you would put our button on your website to help spread the word.

In the meantime have you been checking out Sew Pretty Sew Free. We are just wrapping up our Bags, Wallet, Clutches and Tote Month. Which means bag tutorials galore. I have also compiled a master list of all the bag tutorials I featured this month for people who don't want to browse every post. I hope you find it helpful.


Pin It

Monday, September 24, 2012

Durathon Digital Iron by Hamilton Beach: Product Review and a giveaway

Hamilton Beach Durathon Iron Review
Hamilton beahc iron giveaway and product review


Recently Hamilton Beach contacted me to ask if I would be interested in testing out their new iron called Durathon. They thought that it is the best iron in the market till date and wanted to see if I would share their confidence. Since iron is a must have tool in any sewing room, I thought it was a great idea to test their claims about this new iron.

I received my iron about three weeks ago and I tested it right away. Hmm, a bit heavier and sturdier than my earlier iron. My earlier iron used to drip like crazy and I was wondering if there was any truth to Hamilton Beach's claims of Anti Drip iron.
But oops! this one dripped some water too, but before writing them an email about it I decided to check the water level in my iron.."Oops I filled it above the maximum level"...aha! So I tried again a couple of times with water below the "Max" mark and it has never dripped afterwards. Lesson learned.

The representative who contacted me claimed that this iron has a lot of steam ( no pun intended), oh boy was she ever right! It does give out a lot of steam which makes ironing much easier and faster. I also tried it on "No steam" setting and it still heats up well. Here I could clearly see the difference between this iron and my old one. I used them both to fuse vinyl and this one does it much faster than my old iron.

The only thing I would change in the design is its fabric type selection system..I found it kind of counter-intuitive. I prefer the old dial method of fabric type selection. Other than that I love this new iron and use it practically everyday. i haven't compared it to every iron in the market but against my old iron it wins hands down, plus Hamilton Beach gives it a 10 year warranty (10 years!!!!) for its non-stick sole plate that they claim is virtually indestructible.

Now how would you like to win one of these irons? Hamilton Beach graciously offered to giveaway this iron to one of our readers. Here are the simple rules:

  • Giveaway for US residents only.
  • Leave a comment on this post with your email id to enter the giveaway. Comments without email id will be deleted/disregarded.  you could leave email id in the following format [your id]at[gmail/yahoo/hotmail] if you are concerned about spam.
  • Do not leave multiple comments
  • Giveaway closes on Sunday Oct 7, at midnight PST


Pin It

Saturday, April 7, 2012

First birthday today

Blooms And Bugs: First Birthday


All the Blooms And Bugs headers over the past year


Oh my! How time flies by. It was exactly an year ago that I started this blog...at the time I had no clue what I wanted to do with a blog, and why I wanted a blog. I just started on a whim. And look how far we have come now.

From a lone voice on the World Wide Web to now a community of 300+ followers and 400+ facebook fans, Blooms And Bugs is slowly morphing into a place that I hope is making a meaningful impact to at least some of you. I have continued to get engaged in various sewing communities across the web and I'm now seeing good traction there as well.
If you're a crafter and have never been to pinterest you're really missing out. Its a very easy to use platform for bookmarking useful articles and pictures on web. did I say its very easy? Probably that explains why it is so popular and addictive. Really I could spend the whole day just gawking and pinning stuff there.
If you're interested you can follow me on pinterest here:
http://pinterest.com/bloomsnbugs/
 Inspired by all the crafty goodness I found via pinterest and just to keep track of my favorites, I started this new blog : Sew Pretty Sew Free. It is based on a very simple concept, I try to post a free sewing tutorial that I like here everyday. I have some great things in mind for this space too, we will see how much I get done. I would really love it if you check it out and if you like it do follow it. That would be just awesome.


Craftsy is another forum where I have been adding my projects for a long time now. It is such a supportive platform for crafters, you could show your projects, link up your tutorials, link up items from your etsy shop, put your own patterns for sale, all for free. Blooms And Bugs now have over 150 followers on Craftsy. If you're joining it, do stop by to say hi
 http://www.craftsy.com/user/176812/projects
 I go by the name camomma over there ( I know!)

I have you wonderful readers to thank for all these milestones ( and many more that I hope to hit). Thank you so much for your support and encouragement and for our shared interest of sewing. I have learned so much in the past one year and I hope I continue to grow as a seamstress and as a person in the coming year and keep sharing my journey with you all. Happy first birthday Blooms And Bugs!

As a token of thanks I am going to do a really nice giveaway tomorrow. Be sure to check out.

Pin It

Sunday, December 11, 2011

Holiday orders at Blooms And Bugs Studio

Blooms And Bugs Studio: Holiday Sewing


Here's a little skirt that I finished over the weekend. This is based on the same pattern as Belle Layered Skirt. This was a latest custom order for Christmas. The customer wanted me to create a skirt for her spunky 4 yr old niece. This time I tried making it in knits. The outer layer is a baby nay printed knit and the inner layer is an organic knit solid.  I have sent the picture to her and she thinks it will be perfect. I have just started taking custom orders and I'm finding it really challenging and exciting to work with the specifications of someone else. I hope your preparations for holidays are going well too.


Pin It

Wednesday, October 26, 2011

New series: A little Bit of India - Diwali

A little bit of India: Diwali
Photo credit: singhajaykr25 from morguefile.com

This little blog has been growing beyond my wildest imaginations. I started it as a way to journal my sewing projects...then decided to share some tutorials...then thought maybe I could inspire a couple of you to sew...and it took a life of its own. While I love my corner of blogosphere...lately I have had this feeling that there's something lacking here. After some introspection, I realized that its my own voice. Somehow, I didn't feel very comfortable being myself over here. This is a sewing blog so all we should talk about here is - Sewing, right? Well, right and wrong! I now realize that even  though sewing is the primary topic of conversation here, some of you do want to know about the person who is doing all ( or most) of the talking here. Judging by the number of people who take time to read "My Story" it seems like my thoughts, my values and in general who I am, also matters, besides my sewing projects, my machine make and what stitch length I prefer.

So I'm starting this new series about something that is very far away from me, but very close to my heart - India. Some of you may/may not know that I'm an Indian ( Asian Indian) living in USA. While moving to US is one of the best decisions I have made on a practical level, and this is the place we call home now, there're times when I long for the place where I grew up and lived most of my life. So when I thought of a topic that I wanted to talk about here...India seemed like an obvious choice. Like any other place on the face of earth - India has its own  triumphs and tribulations. But that's not what I want to talk about here. I'll be talking about the little things that make India home for me. That set it apart from any other place in the world. That are so very unique and so very, Well, India. This is not meant to be a political rhetoric...or your culture vs. my culture...this is just a glimpse of India...through the eyes of a person who has always been fascinated by the color, art and most of all the joy it brings to the people. A point of view...and most definitely myopic. So sit back and relax, grab a cup of coffee if you want and hop on as I take you to India.
Today is one of those days when I miss India most - It is Diwali in India today and if I have to choose only one festival from all, this is the one I would choose. Most of the people would think of Lights and fire-crackers and delicacies when they think of Diwali, but to me Diwali is much more than that. It was the only festival my extended family made it a point to celebrate together, that meant Grandparents, Uncles, Aunts and cousins. It also meant lots of anecdotes and laughter, lots of jokes, songs, dances and games. It was one heady mix of activity and relaxation. Enough to feel sad when it was over and to look forward to it months in advance.
Besides the family, Diwali is a festival that you can feel in the air, much like the way Christmas in US. The decorated markets, dressed up people, the new merchandise, the overflowing sweets. It is kind of Thanksgiving and Christmas rolled into one for me and no matter how hard we try its difficult not to miss India on Diwali.

So before I leave to celebrate Diwali and long for India again... "Wish you all a very happy and prosperous Diwali!"


PS: It is said that Diwali is a good time to start something new. That's one of the reasons I am posting this today. I will continue with the future editions of this series on weekends hopefully.

Pin It

Tuesday, October 25, 2011

Link Love: Features and Made by you

Reader's sewing projects

Image courtsey Sullivan via MorgueFile


Features:

Totally Tutorials featured our Reversible Zen Dress.
Craft Gossip and One Pretty Thing featured our 2 color Pieced Pants.


On another note, I asked you to share your creations based on the tutorials here...and some of you listened. Here're a few things that you made:

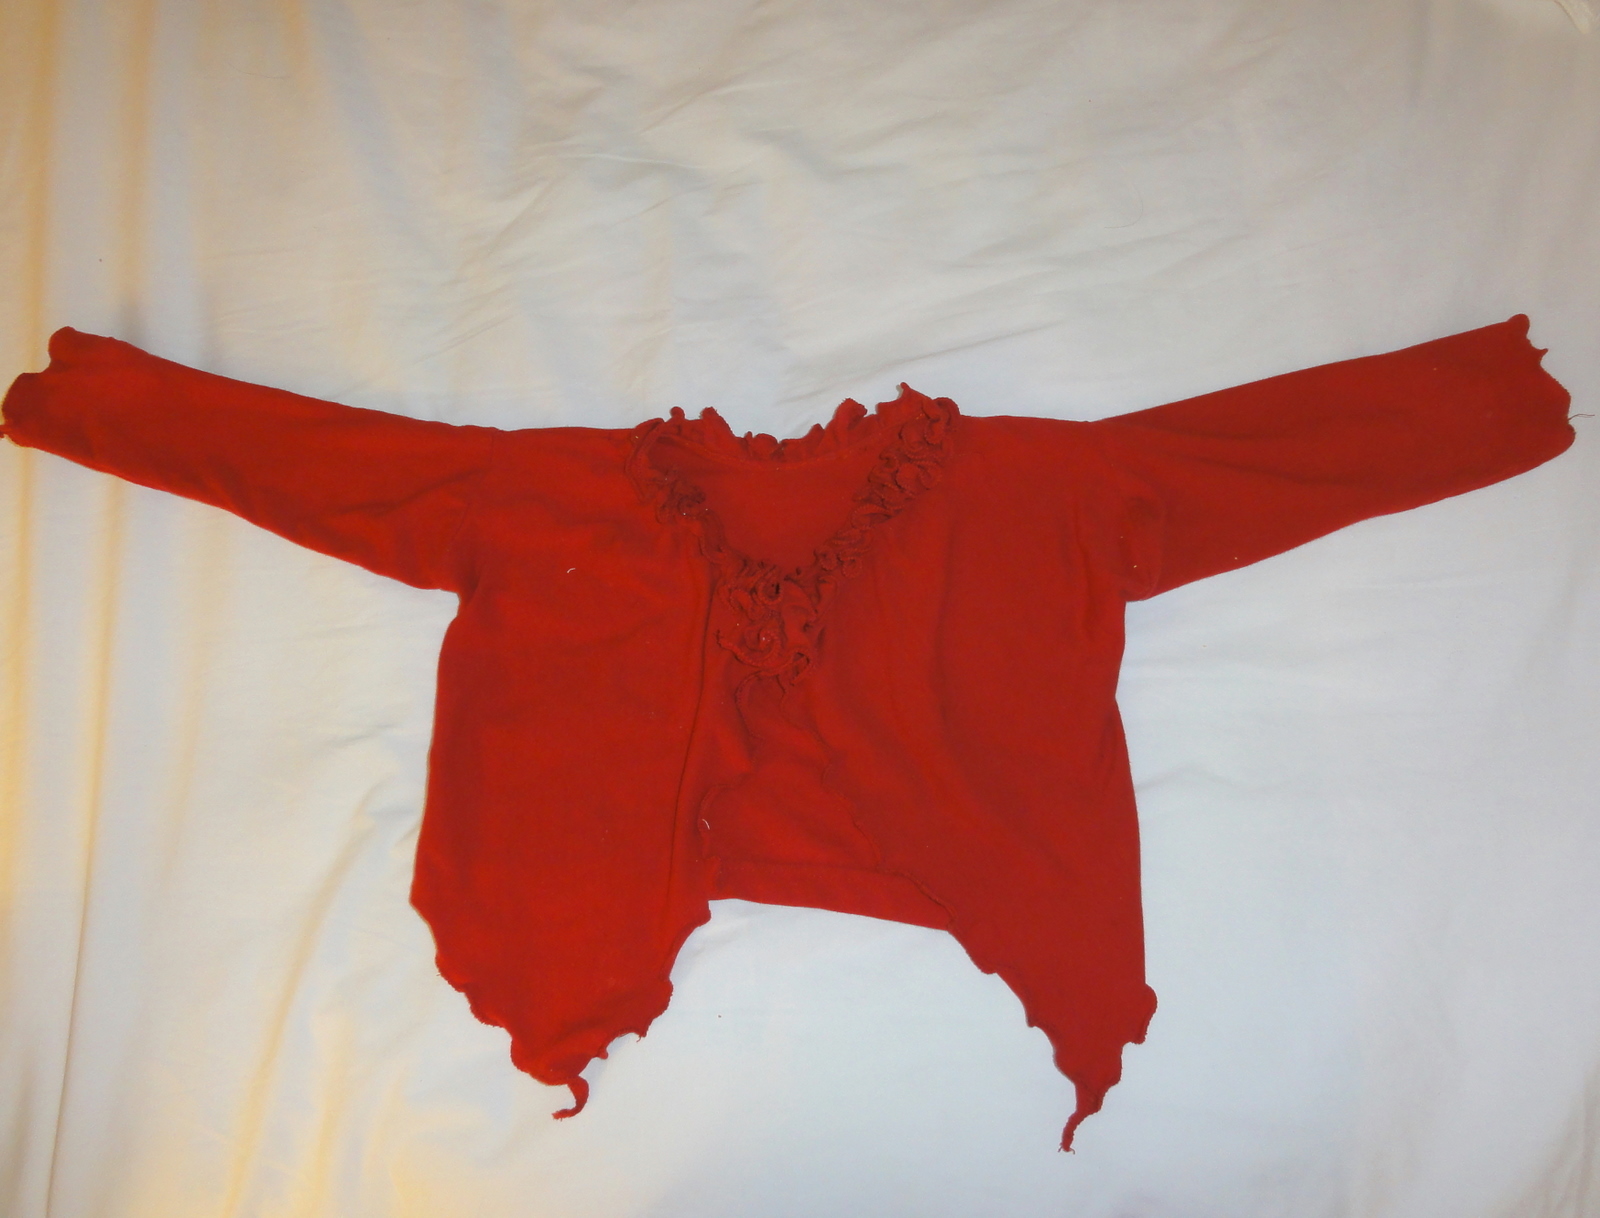
Namrata sent across the pics of this Butterfly Shrug based on the tutorial here. I think this red color is perfect
for the fall and winter.


She also made this Kaftan tunic top.


Its amazing and inspiring to see your creations. There are a lot of perks to blogging, but nothing really beats the satisfaction of seeing your creations based on my tutorials. Keep them coming.

On another note! We reached 150 followers on blogger last week and our facebook page has also gotten more than 250 likes. Our pinterest and twitter groups are rising steadily as well. So thank you so much for spreading the word about Blooms And Bugs.

I have some interesting things lined up for November, A fabulous giveaway, some very interesting tutorials and some fun stuff as well. So keep visiting...and keep sewing.


Pin It

Sunday, October 23, 2011

New Item in the Shop: Belle Layered Skirt for Toddlers - Size 2T

Blooms And Bugs Studio: Belle Layered Skirt

I have been working on this skirt for a while now, and every time I take it up, I can't help but admire the pretty prints and colors of the fabrics. Its done today and I love it. Its the latest addition to the shop - Belle Layered Skirt for Toddlers - 2T  - $15. Its made with fabrics from Kate Spain's Good Fortune collection.

It has two full layers with top layer having vertical gathers for petals like effect and a narrow ruffle trim from same collection. It has belt loops on the waist, which hold a wide matching grosgrain ribbon.


Pair it with a cardigan and boots during fall and wear it with leggings during winter, come spring these vibrant colors will again work nicely with a turquoise/grey/orange top. All the seams have been serged for a professional finish. The waist has elastic to accommodate growth spurts of your little munchkin.


This pretty skirt will make any little girl center of attraction. Does your belle need a pretty skirt?

Pin It

Monday, October 10, 2011

Sew Easy- Part 11 - Nordic Prince TShirt

Sew Easy Tutorial: Tuxedo Tshirt Tutorial
tshirt sewing tutorial

You can read the story behind this series and the first part here. Click here to read the second, third, fourth, fifth, sixth, seventh edition, eighth, ninth and tenth of this series.

So H left and interesting comment on my Bottoms Up First post. She says "wonderful! super easy and easy to choose fabric for a boy - oh yes - some of us sewers have boys too you know!! :)". I know, and I also know it is really tough to make things for little guys in our lives. With that in mind I was thinking about some more designs which would work for both girls and boys.
Since my little monkey needed some full sleeved tops for the fall-winter season, I was slicing and dicing some designs in my head and I kept on coming back to the sleeve part again and again. Why does it have to be such a long process, there has to be a better way of doing it. Finally I thought of this design and decided to give it a try.
I like how it turned out, it fits more like a sweater/pullover but it does provide the protection of full-sleeved tee.


I'm calling it Nordic Prince Tee - Just because I can't shake this name off my head. Also, because the front panel looks a bit like tuxedo...like something a prince would wear...going to....ummm...a picnic. No? Lets just say that this is my blog and I get to name things here, so we're calling this "Nordic Prince Tee".

So H, hope you like this one and would make one for your boys.


Supplies:

1. Navy blue knit fabric - 1 yd.
2. Ivory knit - preferably ribbed knit - 10 inches
3. Pleated Lace trim - 30 inches
4. A well fitting tee for measurements


Construction:


cutting out a tee from existing shirt


Fold the knit fabric in two layers, now fold it in half along the width.
Now lets fold the Tee in half along the width. Now place the tee over the fabric.
Now cut along the silhouette of the Tshirt.There are few things to be kept in mind here:
1. Leave the sewing margins
2. Near armhole just make the curve rounded, instead of abrupt.
3. Leave the cuffs and neckband out of your cut. We will be attaching them separately. ( In the picture you see my sleeves are cut upto the cuffs. That is because I wanted to make the sleeves longer than the existing TShirt.
4. The neck should be cut along the neckline in the back. To be precise, you should cut from where the neckband is sewn on the Tshirt. Because you will be adding a neckband to the Tee as well.

drafting a tshirt pattern
Here're both layers after cutting. Now lets separate them.


drafting the neckline
Cut one of the layers a little deeper at the neckline. I just eyeballed it, but you can always use the Tshirt front neck to determine the exact depth. Again, use the neckline of the main fabric and not the neckband.
This is where my camera died on me, but I'll try to outline the construction without pics as best as I can ( pics come back again after 3-4 steps )

Preparing the tuxedo at the neck:
Measure how long and wide you want the tuxedo to be. Don't add any sewing margins, the lace we'll be sewing on it will make up for that. Lets call the length TL, and width TW.

  • Cut the ivory fabric in a rectangle of  TL X TW.
  • Fold it in half along the width and cut a curve on the fold at the bottom.
  • This will give you a U shaped piece.
  • Now cut two rectangles from the Navy fabric TL X 3 inch.
  • Lay these small rectangles one over the other. Sew them in the center of ivory fabric. Sew two parallel lines on both sides of this seam about one inch away from this seam.
  • Cut the navy fabric between these seams. This will give the tuxedo the chenille..ish center. Initially they will just look like the Navy blue stripes with some lines sewn on them, but they will curl up a little in the wash and would look like stripes of navy and ivory. Now sew a pleated lace all around the ivory fabric such that right side of lace is together with right side of tuxedo. Turn it out and top-stitch.
how to sew the tuxedo
The tuxedo patch is ready. Now sew it along the center of front neck. Stitch all along the edges of tuxedo to fix it. The important thing to note here is that we didn't draw a neckline on the tuxedo, so when you will center it over the neck, some part of it will hang out. Just sew along the neckline and cut off the part that is extended beyond the neckline.
sewing the tshirt shoulder seams


Sew a seam joining the shoulders of the Tshirt Front and back, go all the way to the end of the sleeve. Do it on both sides.(along the blue line)
sewing the tshirt side seams


Sew a seam from end of sleeves to the armholes, going all the way to the hem (along the blue line on the side seams). Do it for the other side.


This is the basic skeleton of the Tee. Now you just need to attach neck band and cuffs to it to get a basic full-sleeved Tee.

Attaching the cuffs/wristbands:

sewing cuffs on sleeves
Measure the cuffs (lets call it C) and cut a rectangle of Length 4 inches and width 2/3C. So if your cuffs come out to be 6 inches your rectangle width will be
4 inches.

sewing cuffs on sleeves
Now fold it in half along the width (right sides together). You will get two tubes.

sewing cuffs on sleeves
Now turn half off the tube out. You will get two wristband that you need to attach to the Tee.

sewing cuffs on sleeves
Slip this band on the sleeve of the Tee such that raw ends of wristband line-up with the raw ends of sleeve.
Stretch the wristband such that it fits evenly over the sleeve.

sewing cuffs on sleeves
Sew a seam, along the raw edge.

Turn out! Done.

Attaching neckband:


sewing the neck band
Attaching the neck band is pretty much same as attaching the wrist-band. Measure the neckline, cut a strip of 2/3 neckline X 3 inches ( I made the wristbands longer than neckband for this Tee). Sew it into a tube. Fold out half of it. Stretch it to fit the neckline. Use pins to make sure it is stretching evenly along the whole neckline, or it will look wonky. This is one of the very few times when I actually use pins... otherwise I'm quite averse to using pins on kids clothing. Sew a seam along the raw edge. Turn out. Voila!

Hem:

Hem the Tee by turning it in twice.

2 piece pattern tshirt

Put it on the prince in your life...

Pin It