Showing posts with label upcycle. Show all posts

Thursday, November 1, 2012

Fall Wardrobe Revamp: Too Big Sweater to Pretty Top


We are kicking off Fall Wardrobe Revamp 2012 with this first refashion. Here are the other bloggers who will be joining in the fun:

Palak from Make It Handmade
Rikka from Ricochet and Away
Kassi and Kaylie from Truly Lovely

Every thursday in Novemeber, I'm going to post a refashion or accessory tutorial that will help you revamp your wardrobe for the fall. In addition, I'll also be doing roundups of refashions and accessories that are just perfect for the fall. This month's Friday Features will also feature winter accessories and clever refashions for fall and winter. Palak and Rikka will also post Wardrobe revamp tutorials on their respective blogs. So are you ready to add some fall magic to your wardrobe? Grab our button and rev up that sewing machine.


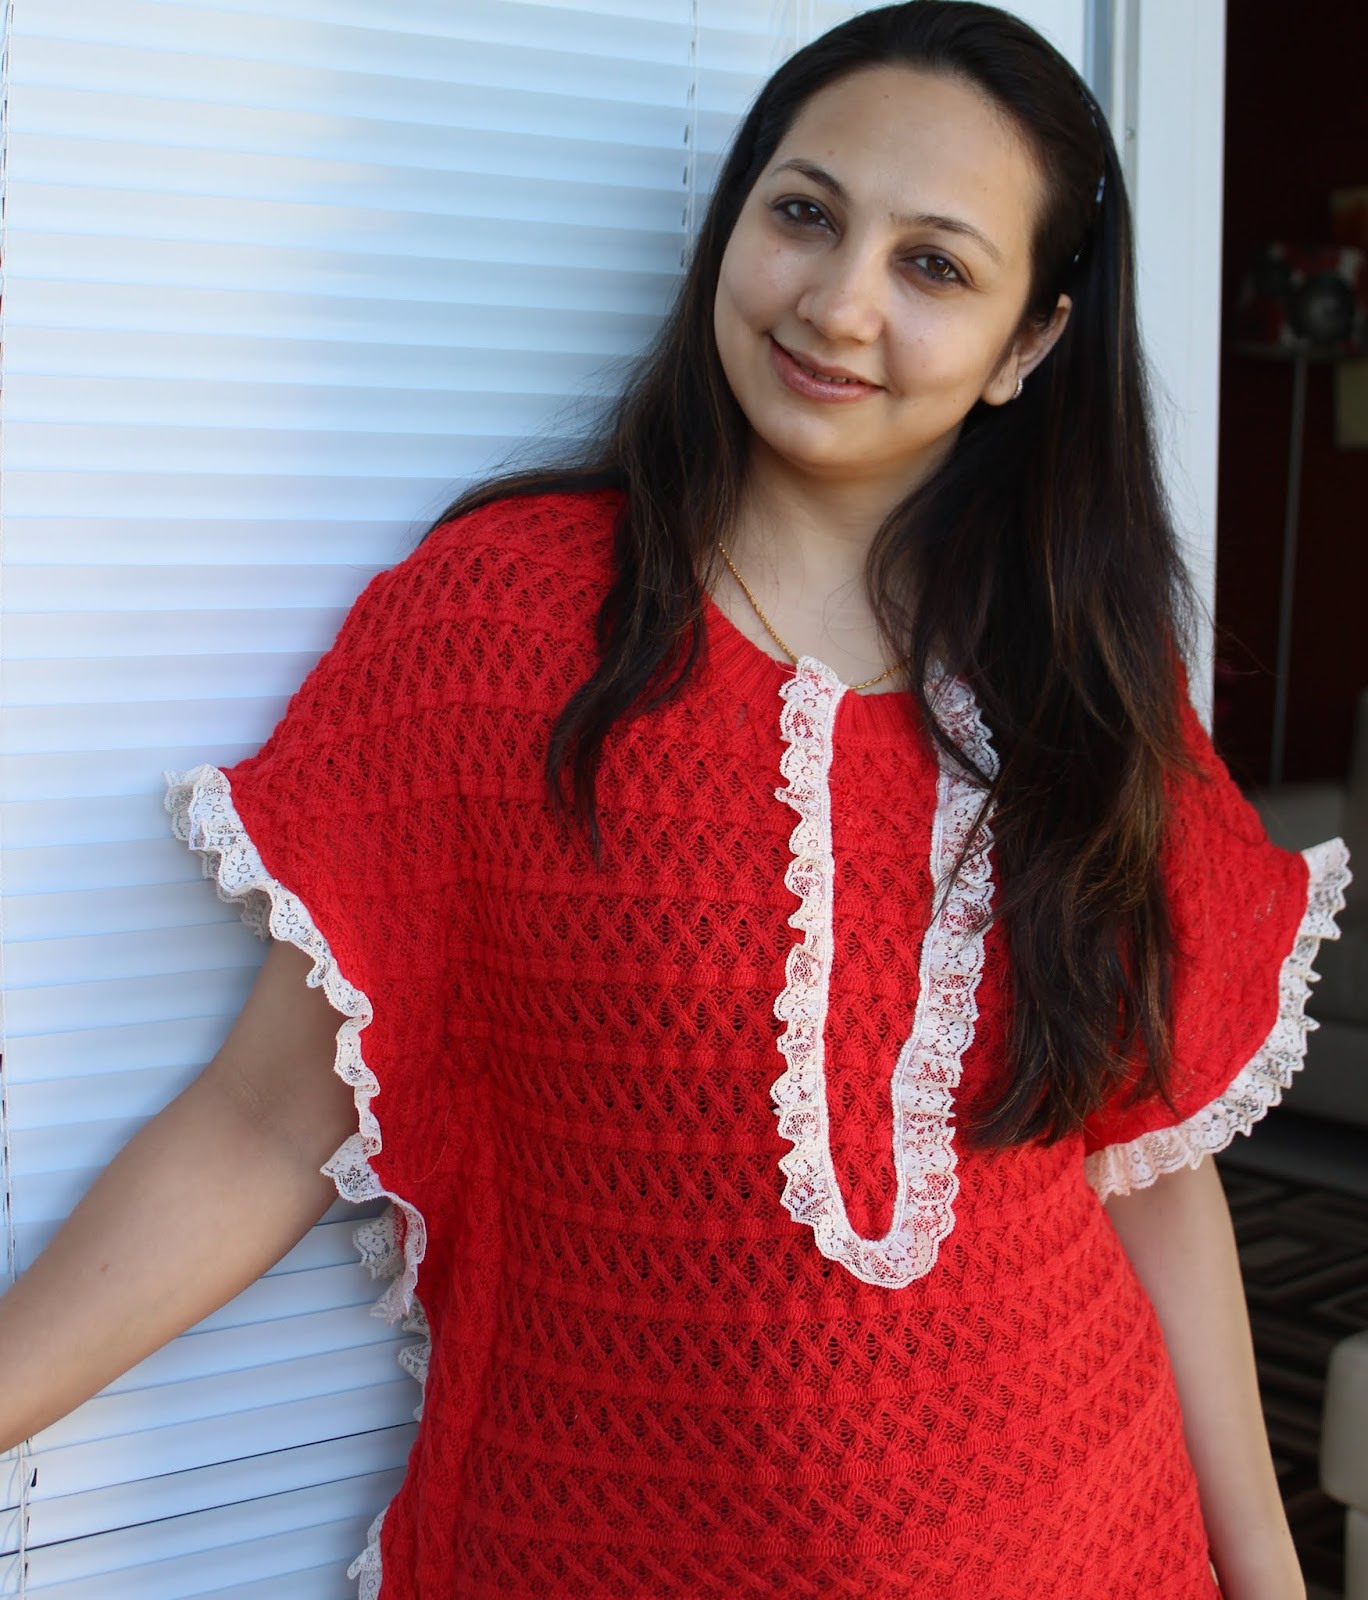
In all honesty, I never cared too much for orange growing up. It was just too flashy, too 'out there' for my taste. Then something changed last year and I started loving this particular shade of orange, the one that is between red and orange. I don't know if it was the leaves turning colors or the bloggers falling head over heels for orange. Whatever it was I just started loving orange and hoarding orange-y things like crazy. I bought this sweater during a sale at Old Navy. Even in clearance it was priced a bit higher for my liking, I almost put it back, but then the texture and the color called my name and it came home with me.
Now finally I made something out of it that I would like to share with you all. It is very similar to the Kaftan Top I made earlier but much simpler.

Supplies: 
A too big sweater. It has to be really big. If you wear a size M, buy an XL for this refashion.
Ruffled lace or any other pretty trims ( pom-poms would also look good with this style)

Estimated time:
1 hour

Construction: 

Cut out both the layers of the sweater.

Sew  about an inch below the shoulders. This would fix the too low neckline and also remove an inch from the length.


Try the sweater on and mark how much you would like to take in. In this refashion, we are not taking in the sweater, instead we are keeping the excess out, hanging off the body of the sweater. So mark the silhouette you want with safety pins on both sides. Take out the sweater and sew a seam along the pins.

Now hack off the sides starting at the shoulders to give it a nice bat sleeve like silhouette. Basically you draw a slanted line starting just before the sleeve edge and ending at the hem of the sweater. I also made it a little curvy.

Now take a pretty trim, I used this pre-ruffled lace to finish the edges. Sew it such that it is sitting on the inside edge of the sweater, right sides together. Start at the bottom of the bat sleeves and go all the way to the other side.

Now fold the lace outwards and top-stitch. Repeat on the other side.

I realized that the center of the sweater was looking too plain and needed some pep, so I hand basted the lace in a U shape at the center and finished it by machine sewing. fold the end s of the lace on the inside.

sweater refashion tutorial by Blooms And Bugs

Now find a pretty model, a beautiful location and click away...Ok that was me. You find some pretty jewelry, cute shoes and have fun :)


Pin It

Thursday, October 27, 2011

Tutorial: Octoberize that Tee

Sewing Tutorial: Adding full sleeves to a Tshirt
This is a tutorial that I did a couple of weeks back at Ricochet and Away. I'm sharing it with you all here because I think its a good one for fall.Enjoy!

adding sleeves to a Tshirt


For this post I wanted to bring you something that would be useful to almost everyone. You know how we all are left with Tees at the end of the summer, they look and fit great but they are half sleeved, so they can't be used during the fall and winter. By the time summer rolls back again, they're too short already.
I have found myself with a pile of half sleeved clothes and wondering...Gosh!! these clothes are so nice, I wish I could use them somehow, until it hit me...adding sleeves shouldn't be that hard. After all, I do it all the time for the clothes I sew from scratch. Adding just the sleeves would be a lot more easier..and quicker.

So here's a tutorial on adding sleeves to your little one's ( or your own) tees and then adding just a little more detail to bind it all together. I'm calling it Octoberizing that Tee because a full sleeved version will be just right for the weather in the beginning of fall and also because the colors are just right for October.


Supplies ( 2 year old size)

1 half sleeved Tshirt
1 XL Tshirt in a contrasting color ( or any knit fabric will do - using T shirt was much quicker because I didn't have to hem)

Adding the full sleeves:

how to add long sleeves to a tshirt

Cut off the sleeves from the adult tee.

measuring the width of sleeve

Lay the small Tee straight and place the sleeves from the big tee next to the small Tee sleeves. Make sure that both the Tee sleeves and the new sleeves make a straight line and overlap about half inch. Now measure from the shoulders of little Tee to the hem of sleeves of big Tee, this is how long your final sleeve will be. Compare it with the sleeve length needed for your child.If this is too big, increase the overlap to reduce the length. If it is too small you have two options - 1 You can pick open the hem of sleeves, this will give you one extra inch. you could do rolled hems on the sleeves later.
Another option is to use T-shirt body, or a knit fabric instead of sleeves. This is not very complicated either. Just fold a knit fabric along the width and use it the same way I'm showing you using the existing sleeves. You just have to hem these sleeves...that's all.

Once you have determined the correct length you have to determine the width. What we want to do is make an addition to the sleeve that is as wide as the existing sleeve's end in and then it tapers off following natural shape of arm.
So you will measure the width using the hem of existing sleeve and add 1 inch to it for sewing margins.
cutting out the sleeve

Do the same for the other sleeve.

drafting a full sleeve from a half sleeve
Now fold each sleeve in half along the width ( right sides together) and sew a seam on the side using up sewing margins. Repeat for the other sleeve.

sewing up the sleeve

Turn this tube of sleeve inside out. Now line it up with the real sleeve as shown above. Now gently slide the wider end of new sleeve into the existing sleeve. Straighten both the sleeves using your hand. Make sure the new sleeve is fitting the old sleeve evenly. Use hand basting or pins to hold it in place.

attaching the full sleeve to half sleeve
Sew a seam along the joint of the new and old sleeves to fix it in place.
Note: It is easier to go from the neckline to sew this seam, at least it was for me.
Repeat for the other sleeve.

Ta da! Your tee has full sleeves now...smile!


Adding contrasting stripes at the front.


sewing contrast stripes to the front

Cut two rectangles from the contrasting knit of width equal to the width of Tee and length = 5 inches. Place them one over the other and then onto the Tee at a position you like.

sewing contrasting stripes
Pin or hand-baste these to make sure they stay in their place.

sewing chenille stripes
Now sew parallel lines along the hand-basting. Mine are about 5/8 inch apart. You can use your sewing machine foot as a guide to get evenly spaces lines.

how to sew stripes on a tshirt

Once you're done sewing, its time to cut. Cut between the seams, Making sure you're cutting only the extra layers and not the Tshirt itself. I used a small scissor to do this. Try to stay in the center between two seams but you don't have to be precise. We are taking advantage of the fact that knits don't fray. So we can leave the cut edges raw.

adding stripes to a Tshirt


Congratulations! You have successfully Octoberized your Tee. Right now the orange is looking like a color-block at the front, but these knit strips will curl up in the wash.
octoberize a Tshirt


So they look more like ruffled stripes of orange and white. For more pizazz you could use more layers, and also graded color layers. So when you cut, you will see colors of different intensity. I haven't done that but I think it would look cool.


PS: Here's a very helpful comment from Amanda:

"I've been doing this with my son's shirts for a couple of years. Since toddler/preschooler shirts are rather small, it's hard to sew the fabric on as a tube. I open out the underarm seam on the t-shirt so I can sew on the new sleeve as a flat piece of fabric, then turn inside out and resew the underarm seam all the way to the cuff. I cut the arm extensions from too-small knit pants sometimes-- they often already have a ribbed cuff."


Great comment Amanda! I'm sure it will be helpful to many readers. I'll also try it this way.

Friday, August 19, 2011

Sew Easy - Part 7: Carnival Dress

Sew Easy tutorial: Knotted knit dress

You can read the story behind this series and the first part here. Click here to read the second, third, fourth , fifth  and sixth edition of this series.

After having many tutorials with woven fabrics, I think its time we go back to knits and up-cycle some more T-shirts. With that in mind, I made this Carnival Dress. I named it so, because all the strips reminded me of the buntings and other festive decorations. I love how blue and yellow look so happy together. It is mostly a cut easy project, instead of sew easy. Interested in making one of your own? Lets do it.

Supplies:
2 T shirts in co-ordinating colors, same colors will also work
Basic sewing supplies - scissor, thread matching with the Tshirts

Measurements - Measure your child from shoulder to the desired length of the dress, lets call it L
               Measure your child all around the chest and add 4 inches to it, then divide it all by 2. Lets call it W.


1. First cut one of the shirts to L length, measuring from hem upwards.  Basically we want to reuse the Tshirt hem as our dress hem. Ok?


2. Now place this on top of the other and decide how much overlap do you want between the two. And starting from bottom cut that much. So we can reuse the hem from second T as well.

3. Now insert one Tshirt into another such that their raw sides align. Look at the picture.


4 . Now start cutting 3 inches long slits, one inches apart from raw ends on all four layers.

Keep cutting until you reach W width from one end.

When you reach W, instead of cutting a slit, keep cutting upto the hem. To get a Four layered piece of length L and width W.


5.


Now start Knotting these slits with one strip from Tshirt 1 and one strip from Tshirt 2 right behind it. Pull the strips a bit while tying the knot, this will cause the fabric to bunch up a little, which will give us a little gathered look. Tie the knot one more time to secure. 
Just leave 4 sets of strips 2-3 inches apart in the center. Dont tie them, because they will become the shoulder straps of the dress.
 Keep tying the knots with the other strips at the back as well, when you reach near the center of the back, leave 2 sets of strips then tie the center strips and then again leave 2 sets of strips.


6.
This is how it will look after tying all the knots. I have knotted the front and back shoulder ties together, but I recommend doing it at the very end.


7.


Now lets sew together the side of the dress thats still open.


Pull apart both the layers, taking care not to stretch the knots too much. Now sew each layer, right sides together.
Settle them back in place.


8.
Now take a look at all the hanging strips and see if you like them as is. Maybe they need a haircut. Cut them to a length you like.
At the end, mine were about 1.5 - 2 inches long.


Neckline at the front...and the reason why I shouldn't cut my toddler's hair :D


This is how mine looked from the back, after cutting the strips to a smaller length.


9. Now sew a seam along the neckline ( and back) as close to the knots as you can get. This will help the strips stay in place.


10.


Now slip it on the child and tie the shoulder ties. This may take a couple minutes, so bribe with candy.

Enjoy your carnival dress!

Thursday, June 30, 2011

Shrugged!

I was feeling a lack of nice cardigans/shrugs to wear in the summer. Here, it sometimes gets cold even in the middle of summer, so I dove into my stash of Tees from Old Navy ( I bought a bunch during their 40% off everything sale last time) and found a XXL sized Tee.
Here's what it became:

The back:


This refashion took much longer than I had expected, mainly because of rolled hems all around the edges and
also because of my reluctance to redo sleeves an armholes. Next time I won't try to sneak my way out of proper fit...it doesn't work and doing it later wastes a lot of time and makes it more error prone.
However I'm glad that finally it all worked out and my wardrobe got a much needed shrug!
Totally wearable.