Wednesday, November 9, 2011

Sew Easy part 12: Claire Skirt

Sew Easy Tutorial: Skirt with pick-ups


You can read the story behind this series and the first part here. Click here to read the secondthirdfourth, fifth, sixth, seventh, eighth, ninth and tenth and eleventh edition of this series.

The tutorial for Claire Skirt is finally here. Wow! it took a really long time to finish.


Supplies ( for the skirt for a two year old)

2 coordinating fabrics - half yards each
Ric rac - 45 inches
Bias tape - 45 inches


Cutting and preparing the layers:


Cut two rectangles

Rectangle 1. length = 11.5 inches and width = 36 inches
Rectangle 2. length = 13 inches and width = 36 inches

from two coordinating fabrics.


Sew both rectangles into a tube by sewing raw ends together along the length ( Right Sides Together).


Assembling the skirt:

Please read the instructions carefully here. This skirt is assembled a little differently than other skirts so make sure you follow the instructions, or you will be cursing me and reaching out to your seam ripper very soon.


Place the inner layer tube inside the outer layer tube such that right side of outer layer touches the wrong side of inner layer. Align one raw edge of both layers. Sew a seam along the raw edge.


Turn out.


This is how mine looked after sewing.

Top-stitch as close to the edge as you can.

Sew another seam 1.5 inch below the top-stitching, so the elastic casing gets prepared. Leave a gap of one inch for inserting the elastic.

Vertical Ruffles on the outer layer:


Rotate the seams in the layer such that it lies in the center of back of skirt.
 Mark both the sides on the outer layer.


 Fold the whole tube into half along the width. Mark the center point on outer layer. ( As shown by the pen)


 Sew two parallel vertical seams along each of these 4 marks, stopping about 2 inch below the top edge. ( Total 8 seams)


 Pull the bobbin thread on these vertical seams to gather the outer layer. Adjust the gathers in a way that you like best. Now sew a zigzag stitch on all four gathers to make them permanent.


Finishing the hems: 

We used bias tape on the inner layer and ric-rac on the outer layer. But you could use any trim or method to finish the edges.
Bias Tape on inner layer


Use a 2.5 inches X 40 inches strip to make a bias tape. This is not really a bias tape since these strips are not cut on the bias, but for this project it won't matter because we are using it on a straight fabric.

Now use this bias tape to hem the inner layer of the skirt. The way I sew bias tape is line up the raw end of smaller side of bias tape with the raw end of skirt edge and sewing along the fold in the tape ( right sides together). Once this seam is done, I fold the tape to the other side and sew as close to the ( but not on the) top edge of the tape on the right side. This ensures that I catch the other fold of the tape on the wrong side.


Ric-rac on outer layer


Fold the outer layer about quarter inch inside and sew a seam.


Now sew a ric-rac over it on the outside.

Now fold the ric-rac inside and sew another seam. Voila! Pretty little ric-rac trim.


Inserting elastic in the skirt: 


Remember this space you had left while sewing the waistband. Lets insert the elastic here.


Using a safety pin, insert elastic here and go all the way round and back to the opening. Sew both ends of the elastic by overlapping them about half inch.

I use the stitch 1-14 on my machine which looks like a broken zigzag stitch to sew elastic, but if you don't have it zigzag would work as well. Just go over the elastic 3-4 times.


Claire skirt is ready for a little one!


PS: Spangler wrote in with a helpful comment - "Love this type of skirt... made one similar in finished look to this but using elastic thread to achieve the pull-ups... Check it out if you get a chance... http://thequickunpick.blogspot.com/2010/12/double-layer-twirly-skirt.html "

Elastic are a great way to achieve vertical gathers. Check out her tutorial and the cute skirt. 


Pin It

Monday, November 7, 2011

Giveaway and Snow-blossom Hairband tutorial

Headband tutorial: Snowblossom Headband This giveaway is closed now


Didn't she just stole your heart with her toothless grin ...
Now that I have lured you in with this pic, let me point out that she is wearing a headband I made. Do you have a cutie pie for whom you would like to make this hairband? Read on and I will show you how to make one...but before that I will show you how to WIN supplies to make one( or a hundred), how about that?

So I was looking for a vendor to buy the elastic to make these headbands...and when I shop I have to have a great deal on whatever I am buying. So I searched high and low....I even looked at crafter's forums, for people destashing their supplies but nothing that I would call a great deal surfaced, that is, until I came across Elastic by the yard. I just went ahead and ordered mine, and soon got 5 yards of quality white foldover elastic in the mail.
Elastic by the yard sells a vast selection of elastics and other crafting supplies.

You would find skinny elastic


Printed Elastics


Different kinds of flowers and so much more over there.

They even have helpful tutorials to make hairbands etc with these supplies.


My experience went so well that I asked Kristin, who runs this shop if she would be interested in sponsoring a giveaway on my blog. She responded back saying that she would give away...listen carefully....this is big..
3 lucky readers grab bags of 60 yards of elastics each! How freaking awesome is that? Just so you know Elastic by the yard occasionally offers these grab bags for sale on their facebook page and these guys sell like hot cakes. So you should definitely try winning one of these.

To enter this giveaway,
     1. Leave a comment on this post with your email.id.
     2.  For another chance, Like Elastic By the Yard on facebook and leave a separate comment here saying that you did so.
     3. For one more entry tweet about the giveaway and leave a separate comment here saying you did so.


The giveaway is open until next Monday, Nov 14, 2011.
I'll let random.org pick a winner from all the comments on Nov 15, 2011. Winner will be announced on Nov 16, 2011.


If you don't win and would like to buy elastics from them, Kristin has generously offered a discount of 15%  of your total order with code BNBDSC.

Snow-Blossom Headband Tutorial


I love hair accessories. Hairbows, Clippies, hairbands...you name it. For the Mom of a toddler who keeps them on her head for a whopping...15 seconds at a time, I make an awful lot of them. Since I make so many of these, I thought it would be fun to share a tutorial for one of these here. So I brought you this snow-blossom hairband. Not sure, if you like it in the pic above but it looks super-cute on a tiny little head. I think it will work great with Christmas outfits.
Here's how I made these.

Cut 15 circles from Tulle. Mine were about ................inches.


Make a stack of 5 circles. Fold the whole stack in half.


Fold into quarter

Fold into eigth


Cut out a triangle from the edge.

Open the circles and gently turn the circles such that 
the petals become unaligned instead of nicely lining up in the stack.


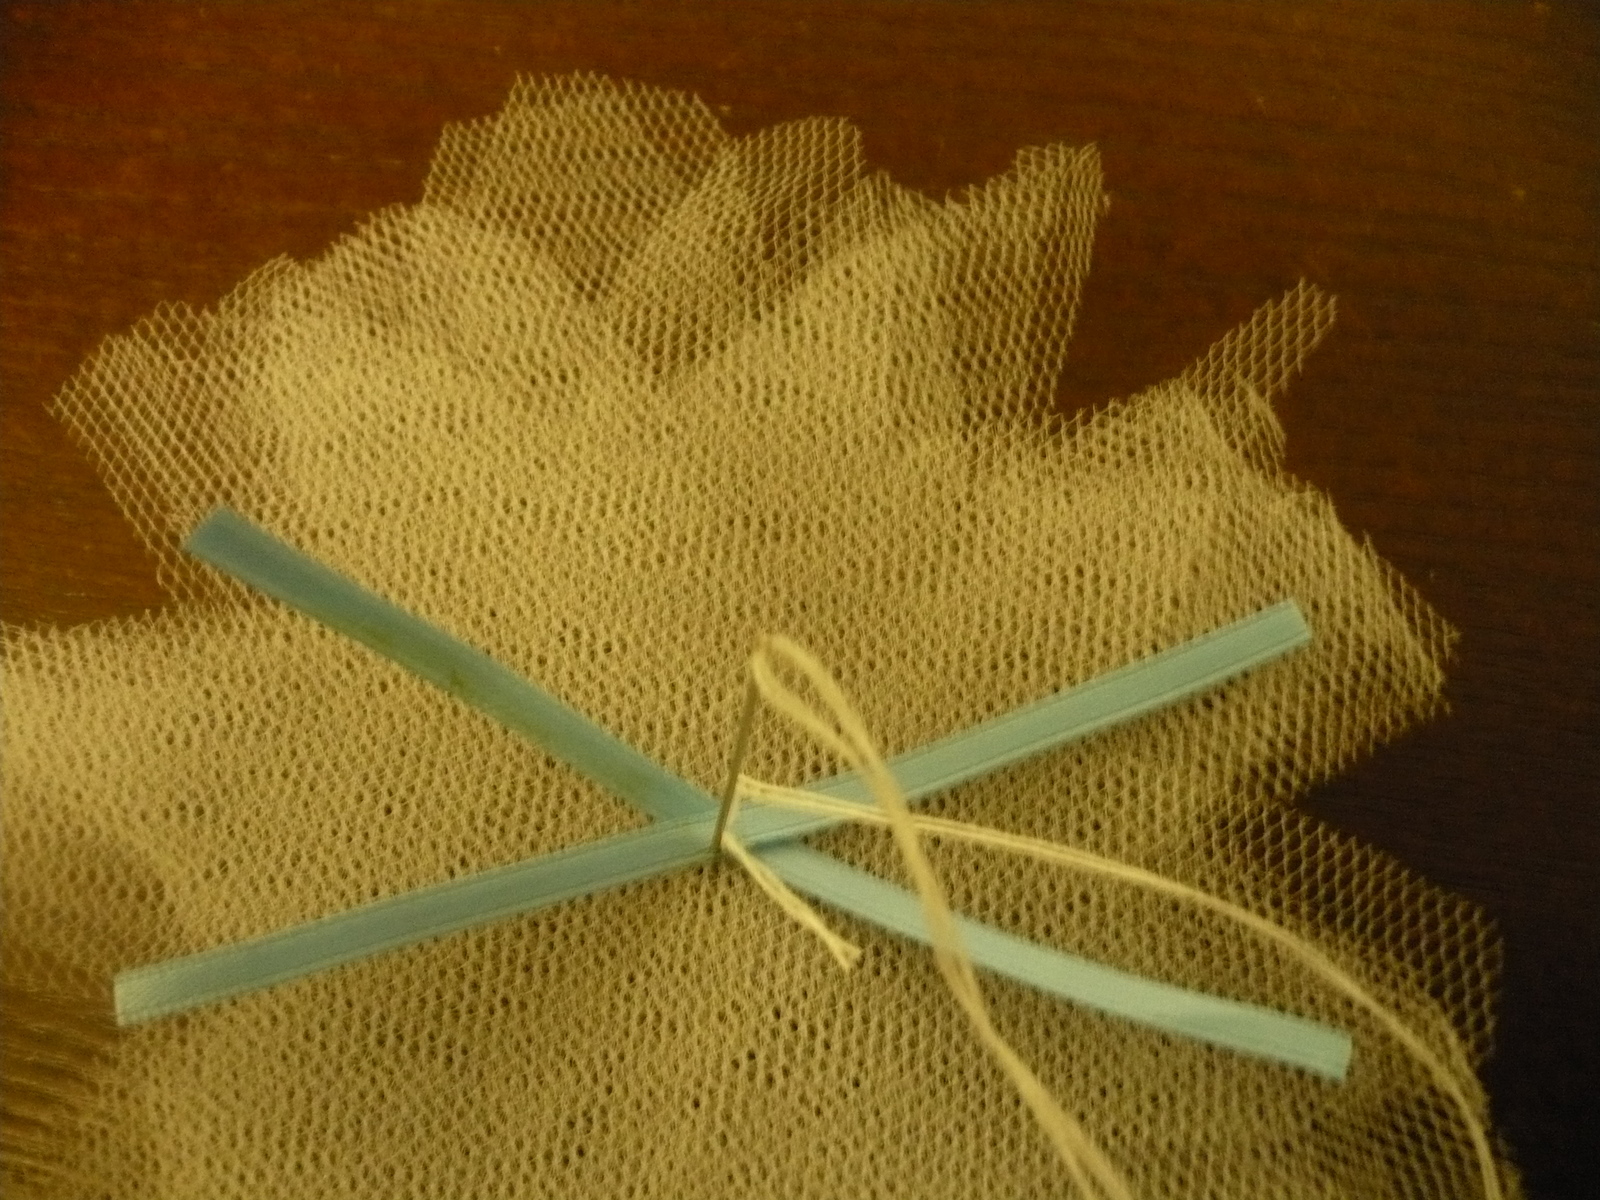
Now cut two satin ribbon strips about 4 inches long. Place them in an 'X' position on the flower.

Now thread a needle and tie a knot at one end of thread. Insert this needle at the center of the 'X' all the way through all the Tulle layers. Bring it back up, insert it down. Repeat 3-4 times to secure the ribbon and petals together.
 
Now fold the flower into half.


Now fold a third of this half from one side. Sorry I didn't get good pics of the above flower, so I'm using pics from another flower I made. Hence there's no ribbon or needle in this one.


Now fold another third over itself.

Now secure this flower by inserting needle back and forth a couple times.

Cut a 13 inch long piece from foldover elastic

Sew the ends down using zig zag stitch. Go over the elastic 2-3 times to give it extra strength.


Now your flowers and your headband are ready to be assembled.


Place one flower over the place where you sew the seam on the headband. Secure it to the band by inserting needle up and down 2-3 times. Once this flower is sewn in bring back the needle up on the band about half inch away from the center of this flower
Place another flower facing sideways on the band.Secure it with needle and thread too.

Repeat above step for the third flower.


Snow Blossom headband is ready. Put it on the cutest little girl around you!


Adore!


Go click, click click!


Pin It

Friday, November 4, 2011

Sneak Peek: On my sewing table right now

Sneak Peek: On my Sewing Table

A happy little firefly...

I will show the complete project early next week.

Pin It

Wednesday, November 2, 2011

My Little Butterfly Infant Romper Tutorial is live now

Jumper Sewing Tutorial: My Little Butterfly

Remember this romper?
Well, the tutorial is live now at Moda Bake Shop. Go here to check out!

Pin It

Tuesday, November 1, 2011

Coming up in November

Blooms And Bugs : November sewing I will just let the pictures do all the talking:


With a lot of tutorials, fabulous giveaways and "Show and tells" on the horizon, November is already looking awesome! Stay tuned.


Pin It