I have recently made a dress with Safari Sweet Organic Cotton collection from Clothworks. I loved the Coral Fabric and Missy loves the Green fabric. I think it turned out cute. Get the pattern and tutorial for The Jungle Dress over at Clothworks blog.
Friday, September 7, 2012
The Jungle Dress Pattern and Tutorial
I have recently made a dress with Safari Sweet Organic Cotton collection from Clothworks. I loved the Coral Fabric and Missy loves the Green fabric. I think it turned out cute. Get the pattern and tutorial for The Jungle Dress over at Clothworks blog.
Tuesday, September 4, 2012
Tea Rose Dress Sewing Pattern and Tutorial
Hope you all had a good long weekend, mine was mixed. With a birthday, a picnic, a trip to hospital, a circus and some good company we had quite a weekend. I have decided to just remember it as a happy one.
Here's a curved bodice dress that had been on my mind a lot lately. It went together very easily and I think the curve at the bodice works very well for little tummies. Here's the pattern ( 12 - 18 months size) and tutorial if you want to make one yourself.
Supplies:
Half yard knit fabric - fabric1
15 inches coordinating knit fabric - fabric 2
Iron on applique
Sewing margin - 3/8 inch
Sewing pattern:
Download the 4 page pdf pattern for Tea Roses Dress (12 - 18 months size). Tape the pages together according to the instructions on the pattern.
Estimated Sewing Time: 2 Hours
Construction:
First cut the three pieces for the body of the dress ( as shown above)
Sew the front bodice to the skirt piece along the curve( right sides together). For better finish, start from the center of the bodice and go right and then start from the center again and go left. at this point you may find the bodice slightly wavy because of the curves. Steam iron it to smooth out the waves.
Align the front and back at the shoulders and sew a seam at the shoulders ( right sides together)
Now align the front and back along the sides and sew side seams ( right sides together). The body of the dress is ready.
Cut out the sleeve pieces from the pattern. Sew the sides of sleeves ( right sides together)
Now sew the sleeves to the dress. For a better finish, start at the shoulder seam and go up to the side seam from front. Then start at the shoulder seam again and go up to the side seam from the back. Iron.
For the neckband, cut a rectangle 3 inch X (2/3 of the neckline length).
Sew the shorter ends of the neckband ( 3 inch sides, right sides together)
Fold this tube in half on to itself.
Using the seam as one point make a mark at the half of the neckband, and then mark the quarter.
Now pin the neckband at each quarter of the dress neckline such that the seam falls at the center of the back of neck.
Now sew a zigzag seam along the neckline. Since the band length is lesser than the neckline length, you will need to stretch the band slightly as you sew. This will ensure a snug fit and prevent gaping necklines.
Embellishing the dress
I just kept the things simple with embellishing by just using a simple iron on.
I cut out the motif I wanted to use.
Placed it face down at the center of the bodice. Turned off the steam function of iron and cranked up the temperature to the hottest. Then I ironed on the applique for about a minute by putting the iron down on it and lifting occasionally ( instead of sliding on the applique)
Then I let it cool for about 15 minutes. Once it was only mildly warm to touch I peeled off the backing to reveal the applique.
Here's how it looked like once I was done. This is just like fabric now, you could do pretty much anything you would do with fabric ( eg. wash, iron and wear of course)
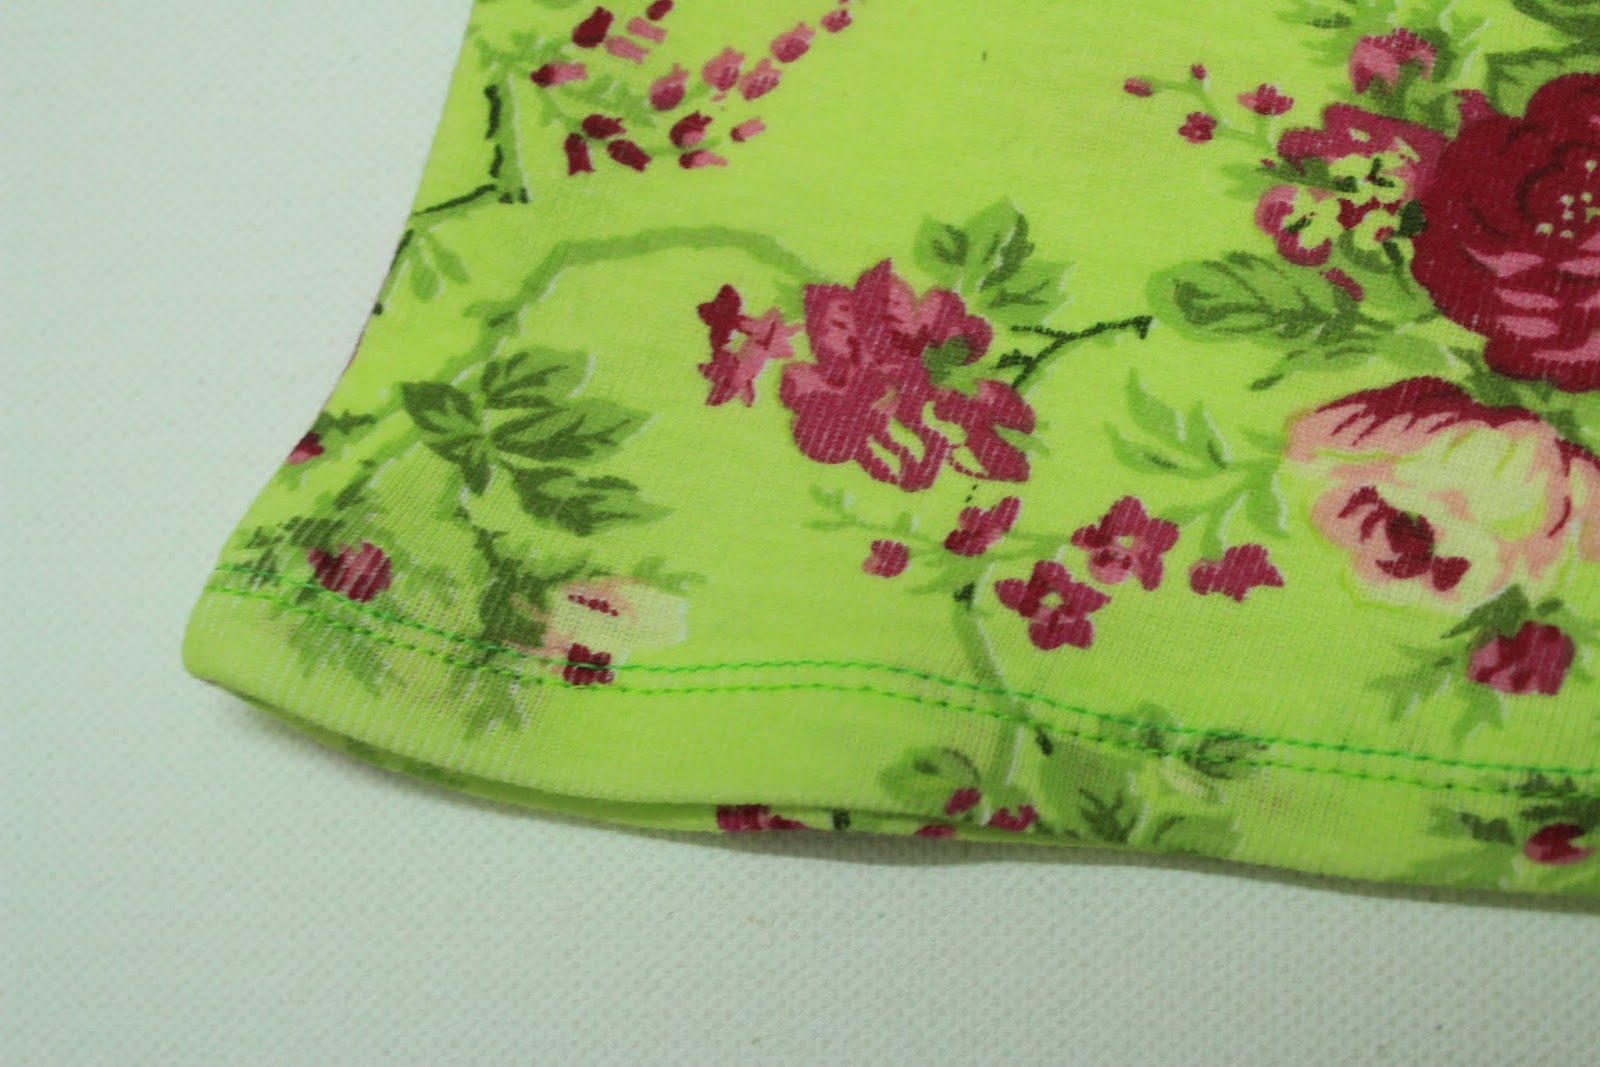
I finished the hem by using twin needles to sew a neat double-stitching at the hem. Since my fabric was medium weight interlock, there was hardly any lettuce edge. And whatever waves there were, half a minute of steam iron took care of them.
Tea Roses Dress is ready for the baby.
Wednesday, August 29, 2012
Double Ruffled Leggings Pattern and Tutorial
Today I'm guest-posting over at The DIY Mommy. I'm sharing the pattern and tutorial for these boutique style, double ruffle leggings. Check out! And while you are there don't forget to look around for some amazing DIY stuff by Christina.
Monday, August 27, 2012
Rolled hem fabric flowers
Supplies:
Knit scraps single color or multiple coordinating colors ( This is a great scrap buster project)
Button - 1 (optional )
Approximate Time: 10 minutes
Construction:
2. Sew rolled hems along the periphery of these circles. It will be difficult to sew the smaller circles so don't try to be perfect again just the best effort. Here's a very good tutorial on rolled hems.
3. Once you have made rolled hem on all the circles layer them one over the other, starting with the largest. Do not try to layer them perfectly, place each layer slightly off center for a more realistic flowery look. snip any loose threads.
4. Once you are happy with the look, hand-sew it on anything your would like to embellish. A couple of stitches just the way you would sew a button would be enough to make it stay. Or if its safe for your child, sew a button in the center.
5. No reason to stop. Make many many more!
6. Of many, many kinds!
Friday, August 24, 2012
Dainty Floral Dress Pattern and tutorial
I had been meaning to sew a very girly dress for a long time. Recently Clothworks sent me this beautiful floral collection called Suzette ( from Sue Zipkin) and it seemed perfect for a dainty girly dress.
Here's the tutorial for the dainty floral dress ( Clothworks blog).
Monday, August 20, 2012
Colorblocked Twirly Jumper Tutorial - Sew Easy Part 15
You can read the story behind this series and the first part here. Click here to read the second, third, fourth, fifth, sixth, seventh, eighth, ninth, tenth, eleventh and twelfth , thirteenth and fourteenth edition of this series.
I have made a gypsy skirt with a pattern quite similar to this. But this style is so easy to make and offers so many possibilities that I wanted to try it again in some other form. Then I saw these two Tshirts in my stash with really bright and cheerful colors and I just had to try a color-blocked jumper. I really love the way it turned out and I also like that its so easy to sew. Here's a tutorial if you want to make one your little bean.
Supplies:
- Knit fabrics in 2 coordinating colors - Since the pattern is cut in circular strips it uses a lot more fabric than regular skirts. I used up 2 XL sized tank tops to make this jumper in 2-3T size. I recommend doubling whatever amount of fabric you use for a regular jumper.
- Coordinating buttons - 2
- Fusible interfacing like Wonder Under by Pellon
Pattern:
Here's the pdf pattern for sewing the jumper in 18-24 months size. Cut 10 pieces ( 5 in each color), use the line that is shown as 'Flush' while cutting your pattern. Ignore the 'Spike' line.
Drafting the pattern:
You could also draft your own pattern for other sizes. It is pretty easy to do it.
First you need to measure the required length of the skirt. This is the length of where you want the jumper to end minus the length of bodice and shoulder straps. Lets call it L1. Now calculate L=L1-0.5 inch
Now take a big bowl or plate and measure L along its circumference. Mark the begin and end points of L. Now take a big paper and draw along the circumference of the bowl, between the points you have marked.
Now draw a 3 inch line starting at the top of the curve you made in step 3.
At the other end of the horizontal line, again place the bowl and draw the curve between the two points. The only thing to remember is that the skirt has to flare from top to bottom, so make sure the bowl is not placed in the same curve as the first one, but makes a curve away from the first one.
Join both the end points. This will become the hemline of jumper.
Here's the pdf pattern for sewing the jumper in 18-24 months size. Cut 10 pieces ( 5 in each color), use the line that is shown as 'Flush' while cutting your pattern. Ignore the 'Spike' line.
Drafting the pattern:
You could also draft your own pattern for other sizes. It is pretty easy to do it.
First you need to measure the required length of the skirt. This is the length of where you want the jumper to end minus the length of bodice and shoulder straps. Lets call it L1. Now calculate L=L1-0.5 inch
Now take a big bowl or plate and measure L along its circumference. Mark the begin and end points of L. Now take a big paper and draw along the circumference of the bowl, between the points you have marked.
Now draw a 3 inch line starting at the top of the curve you made in step 3.
At the other end of the horizontal line, again place the bowl and draw the curve between the two points. The only thing to remember is that the skirt has to flare from top to bottom, so make sure the bowl is not placed in the same curve as the first one, but makes a curve away from the first one.
Join both the end points. This will become the hemline of jumper.
If you're making a gypsy skirt with uneven hem, draw another line perpendicular to the second curve. Extend the first curve to meet the line we just drew. Lets call this line "SPIKE" and the one we drew earlier "FLUSH". We are going to use "FLUSH" line for this jumper.
Now calculating the number of pieces making the skirt.
First measure the waist and add 2 inches to it - lets call it W
Now lets assume a half inch sewing margin for simplicity. So divide W by 2 inches. The 'quotient' is the number of pieces you will need to finish this skirt. Cut half of the pieces from one color and the other half of them in another color. If the number of pieces is odd then add one more piece to make both the colors equal. It will adjust when we add the waistband by gathering the skirt slightly.
Construction:
Assembling the skirt:
This part is really easy. Basically place convex side of one strip with the concave side of the other strip in different colors and sew with right sides together. Just make sure to keep the top of the strip at the top.
Sewing Shoulder Straps:
Sew both the strips for outer bodice together along the 19 inch side (right sides together). This would make a single bi-colored strip of 6 inch X 19 inch. Fold it in half along the 19 inch side and sew the shorter ends (rights sides together).
Fold the inner strip in half along the 19 inch side and sew the shorter ends ( right sides together)
Sandwich the shoulder straps between the two layers such that its raw side lines up with the raw side of bodice pieces and the strap seam is facing the inner bodice.
Keep the straps 2-3 inches apart with the center falling at the short seam on the bodice pieces. Sew a seam along the 19 inch edge making sure to sew over all the layers including both bodice layers and shoulder straps.
Note: The photo doesn't show that the shoulder straps are only 2-3 inches apart but that's how it should be.
Turn out. The bodice is now ready to be joined to the skirt
Peel the paper backing and fuse with the other fabric on the back. cut out 1.5 inches squares as shown above. Make diagonal slits that stop a little before the center.
Fold alternate corners of each petal towards the center to make a pinwheel. Hand-sew it onto the jumper on the seam joining bodice and skirt.
Repeat with other pinwheels.
Sew on two buttons on each of the shoulder straps. Make buttonholes on the bodice. you may need to use stabilizer if the fabric you're using is not sturdy enough to make buttonholes.
While I was busy taking pictures, a tiny cloud found its way near the jumper and showered a colorful bunch of droplets. Not that I'm complaining.
Subscribe to:
Posts (Atom)