Showing posts with label pants sewing pattern. Show all posts

Thursday, March 29, 2012

Snug bug - Toddler snow bib sewing pattern - Bottom's Up Part 8

Snow bib sewing tutorial


snow bib sewing pattern
This tutorial is eighth in the series focusing on sewing pants for children. Here's the story behind the series, the second part of the series is reversible pants, third part of the series is rumble-tumble coveralls,  part 4 is two color pieced pants  part 5 is lilly frilly ruffle pants and part 6 is skirt leggings and part 7 is Aladdin Pants.

An upcoming trip to Lake Tahoe and non-availability of Snow Bibs/Snow Pants in my daughter's size prompted me to make these snow bibs for her. I loved that I could make them very inexpensively from a pair of adult nylon pants and they held well in the snow. My daughter was warm and comfortable and had fun. Here's how I made them.

Supplies:
  • Nylon waterproof fabric : 1 yd
I actually made these from Men's XL size nylon pants that I bought at Walmart but if you want to buy the fabric go right ahead.

  • Coordinating lining fabric ( cotton woven) : 10 in X 10 inch
You can use pretty much any fabric here, as this is neither visible, nor does it touch child's skin, so use whatever you have on hand. I used cotton interlock.

  • Wide elastic ( 1 inch or more wide) : 1 yd
I used a polka dot printed elastic that I had in my stash but you could use any elastic that you have on hand, like the kind used in kids pants waistband. However, if you have a cool printed elastic, consider using it as this will show up in the front and back.


  • Narrow elastic ( 1/4 inch to 3/8 inch wide) : 1/2 yd


Test the fabric: Highly recommended


Run it under the water in a sink and check if it feels at all wet after you remove it. If it does, that means its not suitable for outerwear in the snow. The main purpose of this garment is to protect skin from getting wet and  if the fabric is not waterproof it will be useless. So spare yourself the grief and test it. The ideal fabric will have water running off of it without making it wet.


Construction:

These pants are based on the Rumble Tumble Coveralls that I made earlier. If any of the step is not very clear to you, I highly recommend checking the coveralls tutorial here.

Sewing the pants:
Sewing pants pattern

1. Use the simplest PJ/pants pattern you have to make these pants. Keep the following things in mind while cutting these pants:
  • Make sure you add half an inch to the width ( on each side) because you need these pants to fit over multiple layers of pants. 
  • Also remove any margin for waistband, because we will be sewing waistband separately. 
  • If you are making these out of another pants, make sure the hem of your pants fall on the original hemline. That would save you the time of hemming them again.

Pants inseam

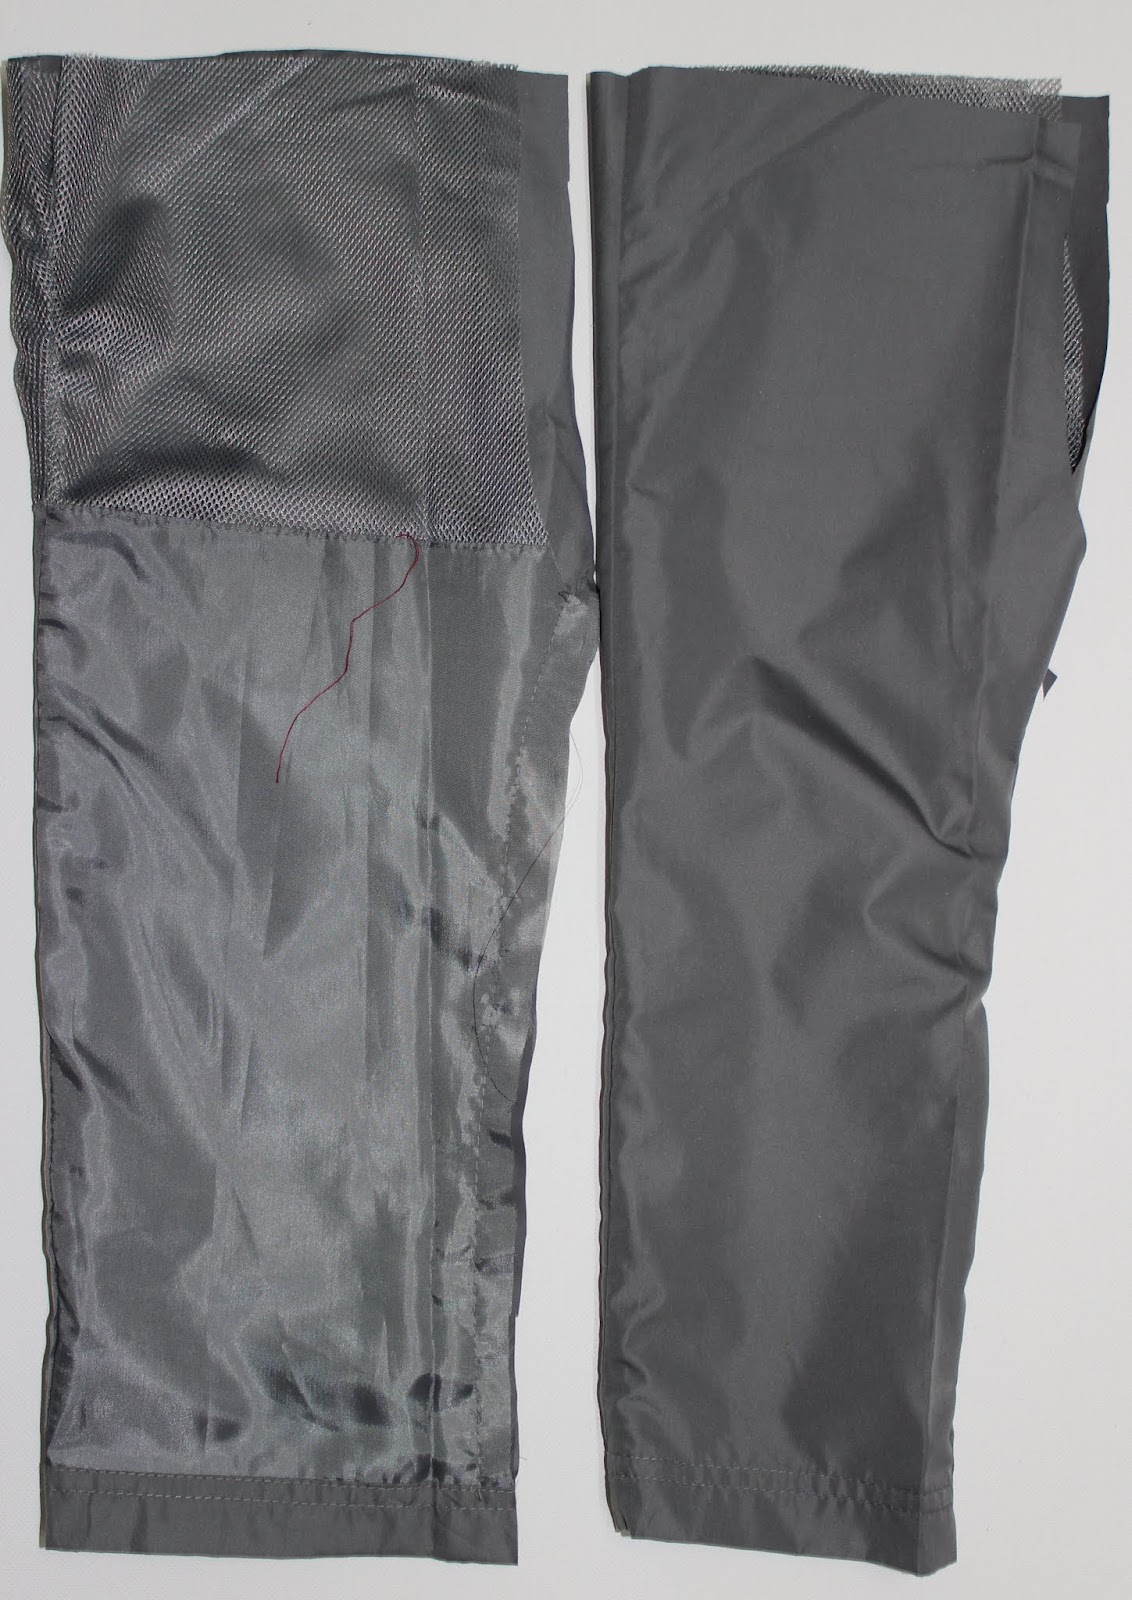
2. Sew the pants like you would sew any basic pants. First the inseams on both legs ( leave the bottom two inches or the length until the hems open ), then turn one leg right side out, insert into the other, align the crotch part and sew along the the crotch.
snow pants

The pants are ready, set them aside while we work on the yoke and waistband.

Making the yoke:


3.
Snow bib sew pattern


Cut a semi circle with a 7 inch base from nylon. Cut another one of this from the lining fabric. Cut the wide elastic in two parts. Place them right sides together and sandwich the elastics between these two layers. Place the elastics such that they are about 2 inches apart at the top of semi-circle. Sew a seam along the circular part, making sure you're catching all the layers as well as elastic ends. Cut notches in the fabric along the seam. Turn out.

Making the Waistband:

4. For the waistband, measure around the top of the pants. Lets call this length W. Cut two pieces of width W+1 inch and length 3 inches, One from Vinyl (outer shell), one from interlock (lining).


5. Sew each of the W+1 inch pieces into a tube by sewing along the 3 inch side ( right sides together, half inch sewing margin). So now you will have two tubes of periphery W. Line up these tubes right sides together such that the seams are aligned.

Sew snow pants shoulder straps

Sandwich the yoke we had just made in step 1 between the two layers of the waistband. Make sure the vinyl side of the yoke is facing vinyl side of waistband. Sew along the edge, just the part where the yoke is.

6.


Snow bib yoke
 
Now decide what length you want your elastics to be, and where they would be positioned in the back, I recommend a cris-cross placement for a snug fit, but you could also do them side by side. Once you have decided the length and placement, pin the elastics and sandwich them between the right sides of nylon and interlock such that when we turn the waistband out they will be attached to the waistband without any twists. If you're not sure try to hand baste with running stitches and see if they turn out correctly.

7.
Snow bib sew yoke to pants


Now that the top part is done ( except for the elastic at waist), sew the whole top to the bottom with the right sides of nylon together. Sew all around the waist and make sure you center the yoke at the front center of pants.


8.
Snow pants top


Now turn the whole thing right side out. Does it begin to look like a snow bib?
Top-stitch close to the upper edge of waistband. Now fold the interlock lining of the waistband on the inside and sew along its lower edge from the outside. In this seam leave two gaps of 1.5 inches on either side of the yoke. These will be used to insert elastic.

9.

Snow pants waistband
Insert an elastic in the back of waistband, using the gaps you left in step 8. Sew the elastic on both sides, reinforce with multiple seams. Now sew the gaps shut.


10.

Snow pants leg cuffs
If you have used the hems of original pants to be the hem of these snow-pants, you could use the existing hems as casing.  Insert the elastic in the hems using the opening left in step 2. Pull it such that the leg cuffs are comfortably snug on the child's leg. Now sew the opening shut by sewing on the inseams till the bottom.

If you have made these from fabric, fold it once quarter inch, and then fold it 3/4 inch ( with a one inch gap) to make a casing. Now insert a narrow elastic in this casing. Sew both ends of the elastic together and sew the opening shut. Do it for the other leg too.


11.

Snow Pants sew pattern
What are you waiting for? Go Play! In the Snow!


Special Notes:
You need to layer your child with a pair of fleece pants or some warm pants beneath these pants because they're not insulated. They will do a great job of protecting your child from any wetness though. If you want to make an insulated pair of pants...you could use my reversible pants pattern with a layer of thinsulate sandwiched in the middle to provide warmth.


Pin It

Friday, January 27, 2012

Bottoms Up - Part 7 - Aladdin pants sewing pattern and tutorial

Aladdin Pants Sewing Pattern and Tutorial
Aladdin Pants sewing tutorial
  

This tutorial is seventh in the series focusing on sewing pants for children. Here's the story behind the series, the second part of the series is reversible pants, third part of the series is rumble-tumble coveralls,  part 4 is two color pieced pants  part 5 is lilly frilly ruffle pants and part 6 is skirt leggings.  


I made these pants because I wanted something fun and a little different from the pants leggings pants routine of my daughter's wardrobe. My first attempt left something to be desired, so I tried again. This time I love how they turned out. I also love this hearts and flower baby cord that I got from Joann's. I didn't realize it at the time, but its just perfect for the Valentine's Day. I also like that this pattern is perfect for both boys and girls, just make these in a boyish print/colors and you have your Aladdin ready for the ride on the magic carpet.

Here's how you make one for your bug.

Supplies:

I made these with:
1.   1/2 yd of main fabric
2. Quarter yard each of two coordinating fabrics.

But I recommend using:

3/4 yd of main fabric 
quarter yard of a coordinating fabric for waist ties and leg cuffs
                        

Elastic - 15 inch 1 inch wide elastic for waist
Elastic - 20 inch 1/4 inch wide elastic for legs

Construction:

I recommend using slightly heavier fabrics like baby corduroy, linen or heavier cotton for these pants, but not something too heavy like denim. For the coordinating fabric also its better to use a fabric on the heavier side. I didn't have any coordinating fabric of the right weight so I had to interface the pink fabric to use it as a waistband.


drafting pattern for Aladdin pants

Cut pants using your favorite pattern along with the following modifications: Here's the one I used.( page 1 and page 2 )

  • Cut them 1.5 inch wider on each side of each leg. This would add 1.5X4 = 6 inches to their width. We need this because this pattern is for pants that are roomier than regular pants.
  • If your pattern has fabric for the waistband built into it, cut the pants 1.5 to 2 inches lower than what the pattern calls for. This is because we will make the waistband separately here.
  • You don't need the length for hemming either, If your pattern has the hemming margins built into it, cut it up half an inch because we will sew in a single sided bias tape at the hems.

2.

sew basic pants


Ok so you have cut the pants, now sew them like you would sew a PJ. First the inseams on both legs, then turn one leg right side out, insert into the other leg, line up the crotch part and sew the seam along the crotch area. Don not hem or make a waist band. ( If you want a detailed tutorial see this basic pants pattern)


3.

sew pleats on pants

Now two inches from the center seam, mark three gradual marks of 1.5 inches in both directions. Use these marks to sew three pleats. Make sure that pleats on both sides are facing each other.


4.

gathers on the pants waist

Now sew a seam along the rest of the waistline with the longest stitch on your machine, pull the bobbin thread gently to slightly gather the rest of the waistline. Don't fill in too many gathers though, the pants have to climb up your little ones bottom, so make sure you leave enough room at the waistline for that, we will anyway use elastic in the waistband to get a snug fit.

5.

drafting waistband for pants

drafting waistband for pants


Now lets work on the waistband, cut a fabric 6 inches wide and 6.5 inches long. Now measure the waist of the pants and subtract 5 inches, lets call this length W. Cut another fabric 6.5 inches long and W inches wide. This is where I ran out of main fabric and had to use the pink peace fabric...moreover since this fabric wasn't right weight, I had to use interfacing to make it stiffer. But since you're smarter than me...you would start with more fabric and cut the longer waistband piece from the main fabric.

6. Make the waist ties by cutting two strips of 2.5 inch ( length) X 42 inches ( width). Fold each strip into half ( right sides together) and sew along the longer sides. Snip the corners and turn out.

7.
sew a split waistband
Sew the waist ties on both sides of the 6x6.5 inches piece that we had cut in step
5. Sew these ties about 1 inch from the bottom of 6.5 inches long sides. Now sew together the other W inches wide fabric and 6 inches wide fabric with right sides together, such that the waist ties get sandwiched between the two fabrics. The pic show how it will look once you are done. I have just folded the waistband fabrics in half.

8.

sew waistband to pants
Now place the smaller waistband piece ( the 6 inches wide one) over the right pleats of the pants ( right sides together) leave about 1 inch from the starting point and sew along the waistline. Stop about an inch before you complete the circle.

9.
sew waistband to pants

Estimate how much waistband fabric you will need to finish the waist. Sew a seam to join the smaller piece of waistband to the bigger waistband piece. Make sure the waist tie gets sandwiched between the two. Snip off any excess fabric. Now finish the seam along the waistline. Turn out.

10.

finish pants waistband


Here's how the waistband will look after you turn it out.

11.


finish pants waistband

Now turn the waistband down again. Fold the raw edge quarter inch inside and sew basting stitch along the edge.

12.
Insert elastic in pants waistband

Fold the waistband inside such that it falls right over the seam joining waistband to the pants. Sew a seam along the waistband from the outside leaving a gap of 1 inch near the small waistband piece. Make sure you're catching the other edge of the waistband on the inside. Use pins or hand baste if needed.
The above pic shows a gap on the right side of smaller waistband piece. You have to do the same on the other side of this 6 inch piece.

13. Insert elastic in the longer waistband piece using these gaps. Sew zigzag stitch on both sides to secure the elastic.

14.

Sewing leg cuffs


For the hems, cut 2 inch long and strips with width equal to the hemline of both legs + 2 inches.


15. Fold these strips in half along the length and iron. Fold both edges in half again ( turned towards the inside) and iron. The strips should look like a bias tape now.

If you need more details, see step 4 of this sleeper to jacket refashion tutorial.


16.
finishing pants hems

Sew the strip right side to the wrong side of the hem. Try to sew on the first quarter mark of this tape.


17.


Turn out. Fold the quarter mark along the top edge and sew on the top edge, as close to the edge as possible. Leave a gap of half inch to insert elastic.

18.
Insert elastic in pants hemline

Insert an elastic using the opening. Pull it such that the leg opening becomes snug but doesn't dig into your little ones ankles. Sew both ends of elastic by overlapping on each other and slip them back into the leg cuff. Sew the opening shut.


19.


Repeat step 15 -18 for both legs

20.


Though you could always tie the waist ties into a bow. I highly recommend trying the pants on your child and tying the bow and sewing it permanently ( or semi permanently). With an energetic toddler, the waist ties may come undone very quickly and a child running around with long ties is no fun.
You could always pick out the sewing and adjust them back when the child's waist grows.
Aladdin costume DIY
Here's the view from the back


Here's the front

Now all you need is a magic carpet!


Pin It