Showing posts with label DIY. Show all posts

Monday, October 8, 2012

DIY Decor - Tulle Pom Pom garland


So a birthday party happened last week. I have since decided that I love parties, as long as I'm not hosting them...ha!
Anyhow, I was hosting this party and I ended up making a bunch of decorations for it, so expect many diy decor tutorials in the weeks to come. Hopefully, these will give you some new ideas for parties you are hosting. First in the series of "how to decor" is this Tulle Pom Pom Garland that I made (inspired by this garland via Shortcake Party Shop on Etsy, unfortunately it is closed right now). Its like the easiest thing ever but it adds a big kick to your party decor.


Supplies:

  • Tulle ( 6 inches roll or yardage)
6 inches rolls are much easier and faster to use but you could also get the yardage and cut it into strips yourself. Its not really difficult and you may save some money that way.
  • Upholstery weight thread or any other strong thread. I think organza ribbon will also look good but I haven't tried it.
  • A piece of cardboard ( about 6 inches wide )
  • Pair of scissors

Construction:

wrapping tulle on cardboard
Wind the 6 inch tulle strips around the cardboard piece. I wound about 10 times for each pom pom. You could reduce or increase this number depending upon how full you want the pom-pom to be.

tying up tulle
Cut the end of Tulle. Take the Tulle off the cardboard. Tie the thread tightly at the center. Don't cut the thread yet.

cutting out tulle pom-pom
Cut the tulle by taking your scissor between each loop and cutting there.

tulle pom-pom tutorial
Voila! your first pom-pom.

Now wind some more tulle around the cardboard, Take it off the cardboard. Remember the thread that we didn't cut last time around, now tie the same thread about 8 inch away from the first pom-pom to make another pom-pom. Keep on doing this.


tulle pom-pom garland tutorial


Aha! A garland!


Pin It

Friday, January 6, 2012

Dec Roses Scarf Tutorial

Ruffled Scarf Sewing Tutorial


Winter means a lot of accessories, and among all those...scarves is my favorite. They can perk up any plain outfit, come in bazzillion styles and colors and are so easy to make. And if something is easy to make, I have to make it. So I did. This super soft bunch of ruffles. I love it and I thought you would like it too so I'm sharing with you how to make one.


Supplies:

Knit Jersey Fabric : 15 inches ( length) x 60 inches ( width)
Elastic thread
Matching thread


Construction:

1. Cut two strips from the fabric of 7.5 inches X 60 inches. If your fabric is not 60 inches wide than just cut multiple strips to make that length. Don't worry about cutting the strips evenly, since it will all get ruffled eventually a little variation in width won't be noticeable and most probably look good.

2.


Now take one strip and shir it in the center. To do this you need to fill your bobbin with elastic thread and use the regular matching thread on top. I did two rows but since all the fabrics shir differently you will need to vary the number of rows based on when you get a decent ruffle in the fabric. If you don't have any experience with shirring here's an excellent shirring tutorial to jumpstart you.

If you cut two smaller strips instead of a 60 inch wide single you need to join them before you shir. The good news is that you don't need to do anything special for that. Just overlap the two strips 1 inch and continue shirring like it was a continuous piece. Because the final piece would be very ruffled, the join would be invisible. Since the knits don't fray, it would be okay in the wash too.

3.
Repeat the above step for both the strips.

4.


Now place one strip over the other ( Wrong sides together). The wrong side is where the white elastic thread is showing. Our goal is to hide this thread, so it doesn't show up whatever way you wear your scarf.

5.

Sew a seam of half inch at the starting point ( shown by the arrow), go back and forth 2-3 times. Trim the extra thread.

6.

Sew a half inch seam every 5 inches. Go back and forth like you did in step 5. Trim any excess thread. What these small 'tacks' do is hold the two layers together so the elastic thread won't show. But sewing these only at the intervals would maintain the stretch in the scarf that was given to it by shirring.
7.


Sometimes, due to unpredictable nature of shirring, your strips may turn out to be different lengths. If that happens, just turn the extra part from the longer strip over the smaller ( As I did in the image above - look right above the arrow) and sew a tack at this point.

8.

The scarf is ready! wear it, gift it, show it off!

Variations:

You could do a number of things with this basic idea. Here're a couple that I could think of.

1. Use strips of different widths

2. Cut fringes after shirring

3. Use different colors for both the strips

4. Use 4 strips instead of 2 and shir 2 layers together.

5. Join different colored small strips instead of making a single long one


I may try some of these ideas myself at some point...but for now, ball is in your court. Go wild!


Pin It

Monday, October 31, 2011

More Tees Octoberized


This weekend was busy busy! but some more Octoberized Tees made it under the wire...


I found these really cool boyish tees at Walmart ( gasp!) on clearance in Munchkin's size and for $2.50 each just couldn't pass them up. It took about 15 mins each and both of them went from half sleeved to full sleeved.


I almost added Ric-rac to the sleeve cuffs..almost. And I still think it would look cool...ok, stop shaking that head! I have been sewing for girls for a couple of years now, what do you expect? Besides, Ric-rac is better than ruffles don't you think? But ruffles...now that's an idea.


The green one had this cool applique on the front, which I thought deserves a pic of its own.
Did you octoberized any of your tees?

Pin It

Thursday, October 27, 2011

Tutorial: Octoberize that Tee

Sewing Tutorial: Adding full sleeves to a Tshirt
This is a tutorial that I did a couple of weeks back at Ricochet and Away. I'm sharing it with you all here because I think its a good one for fall.Enjoy!

adding sleeves to a Tshirt


For this post I wanted to bring you something that would be useful to almost everyone. You know how we all are left with Tees at the end of the summer, they look and fit great but they are half sleeved, so they can't be used during the fall and winter. By the time summer rolls back again, they're too short already.
I have found myself with a pile of half sleeved clothes and wondering...Gosh!! these clothes are so nice, I wish I could use them somehow, until it hit me...adding sleeves shouldn't be that hard. After all, I do it all the time for the clothes I sew from scratch. Adding just the sleeves would be a lot more easier..and quicker.

So here's a tutorial on adding sleeves to your little one's ( or your own) tees and then adding just a little more detail to bind it all together. I'm calling it Octoberizing that Tee because a full sleeved version will be just right for the weather in the beginning of fall and also because the colors are just right for October.


Supplies ( 2 year old size)

1 half sleeved Tshirt
1 XL Tshirt in a contrasting color ( or any knit fabric will do - using T shirt was much quicker because I didn't have to hem)

Adding the full sleeves:

how to add long sleeves to a tshirt

Cut off the sleeves from the adult tee.

measuring the width of sleeve

Lay the small Tee straight and place the sleeves from the big tee next to the small Tee sleeves. Make sure that both the Tee sleeves and the new sleeves make a straight line and overlap about half inch. Now measure from the shoulders of little Tee to the hem of sleeves of big Tee, this is how long your final sleeve will be. Compare it with the sleeve length needed for your child.If this is too big, increase the overlap to reduce the length. If it is too small you have two options - 1 You can pick open the hem of sleeves, this will give you one extra inch. you could do rolled hems on the sleeves later.
Another option is to use T-shirt body, or a knit fabric instead of sleeves. This is not very complicated either. Just fold a knit fabric along the width and use it the same way I'm showing you using the existing sleeves. You just have to hem these sleeves...that's all.

Once you have determined the correct length you have to determine the width. What we want to do is make an addition to the sleeve that is as wide as the existing sleeve's end in and then it tapers off following natural shape of arm.
So you will measure the width using the hem of existing sleeve and add 1 inch to it for sewing margins.
cutting out the sleeve

Do the same for the other sleeve.

drafting a full sleeve from a half sleeve
Now fold each sleeve in half along the width ( right sides together) and sew a seam on the side using up sewing margins. Repeat for the other sleeve.

sewing up the sleeve

Turn this tube of sleeve inside out. Now line it up with the real sleeve as shown above. Now gently slide the wider end of new sleeve into the existing sleeve. Straighten both the sleeves using your hand. Make sure the new sleeve is fitting the old sleeve evenly. Use hand basting or pins to hold it in place.

attaching the full sleeve to half sleeve
Sew a seam along the joint of the new and old sleeves to fix it in place.
Note: It is easier to go from the neckline to sew this seam, at least it was for me.
Repeat for the other sleeve.

Ta da! Your tee has full sleeves now...smile!


Adding contrasting stripes at the front.


sewing contrast stripes to the front

Cut two rectangles from the contrasting knit of width equal to the width of Tee and length = 5 inches. Place them one over the other and then onto the Tee at a position you like.

sewing contrasting stripes
Pin or hand-baste these to make sure they stay in their place.

sewing chenille stripes
Now sew parallel lines along the hand-basting. Mine are about 5/8 inch apart. You can use your sewing machine foot as a guide to get evenly spaces lines.

how to sew stripes on a tshirt

Once you're done sewing, its time to cut. Cut between the seams, Making sure you're cutting only the extra layers and not the Tshirt itself. I used a small scissor to do this. Try to stay in the center between two seams but you don't have to be precise. We are taking advantage of the fact that knits don't fray. So we can leave the cut edges raw.

adding stripes to a Tshirt


Congratulations! You have successfully Octoberized your Tee. Right now the orange is looking like a color-block at the front, but these knit strips will curl up in the wash.
octoberize a Tshirt


So they look more like ruffled stripes of orange and white. For more pizazz you could use more layers, and also graded color layers. So when you cut, you will see colors of different intensity. I haven't done that but I think it would look cool.


PS: Here's a very helpful comment from Amanda:

"I've been doing this with my son's shirts for a couple of years. Since toddler/preschooler shirts are rather small, it's hard to sew the fabric on as a tube. I open out the underarm seam on the t-shirt so I can sew on the new sleeve as a flat piece of fabric, then turn inside out and resew the underarm seam all the way to the cuff. I cut the arm extensions from too-small knit pants sometimes-- they often already have a ribbed cuff."


Great comment Amanda! I'm sure it will be helpful to many readers. I'll also try it this way.

Thursday, October 20, 2011

Bottoms Up - Part 4 - Two color pieced pants

Sewing Tutorial: Pieced Pants in two colors
 pieced pants sewing tutorial
                 
Here's the story behind the series, the second part of the series is here, third part of the series is here.                                         

1. Just take any pants pattern

cutting out a pants pattern  

This time we're cutting 4 panels for these pants 2 for front and 2 for back, so no need to cut on fold, juts place the pattern on four layers of fabric and cut. However since we're going to piece another fabric near the bottom, leave out the last 2 inches or so from the pattern. In the above pic, the pattern is placed upside down, so if you look carefully, the bottom 2-3 inches of the pattern( top of the pic...it is upside down) are hanging outside the fabric, meaning that area will not get cut in this fabric.


2.
cutting pieced pants
Here's the pattern traced out and cut 2 inches too short.

3.
pieced pants pattern
Now using a big bowl or any circular object, cut an arc near the bottom of the pants. make sure to cut the arc such that you cut lesser near the curvy part of the pants and more from the straight art. No logical reason for that, it just looks better in my opinion.

4.
sewing tutorial for pieced pants
Now place the cut pattern on four layers of coordinating fabric, make sure two layers are placed right side up and two layers are placed wrong side up.

5.
two color pants sewing pattern

Place your pattern on top of the fabric and align properly with fabric 1.. Trace it on fabric 2, also trace the curve from fabric 1 on fabric 2 and cut.

6.
how to sew pants for kids

7.
Now lets sew the pants
First join the four Fabric 1 panels with fabric 2 panels. Make sure you line up the curves properly.
Clip some notches to help the curve sit straight.

Top-stitch at the right side.

8.
Line up front and back panels, sew at the straight line, right sides together. At this point, it will be helpful to start sewing from the point where fabric 1 and fabric 2 meet and go up first. Then start again from the meeting point of fabric 1 and fabric 2 and go down. This will ensure that the pieces are perfectly aligned. You can always trim if any of the ends have small mismatch.

9. Now that you've got your two pieces ( right leg and left leg), just sew them like the basic pants. Don't forget to embellish with matching trims and notions.
And Done!
sewing pants tutorial


And just for fun here's another one of the Grow And Gather dress that I made to go with these pants.

halter neck dress

I think they look great together....Don't they?

pieced pants with dress

Sunday, September 25, 2011

Bottoms up part 3: Rumble Tumble Coveralls

Coveralls sewing tutorial
coveralls sewing tutorial

Here's the story behind the series, the second part of the series is here.

For this edition of Bottoms Up series, I decided to bring you these coveralls. I love coveralls - the front yoke, the shoulder straps, the elastic in the back, all make for a very cute outfit. On the practical side, they are a perfect garment for a small powerhouse, the straps make sure that the pants stay in place during all the jumping, running and other toddler adventures. The denim or corduroy fabrics wear well through the daily washes that kids cloth endure.These will also be a good choice for cooler months ahead. So without further ado, here's how you can make your own Rumble Tumble coveralls.

Supplies:

Denim or corduroy fabric: 1.5 yard
Lining Fabric: 10 inchs X 10 inches 
Closures: 2 ( buttons or snaps )


sewing pattern coveralls

We're using the simple trouser pattern( page1, page 2) for these coveralls with some changes:
1. DONT cut it on fold now, you will need 4 pant pieces for these coveralls
2. Leave top 2 inches of the pants from the pattern, because we'll be making a separate waistband here.
    (Basically just fold 2 inches from the top of the pattern and ignore that part)
Cut all 4 pieces for the trouser from the pattern.  Remember that you don't need a waistband for this pattern so the top of the pants is a little shorter than a regular trouser.

how to sew coveralls

Sew these parts like regular trousers. 
First sew the outer straight seams
Next sew the inseams of the pant legs.
Then turn one leg right side out and push into another leg and sew the crotch seam.
how to sew overalls


Now measure a rectangle of length 5 and width = circular width of the pants' top + 1inch.
Fold and cut it into half such that you get 2 strips of 2.5 X width
These pieces will serve as waistband.


sewing yoke to coveralls
For the yoke front cut an arc of 4 inches X 8 inches.

lining for the overalls yoke


Use it as a template to cut a similar sized lining piece. Sew the yoke and lining( right sides together) along the curve.


Snip some notches all around the seam to help it retain shape after turning out. Turn inside out.

turing out the yoke

Fold into half along the width, and snip a small notch to mark the center.

sewing shoulder straps for overalls

Now lets make shoulder straps:

Cut 2 strips of 4 inches width and 25 inches length. Fold into half along the length and sew along the longer side to make a long tube, turn out. Now iron these straps such that the seam is in the center of one side.

Assembling the yoke and waistband of the coverall:


Take both the 2.5X width strips we earlier cut for waistband. Mark their centers by folding them in half and snipping a notch in them.


Now align the raw edges of yoke and waistband strips such that yoke is sandwiched between right sides of the waistband strips and the notches that mark center of all three layers line up. Sew a seam along the yoke length.

Here's how it will look.


Now sew the waistband to the pant by aligning one raw edge of waistband with the raw edge of pants. Here you need to make sure that not only their right sides are together, but also, you are sewing the side that will keep the yoke right side on the front, after you turn out. You can sew a few stitches and check to see if you're doing it right.


Go all around the pants, joining waistband to the pants. When you reach close to the ends, measure how much you need to finish and use the rest of strip as sewing margins. Sew both ends together. Now finish sewing the seam to join waistband and pants.


This is how it will look at the back. Now place you shoulder straps in the back such that the seam on the straps in facing you. Place the straps 2.5 inches apart at the center of back. Now cover them with the other waistband strip such that it sandwiches both the straps in between waistband.Sew along the raw edges of waistband, making sure you are catching the straps.


Now iron half an inch of the raw side of waistband to fold on the inside.

Now lets insert the elastic in the back:
Sew along the waistband seam (ONLY IN THE BACK), as close to the seam as you can but not over it. This will ensure that you catch the folded waistband on the inside of the pant.


Once you have done this at the back, insert an elastic from one end of back, pull it out at the other end of back. Pull the elastic a bit to gather the waistband. I gathered the waistband about 2 inch lesser than its width
to make it snug in the back. Now sew it on both ends to secure it. Sew along the rest of the seam to finish attaching the waistband.


Now add some closures to the yoke and shoulder straps. You can finish the raw ends of shoulder straps by
serging them, or by pushing them inside a little and top-stitching.

how to sew coveralls

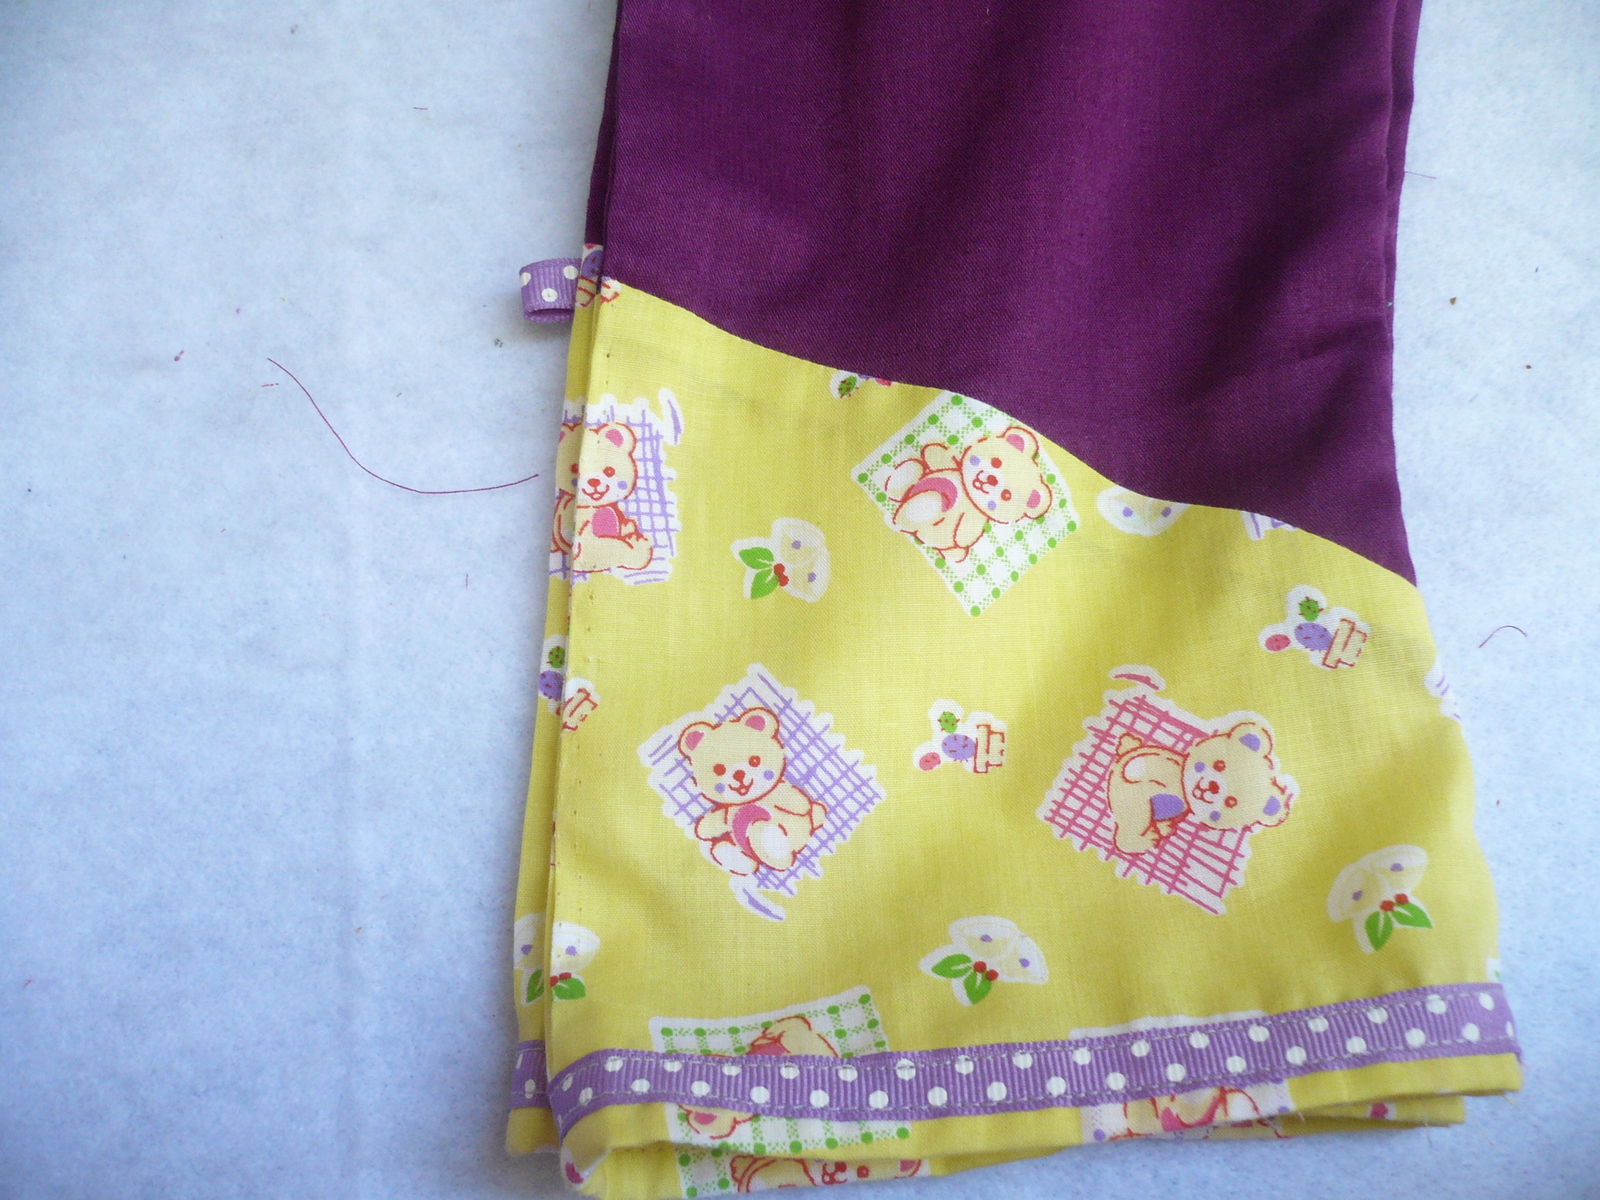
At this point I highly recommend trying these on the baby to determine exact length desired. Mark the appropriate length and use the rest of the length to finish the hems by folding twice and sewing.

rumble tumble coveralls tutorial

Rumble Tumble coverall is ready to accompany your toddler in all her adventures.