One of the biggest perks of sewing at home is customization. I have complete control on the design and embellishment of the clothes I sew, I could make them as blah or as whimsical as I want. It comes in handy when you have a rather opinionated toddler, who knows exactly what she wants and is very happy to let me know about it.
Freezer paper stenciling was a technique I wanted to try for a long time. Little one's obsession with butterflies gave me the perfect opportunity to do it. I am totally in love with this dress, often what I envision in the beginning of a project is somewhat different from what I end up making, but this dress turned out just what I thought.
Do you have a little girl who would like a pocket full of butterflies? Well then, read on!
Skill Level:
Intermediate
Time:
3 hours
Supplies:
For Dress Base:
- Knit Fabrics Charcoal grey, 27 inches or 1 XXL size t-shirt
For Trims and pocket:
- yellow, 15 inches
For butterfly prints
- yellow Fabric Paint
- OR: Yellow Acrylic Paint + Fabric Paint Medium
-Freezer Paper
- Butterfly punches
Pattern:
Download the four-page Knit Dress Pattern ( size 3T). Print it on A4 (8.5 X 11 inches) paper with margins set to 0.
For size 5T:
Download the four-page Stars + Stripes Knit Dress Pattern here (size 5T). Print it on A4 (8.5 X 11 inches) paper with margins set to 0.
Seam Allowance:
3/8 inch unless otherwise stated.
Techniques Used:
Sewing with Knits, Binding the Neck/Sewing Bias Tape, Freezer paper stencils
Construction:
Sew a seam along the neckline with thread tails on both ends. Pull the bobbin thread slightly to gather the neckline, the neckline after gathers is about three inches.
Binding the necklines:
Cut out a yellow strip 2.5 inches X40 inches.
Fold the strip in half along the length and iron
Align the raw edges of binding piece with raw edge of gathered neckline ( with the binding on the wrong side and sew a seam.
Fold the binding over to the right side and sew a seam on it as close to the edge as possible. Go slow and steady here to get a nice evenly spaced seam because this will be highly visible in the finished dress.
Cut out the stencil piece from freezer paper, just eye-ball an area from 5 inch above the hem-line in the right which gets wider as it goes to the left, there is no right or wrong pattern here. Punch the butterflies on the paper. Keep at it until its almost full. Keep the shapes random. If your punch can't reach in the center, fold the freezer paper in half and punch near the fold, to punch two butterflies at once.
Place the freezer paper on the dress ( shiny side down). Iron without steam. In about a minute it should stick to the dress.
Before you start paining insert a sturdy paper or card-stock inside the dress so the paint doesn't bleed to the back of the dress. Now paint over the butterflies with fabric paint and a wide brush.
Let the dress dry for about an hour. Carefully peel off the freezer paper once the paint is dry to touch.
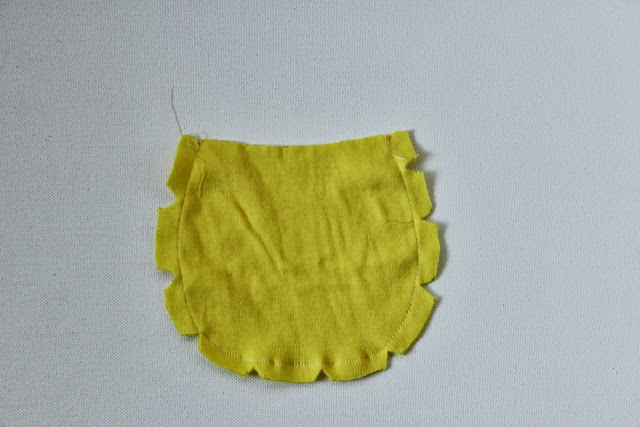
Cut a three inch wide strip of the pocket fabric. Make sure the length is equal to the length of the pocket top + 1 inch.
Fold it half inch onto itself on both ends. Now fold the strip in half along the width.
Fold the binding in half and align raw with the raw edges of armhole ( on the wrong side of dress), leave 2 inches of binding tail on one side and sew along the raw edge.
Once you have reached the other end of armhole, leave another 2 inches of binding and sew the ends together ( right sides together). Make sure there is no twist in the binding when you sew them together.
Fold the binding to the right side, sew close to the edge of binding. Once you reach the end of the armhole, keep following the fold of the binding and continue sewing a seam near the edge until you come back to the starting point.
This finishes the armholes and shoulder straps together.


