Showing posts with label kids. Show all posts

Monday, January 23, 2012

Sleeper to Jacket Refashion

Blooms And Bugs: Sleeper to Jacket refashion tutorial

This post was published as a guest feature at Me Sew Crazy last December. Publishing it here again in case you missed it last time around.


Ever since my daughter started walking her growth has only been vertical. That means clothes that fit well in the waist and body but are a few inches too short. Way too many of them. I found some fleece sleepers that were almost new but were at least two inches short already. Since she needed some jackets for the light California winters, I decided to try and refashion these sleepers into fleece jackets. And what do you know! It was super simple and it worked! Here's how I did it.

Supplies:

1.  Sleeper that fits well in the width but may be too short or too long
2. Fat quarter of coordinating woven fabric

Construction:

1.

 Close the zip up to the top. (This is very important, if you keep the zip open, you may not be able to close it completely after you cut. Don't ask me how I know that. Just keep that thing shut...ok.) Find the length that you think would be good for the jacket. Cut the sleeper horizontally 1 inch above that length. I chose to cut it right above the legs to get the maximum possible length. The finished jacket comes to my daughter's thighs, making it longer than the usual but I like that length. If you want a particular length for the jacket make sure you cut accordingly.

2.


 Pick out the cuffs on the sleeves using a seam ripper. This may take a few minutes so be patient. Usually if the sleeper is shorter in length than it is likely shorter at the sleeves too, I'll show you how to increase the length of sleeves a bit.

3. Measurements

Now measure the circumference of the hemline, lets call it L1. Also measure the circumference of cuffs. Lets call it L2. Now cut a 3 inch wide strip of length L1+(2xL2) + 5 inches. We will use this to finish the hem and cuffs of the coat.

4. Making the 'Bias Tape' for hemline and sleeve cuffs

I'm calling it Bias tape but actually it is cut on grain not on the bias. We can get away with this because we will be using it on the straight edges and not curves. However if you would like to use a bias tape that would work too.

Fold the strip you cut earlier in half along the length and iron.


Now fold one edge quarter inch and iron, this may take a few minutes. You may want to make a crease by hand before ironing to make it easy to iron. Quilting weight cottons retain crease well so they're easier to work with for this project.

Now fold the other raw edge a little less than quarter inch. Folding it lesser will ensure that when we sew this bias tape, it will catch the seam on the inside.
I'll explain more when we get to sewing it.

In the pic above the top edge is folded lesser than the bottom edge.


Here's the finished bias tape.


5. Finishing the hemline


Line up the raw edge that is folded more with the raw hemline of the sleeper ( right sides together). Make sure you leave one inch bias tape unsewn in the beginning. Sew along the hemline. Try to keep the seam on the crease of the fold as shown in the pic above.


When you get close to the starting point ( within 3 inches), measure the tape you will need to finish it and cut half inch longer bias tape than that.

Now line up both the raw ends of bias tape and sew with right sides together. This will ensure a very clean finish.

 Now finish sewing the remaining of the seam along the hemline.


Now fold the bias tape down and fold the part below the center crease inside.


Make sure that the bias tape is folded on the inside with no raw side visible. Since we folded that end lesser, when we fold it on the inside that edge of bias tape will go higher than the edge on the outside. Now sew a seam as close to the bias tape ( but not on) as possible. Go slowly on this seam as it will show on the outside.


The hemline is ready.

6. Adding the cuffs on the sleeves:


The cuffs are made the exact same way as the bias tape at the hemline. The only thing I need to mention is that you could make the cuffs a different length than the hem, so measure the length of existing sleeves and compare with the length you need and adjust the bias tape width accordingly.


So that's our easy refashion - A sleeper to a fleece jacket. Sew easy, sew fun!


Make one, make many! Enjoy!
Pin It

Sunday, July 17, 2011

The McQueen Tee

Fabric Painting project: McQueen Tshirt
There's an absolutely adorable young man who

- Loves Spiderman

- Absolutely hates if somebody calls him a baby

- Is the only young boy in our circle of friends

- Is celebrating his birthday this week....


Making something nice handmade for him was really difficult for me because I'm mostly surrounded by girls...mostly my ideas always include...flowers, bows, ruffles, polka dots, ribbons...you get the picture.

Nothing which will be appreciated by a self respecting young man.


I bounced off several ideas in my head...finally came up with this Mcqueen Tee.
Because other than the above this young man also LOVES McQueen!!!
The front:
painting a McQueen graphic

And the Back:
fabric painting a cars tshirt

This project was way out of my comfort zone but I think it turned out cute. I'm keeping my fingers crossed that the young man likes it...we will see...
If not, I'll just keep reminding myself not to refer him as baby.

Monday, July 11, 2011

Simple eyelet dress

Sewing project: Eyelet Dress
eyelet fabric dress sewing

While sorting her wardrobe, I realized that little missy needs some plain cotton woven dresses to be comfortable in the hot summer thats upon us now. In an ideal world, I would have foreseen this need and spent some time during spring to work on soft woven fabrics, instead of knits. Alas, we don't live in an ideal world, so I drafted a simple dress pattern with her measurements and made her this dress. Of course she needs many more of these, so you're going to see many more of these in the posts to come.

Wednesday, July 6, 2011

A simple sundress!

Sewing a Shirred sundress
sewing a shirred sundress


There's an adorable tiny girl in the family who is celebrating her first birthday today. She is hundreds of miles away from us and we can't be join her in the celebrations...but we wanted to tell her how happy we are for her and family, and how much we love her. Lots of love to you little one.

This simple shirred sun dress and a hair-band is what we sent as a small handmade gift from our side. Wish you were here!

Tuesday, July 5, 2011

Flower Girl dress tutorial

Lace dress sewing tutorial

Hope you had a fun and relaxing long weekend with your family.

flower girl dress sewing tutorial

With summer here, its time to get ready for summer weddings.
Am I the only one who thinks that little flower girls are the cutest part of any wedding party ( Did I just invite the wrath of all the brides and brides-maids?)
I thought this would be a good time to share the tutorial for a simple and elegant flower girl dress.

Step 1. Take any plain dress pattern that you have and cut bodice pieces from the lining as well as main
fabric. I used lace for my main fabric and cotton for lining because little one is allergic to poly materials.
If that is not a concern, you can choose satin as the lining. It looks better with lace and not that hard to work with.

Step 2. Join the lining pieces at the shoulders. Also join the main fabric pieces at the shoulder, right sides together.


Step 3.
Now make a slit ( roughly 3 inch should be good) at the center of back of neckline ( both main fabric  and lining). This will help in getting the dress over the head while wearing.
Now join the lining and main fabric at the neckline, right sides together; treat the slit you just made as part of neckline .  Go slow and make sure the seam width is same across the neckline, and also that you are catching both the fabrics. The necklines make or break the dresses so be sure of getting it right.
One you have sewn across the neckline, cut small notches throughout the neckline going up to the seams but not cutting into it. This will help the fabrics sit flat when you turn the neck out.
Turn the dress out at the neckline and iron from the lining side.

It is looking like a lined bodice now.


Now lets work on armholes:
Step 4:  I think the picture is the easiest way to explain this step. From one side of the bodice hold main fabric and lining fabric separately and then bring them together at the other side such that the rest of the bodice is sandwiched between them.
Here's another pic:
See we are taking apart lining and main fabric and turning them over towards the other armhole.

And this the part where we have sandwiched the main bodice between main fabric and lining from the other side.
Now join the main fabric and lining at the armhole, make sure you're catching only the fabrics from the armhole you just brought to this side and not any other part of the bodice.
Now cut some notches inside the curvy part of the armhole you had just sewn, just the way you did it for   neckline.
Now turn it out by pulling out the bodice that has been sandwiched inside. It is hard to visualize ( dang! no pics) but quite intuitive when you're actually doing this.
Congrats! You have just finished the armhole of one side.

Finish the other armhole in the same way. Here you are:


Step 5. Finishing the sides:
now from the bottom of the bodice pull apart the fabric and lining. You will get something like this:

Now sew the side seams starting with main fabric right sides together and keep going when you reach the lining and sew the side shut, do it for both the sides. Turn out. Iron.
Now sew on a button and buttonhole (or snaps, or velcro) on the slit at the back to provide a closure.
Voila, bodice is ready! Now we will work on the skirt part of the dress.

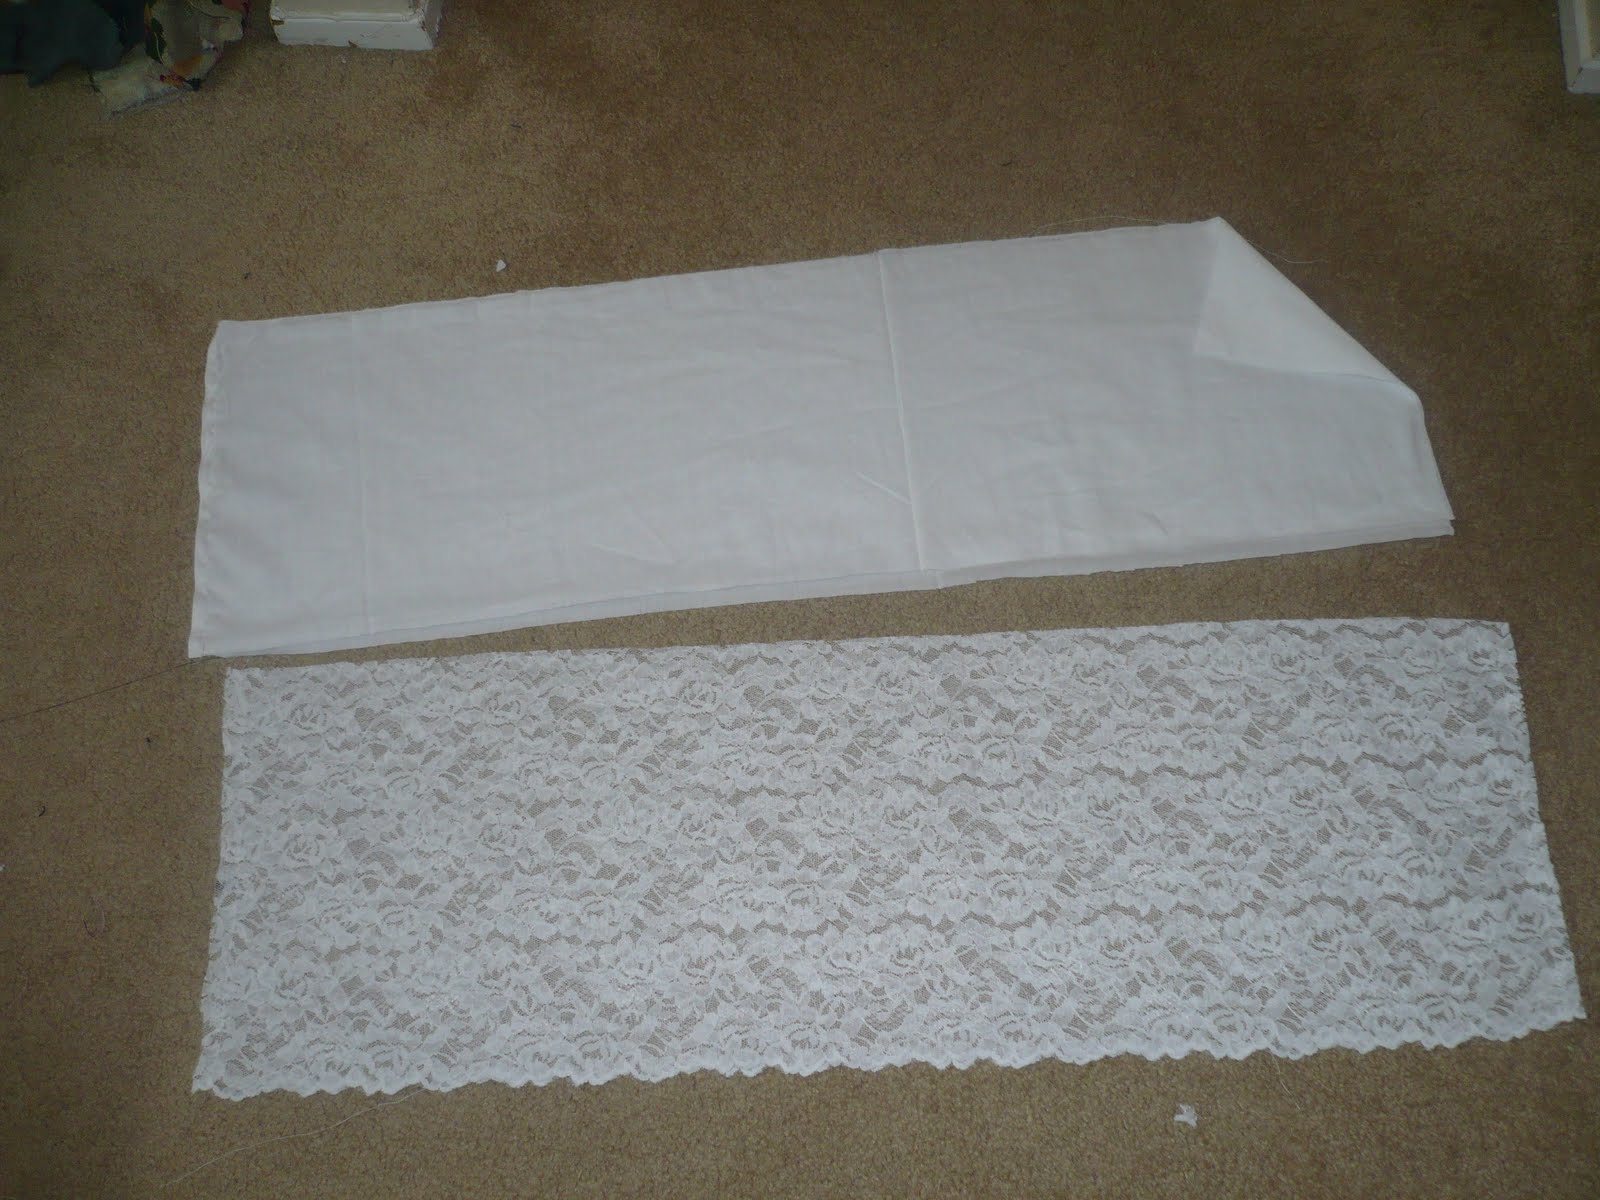
For the skirt also we will cut two pieces one from main fabric ( lace) one from lining.
For determining the size of these pieces, you can just measure the width of bodice (W) and and half of W to it. So the total becomes 1.5W. So if your bodice width ( all around is 20 inches, your skirt width will become 30 inches. This will give you a skirt that is fuller than the bodice, but not too flouncy. In my opinion that looks better in formal dresses, but feel free o add more to the width, if you want a fuller skirt. As for the length, since the bodice is ready, you can just measure the total length of dress you want on the child and then subtract bodice length from it, that will give you desired skirt length, add 1 inch to this length for seam allowance and you get the length(L) and width(1.5W) of the rectangles for skirt.


Now cut one rectangle of above length and Width each from Main fabric and lining.
While cutting lace, if you can cut such that one end falls on the selvage, it would be great. That way you won't have to hem the main fabric at the end

Now for each fabric make a tube by bringing together length sides, right sides together and sewing it shut.

Now turn both inside out and place lining fabric tube inside main fabric tube. Such that lining right side is touching main fabric wrong side. Now sew two rows of seams along the top of this tube. Hold the bobbin thread from these seams and pull it gently to gather the top. Even out the gathers and measure the top of skirt against the bodice width. Once the top of skirt becomes equal to the bodice width, check the gathers again and even out if they are uneven.

Now the skirt is ready to be attached to the bodice.


Turn the bodice and skirt inside out. Line up the lengthwise seam  of the skirt with the center of the back of bodice and pin the bodice to the skirt along the width ( Right sides together). You may have to even out any uneven gathers during this step. Now sew across the width to attach the bodice to skirt. Finish the seam from inside with a serger or by zigzag stitch on your sewing machine.

Turn the whole thing inside out. 

Sew on a button/snap/velcro at the slit you made at the back for closure.
Hem the hemline of lining fabric ( also main fabric if it is raw edge - rolled hem seems to work better for lace fabrics )


Marvel at your sewing skills! You just made a fully lined dress.
Now lets make a sash to match the wedding colors.

For the sash I made ( with ruffles in the front ) I took a sheer fabric of 

Length = 5 inch
Width = 72 inches ( twice the width of a standard fabric, so you may have to join two strips together for this)

(Although I chose sheer fabric, I highly recommend making the sash from satin instead, looks much better)
Sorry no pics of this step, but I will tr my best to explain it to you.

Now fold the strip right sides together along the length ( to make a 2.5 inch strip ) Now sew along the raw edge at the 72 inch side. 
Turn the strip inside out. Now you have a tube of 72 inches which is open from both ends.
Gathering the ruffles in the front
Mark 20 inches mark from both ends, and sew two rows of seams between these two marks at the center of the strip. Now pull the bobbin threads of these seams gently from one end to gather the strip. 
Make the gathers equal to the front width of the bodice.
Sew the ruffled area on the bodice with a zigzag stitch.

Finish the raw ends of the sash by tucking them inside the tube and top-stitching them. This can be tied at the back.


The front:

The back:


Put it on your favorite flower girl! Enjoy!


Thursday, June 30, 2011

Sew Easy - Part 1

Easy Skirt Sewing tutorial Sometimes I feel like sewing is a dying art...simply because I meet so few people who want to sew these days. When I was growing up back home, every women in my home knew how to sew, at least the basics. So did everyone in the neighborhood. Me and my cousins were lucky to be born in a family where we saw a lot of sewing on a regular basis ( No, we don't have a professional seamstress in the family, if you discount my little venture. All that sewing was only for the family)
But as I grew up I saw the shift in the enthusiasm for sewing...very few of my friends knew how to sew, by the time I had a family, very few of my friends knew how to thread a sewing machine. The thing that is even more sad is that most of them didn't feel the need to learn it.
I don't know if I'm just plain old fashioned to love sewing, or it is a skill worth saving ( after all, doesn't Walmart sells ready to wear clothes cheaper than the fabric it would take to make them...never mind the time and skill). However, very often I come across women who are fascinated by sewing, want to try their hand at it but are either scared by the whole process of taking detailed measurements, cutting, sewing, finishing, buying so many notions and tools, lack of sewing machine or some combination of the above. I feel that as somebody who has enjoyed the art of sewing for a long time, I can address those difficulties. Maybe I can make some of you reconsider sewing as a skill worth learning, even enjoyable.

With this goal in mind I'm starting off this series, called Sew Easy. In this series I'll write some tutorials for items that require very little skills and would look totally cute on your kids or yourself. I'll also try to include pointers to tutorials to such projects from other blogs. I hope you like these projects and warm up to sewing more.


Part 1 - 10 mins ( or less ) skirt


What do you need

1 Tshirt - ( Adult or child size - preferable bigger than the child who will be weaing the skirt )
2. Scissor
3. Elastic - 1 Yd - 3/8 inch
4. Sewing machine or sewing needle and thread matching with Tshirt
5. Measuring tape or ruler
6. Safety Pin

Step 2. Measure the Wearer's waist lets call it X inches
        Measure the length you want the skirt to be lets call it Y inches ( you dont need any seam allowances here)

        Add about half of waist measurement to width X calculate the width of fabric = X+X/2 but since the Tshirt is already double layered lets divide the whole thing into half again so the width we need to cut is = X/2+X/4 = lets call it W.


Step 2. Lay your Tshirt flat on a flat surface


Step 3. From the bottom of the TShirt Measure up Y inches.
Step 4. Fold the TShirt upwards Y inches making sure that the length is even all across.
            

   Step 5. Now measure W inches at the fold you just made from one side.

Step 6. Cut the Tshirt upto W inch mark. The cut it perpendicular to this cut upto the bottom to get a folded rectangle of WxY
(Sew Easy Tip: If your TShirt is a couple of inches wider than W, don't bother making the second cut, just cut the Tee along the width, we are making a full skirt so width doesn't have to be precise and and not making the lengthwise cut will reduce the sewing you need to do)


Step 7. Now attach a safety pin to the elastic
              

Step 8. Thread the elastic through the bottom hem of the T Shirt piece you just cut.
Step 9. Pull the elastic to its desired length ( X - 3 inches  would be a good starting point). At this point you may want to try it on the wearer by attaching both elastic ends with a pin. Take care not to poke her with the pin. Adjust the elastic according to the fit.

Step 10. Bring both raw ends together and sew a seam with right sides together. Make sure you catch both ends of elastic in your seams. Go over the elastics 2 - 3 times to make them more durable.

Step 11. Turn the skirt inside out

Step 12. The skirt is ready! Ta Da!
Ummm...why are you yawning?..aren't you excited?..you made a skirt!!!
Ohhh, 'coz you made a boring skirt!!!
Hey not so fast...
The reason, some clothes look so fab isn't because they are overly complicated or some rocket scientist designed them. They look so awesome, because before/after the main garment was constructed somebody spent some time jazzing it up before you got to see it. And know what? You could totally do this to clothes you make. I'll show you how in my next post. And yes! we'll turn this boring skirt into something fab!

Saturday, June 25, 2011

How fast, how fast?

Just on a whim, I tried to see how fast I could sew a peasant dress ( on an aside, just learned that these are raglan dresses and not peasant dresses ...^hangs head in shame^). So I made this little number cutting and alll...in 50 mins flat. That is ...minus the ruffle at the bottom. So if your little girl needs some dresses/tops for the summer...

Monday, June 20, 2011

Butterfly dresss saga: Part 2

As I mentioned earlier that I'm going to take my revenge on butterfly dress ( ok, its not as ominous as it sounds in this sentence). I just love the butterfly dress style and badly wanted to make it work...there...sounds much better.
But as you can gather from the pic....I fixed my mistakes from earlier version here. And made new ones.
And I chose a pretty fabric this time...Cute kid + pretty fabric = success guaranteed :)
But I really think I made it work this time around.
Whats more is that the little one thinks its the coolest dress ever. She wanted to grab it and run away, while I was still sewing it. No kidding!
I'm still thinking of a better way to sew it though...for one thing I don't care for the bias tape bound neckline.
I think because of all the ruffling, the bias tape doesn't look that crisp at the neckline. Also I'm wondering if I can make a shirred version of this pattern. That would be cool...don't you think?
Butterfly dress saga...To be continued.

Ps: Get the original tutorial here ( Sewing in no mans land).